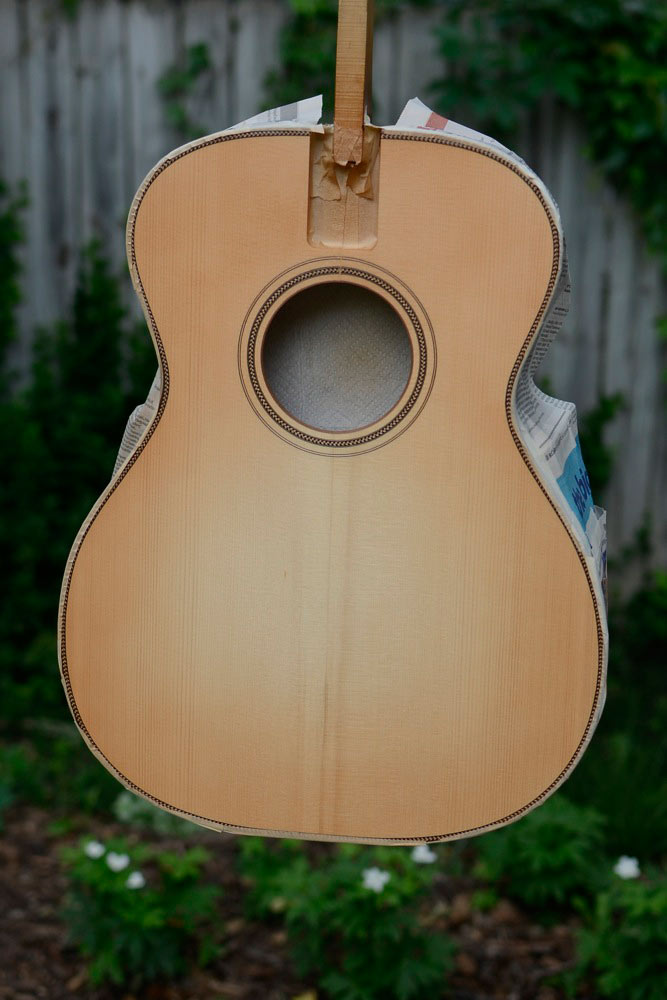
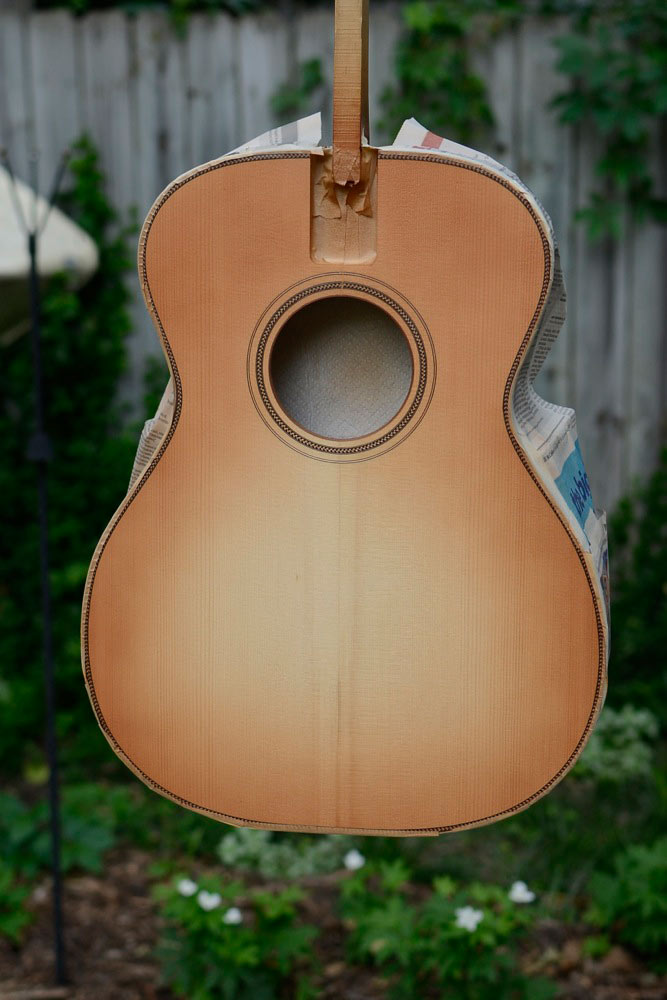
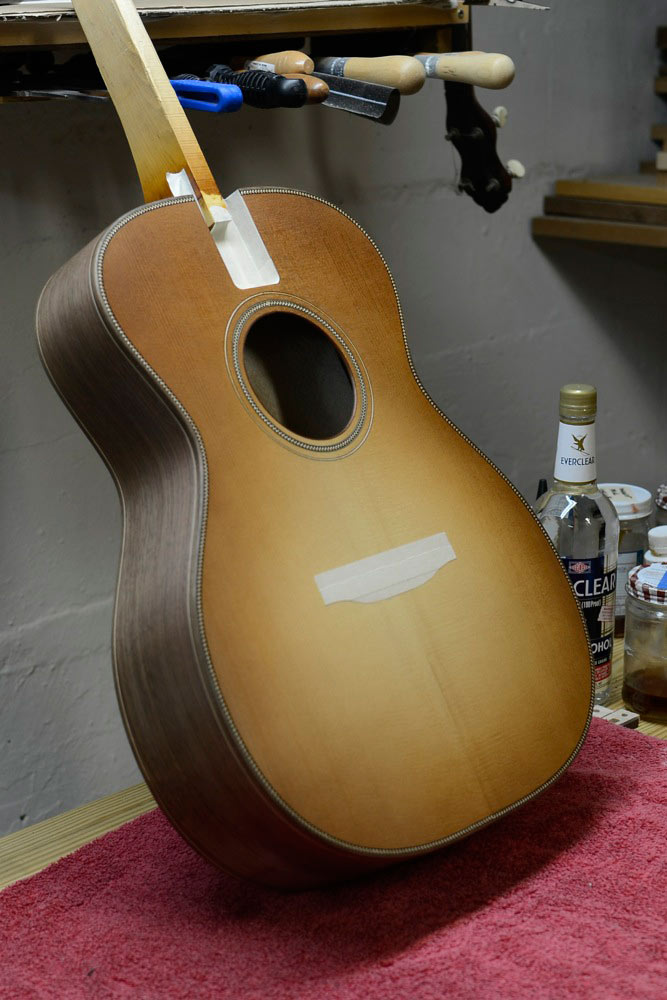
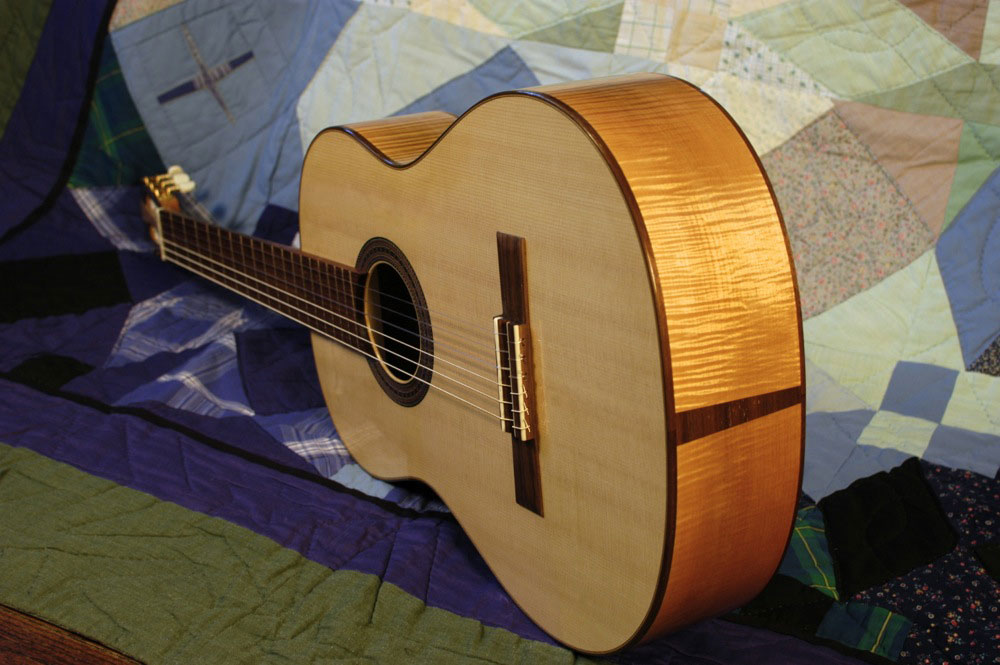
Because I like a challenge, I decided to apply a transparent sunburst to the top of the walnut orchestra guitar (serial number 16) that’s just a few weeks from being completed. I wanted to show off the beautiful grain of the Adirondack spruce top, so I chose to use reactive dyes to produce the color without the opacity of applying colored finish. Generally speaking, dyes enhance the grain while color coats, like colored lacquer, dry to a colored film that’s more like a lens.

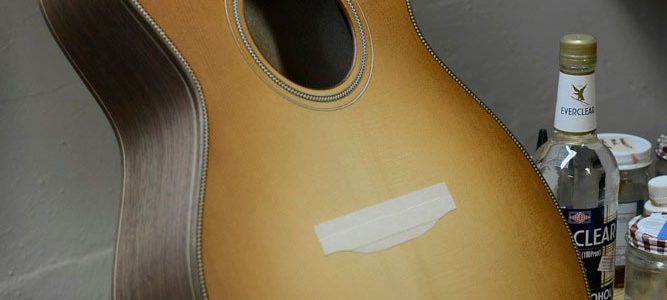
Applying dye directly to wood can be pretty dangerous: the surface preparation needs to be perfect (no oily finger smudges, no glue smears that didn’t get cleaned up thoroughly) and the application needs to be close to perfect. The dyes can be dissolved in water or alcohol; alcohol is quite a bit more forgiving because it dries more quickly. (The longer the dye stays wet and active, the stronger the color. That’s why tie dye t-shirts look the way they do.) Because it dries quickly, you can mix the dye to a much weaker strength and apply more coats, making it easier to control the blend. Also, alcohol doesn’t raise the grain of wood like water.

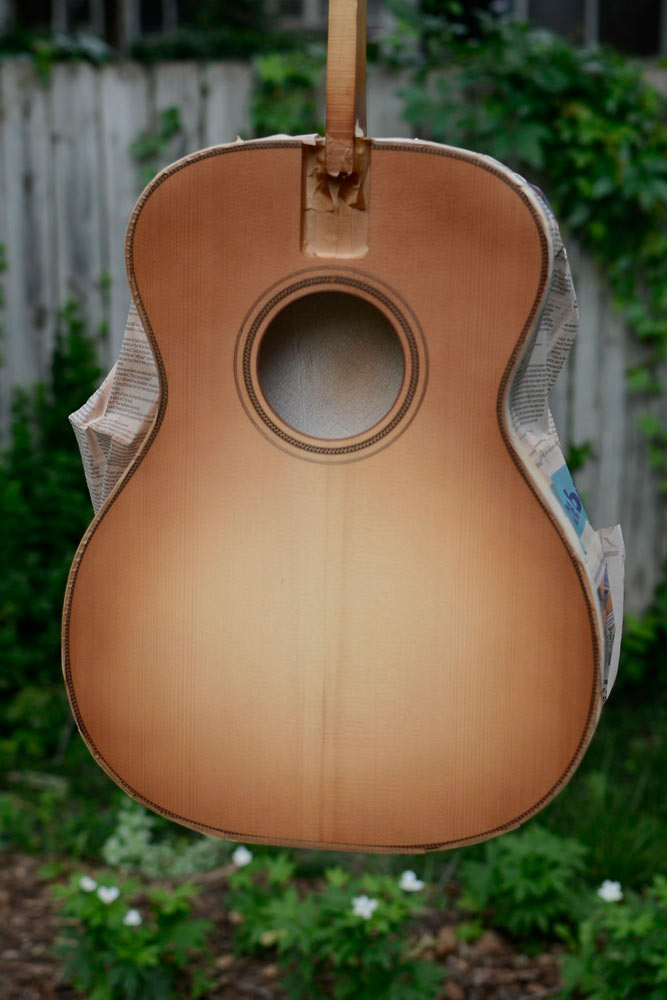
To get a rich color that responds to a variety of lighting conditions, I ended up using a series of four dyes. I first lightly dyed the entire surface with a golden yellow. Then I began creating the burst with a peachy toner around the edges. Next, I further refined the edges with mahogany-ish tone, with the final edge treatment a reddish walnut color.

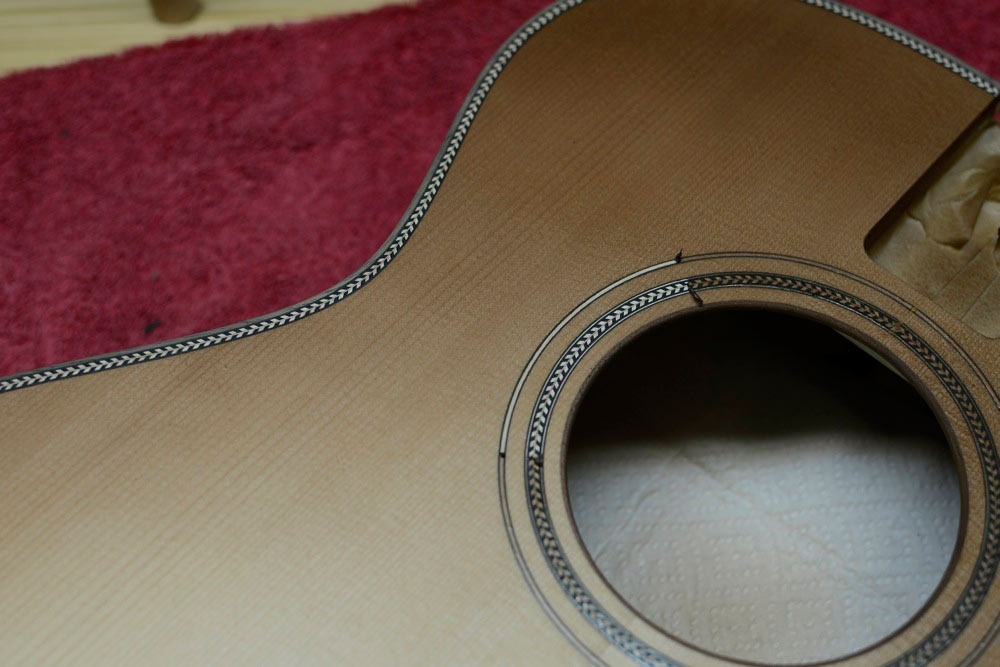
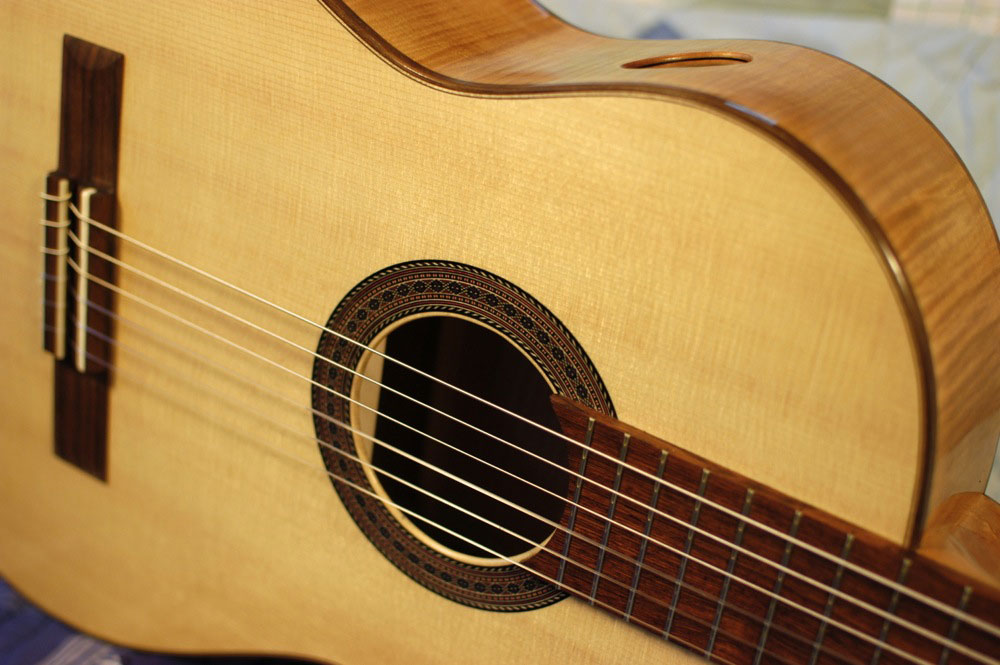
I masked off the herringbone body purfling and rosette rings with a liquid frisket from my watercolor kit before I began, and the results are very crisp.

I’ve made nice progress on a 14-fret auditorium and an orchestra guitar, both made of lovely air-dried walnut. What’s the difference between those models? Mostly scale length. The bodies have the same shape, but the top bracing has been shifted accordingly. (Here’s a comparison graphic of my model sizes.) I used a different rosette and purfling design so that I wouldn’t mix them up at a critical moment.

This pair also uses a hybridized bracing scheme that relies on the X-brace for the overall structure but uses a Torres-inspired lower fan in the belly area. I’ve been very happy with the guitars I’ve built with this scheme, and on this pair I’ve even trimmed down the lower legs of the X-brace a bit more because the fan structure does a nice job of resisting the torque of the strings on the bridge.

The bodies are in good shape, and the necks are well under way. I hope to have these guitars finished in early June. The price will be $2600 for either guitar.

I have been enjoying playing my new classical prototype…a lot. The sound is a very good match to my taste, with a woody, full midrange and sparkly, fat trebles. The basses are solid and loaded with tone. Most importantly, the sound is consistent throughout the range and the instrument sounds great in quiet sections and even better when driven hard.

A short sample of the guitar’s sound.

In considering construction decisions for this Cavins classical, my primary inspiration was the guitar sound on the incredible Scott Tennant album “Guitar Recital.” The album was an instant favorite for me (thanks to my guitar teacher, who introduced it to me), and the sound of his guitar captured me right away. I’m sure that Scott Tennant could make any guitar sing, but I understand that the instrument on the recording was made by Miguel Rodriguez.

Since I knew I wanted a crisp, woody bass, I chose a stiff Engelmann spruce top and braced it using a very lightweight seven-fan bracing layout. To reinforce the midrange and trebles I chose red maple sides and back (in my steel-string experience, it produces lush trebles). The very lightweight black walnut bridge contributes to the percussive, lively attack. The fingerboard is Honduran rosewood, and the binding, end wedge, and other trim are black walnut. The sample audio was recorded while the guitar was strung with Augustine medium tension strings, although “hard tension” La Bella 2001s are an even better match for this guitar. I incorporated a sound port in the upper bout, and I’ve really enjoyed the immediate and transparent feedback that it provides the player.

As usual, our artist-almost-in-residence has outdone herself with beautiful Ozark flora- and fauna-themed tuner buttons for the Mermaid. The tuner buttons were engraved with exacto knives and the engraving filled with archival ink, with a tiny pen.

Four down, one to go!

The buyer of no. 3 (left) and I pose with the guitar.
Grand concert no 3 went to a very good home.

I’m delighted to say that grand concert no 3 has gone to wonderful home.

The very best thing about building guitars is making good guitar/player matches, and I think this player has found a lifelong friend in this guitar. He wrote me a few days after he picked up the guitar, asking, “What’s the opposite of buyer’s remorse?” The answer is the grin on this guitar builder’s face, of course!

While working on a repair a couple of weeks ago that required some hand planing, I realized that I couldn’t stand using my overlarge, rickety bench for another day. Maybe not even another hour. I’d been planning to replace my workbench with something better suited to how I work now, and the urge was suddenly implacable. So I tore it down and threw myself into finishing the new bench.

I tried to make most of the chance to re-imagine my workspace. A stout top and new storage topped the list.

It sounds strange to complain your bench is too large, but it dominated my small shop space, and it was large enough that there were areas I never worked on.  Those areas accumulated a jumble of offcuts, often-used tools, and bending forms. And then, when I did need a guitar-sized space to work, there wasn’t one. Continue reading “Workbench Improvements”

It was a little surprising to go from having a rim and top and back plates on the bench to suddenly having a guitar in my hands, ready for finish. “Whoa, so this is why people love to build classicals. It’s so much less work!” I thought.

Not exactly.

What makes it seem like magic to me is that the order of construction is very different than my method for building steel-string guitars. Continue reading “Classical Progress: The Instant Guitar”