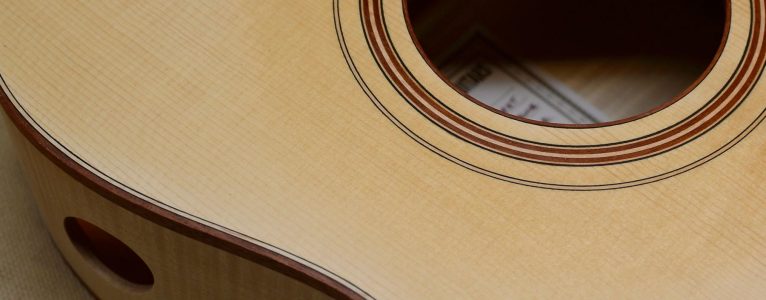
This American sycamore and red spruce guitar is rounding third base headed for home. The finish has been built up and now I’m on to compacting and burnishing the French polish finish. I still love the sycamore!
The Adirondack spruce tops shows virtually no run out and beautiful silking.
Rosewood binding forms the edges of this American sycamore guitar.
A view of the rosewood end graft.
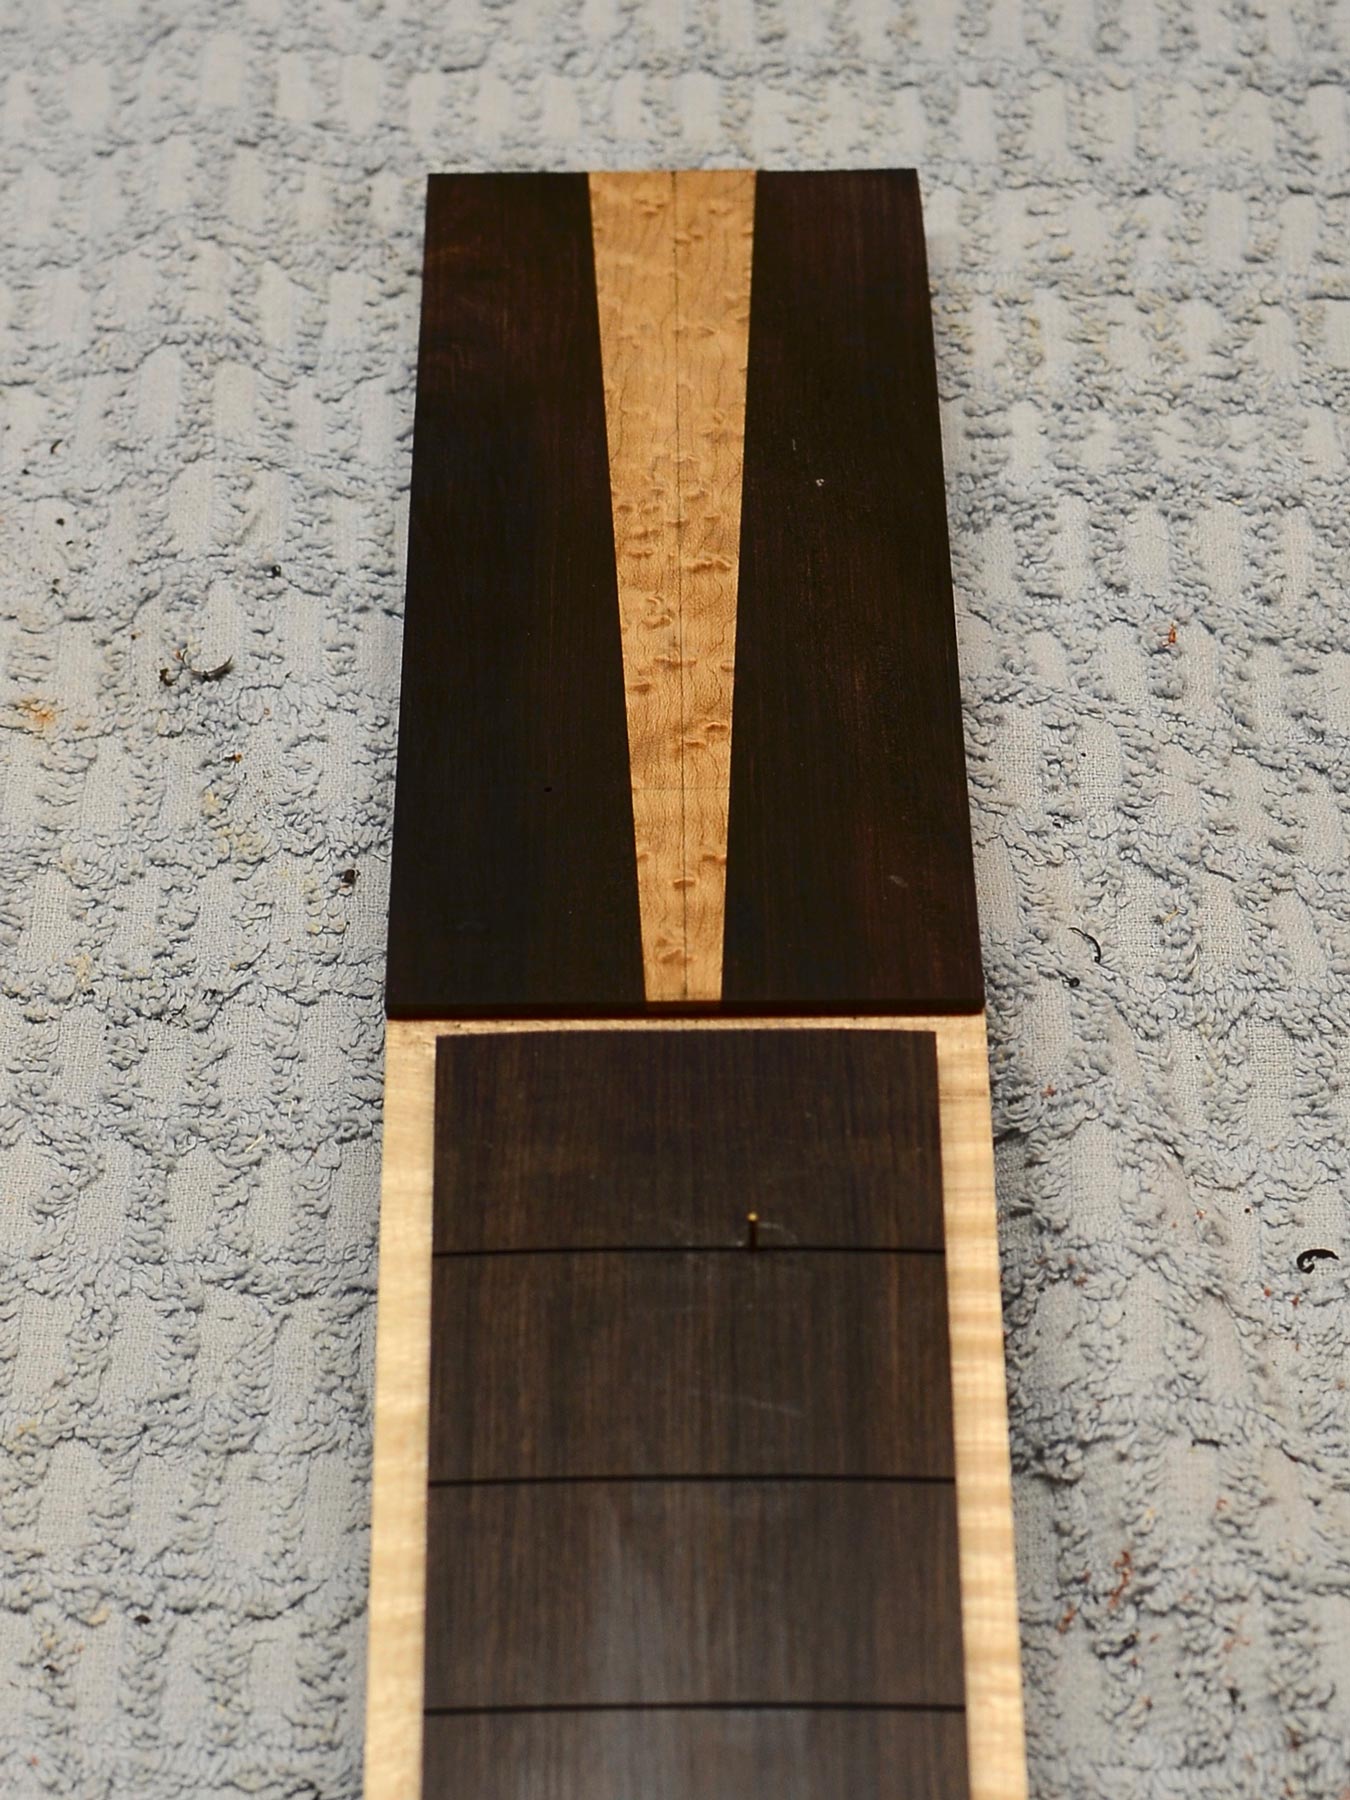
The mostly finished maple neck.
The mostly finished maple headstock.
Between coats, I’m working the last piece to shape for this guitar: the pyramid-style bridge made of African blackwood.
To make a bridge, I first dimension the block, then drill the pin holes and route the saddle slot.
I shape the notch between the pyramid and the center bar then start chiseling to create the pyramid.
Once the chisel has formed the faces of the pyramid, out come the rasps and files to refine the shape.
This American sycamore and red spruce guitar is coming right along. I’ve completed the woodworking and am deep into the finishing. The box sounds and looks wonderful–sycamore has almost unbelievable figure naturally and my previous sycamore guitars have given me some good practice on getting the most out of this wood. The adjustable neck joint front loads a lot of what is typically final setup work, so this guitar will be playable very soon!
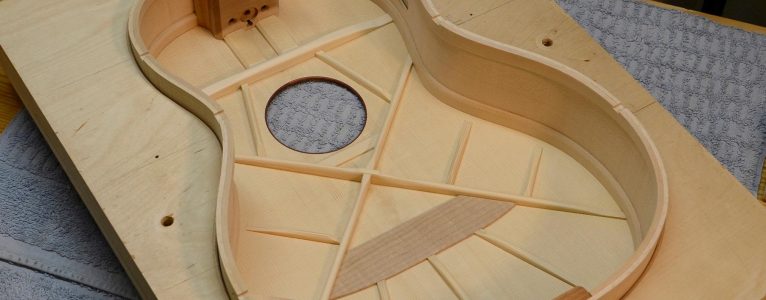
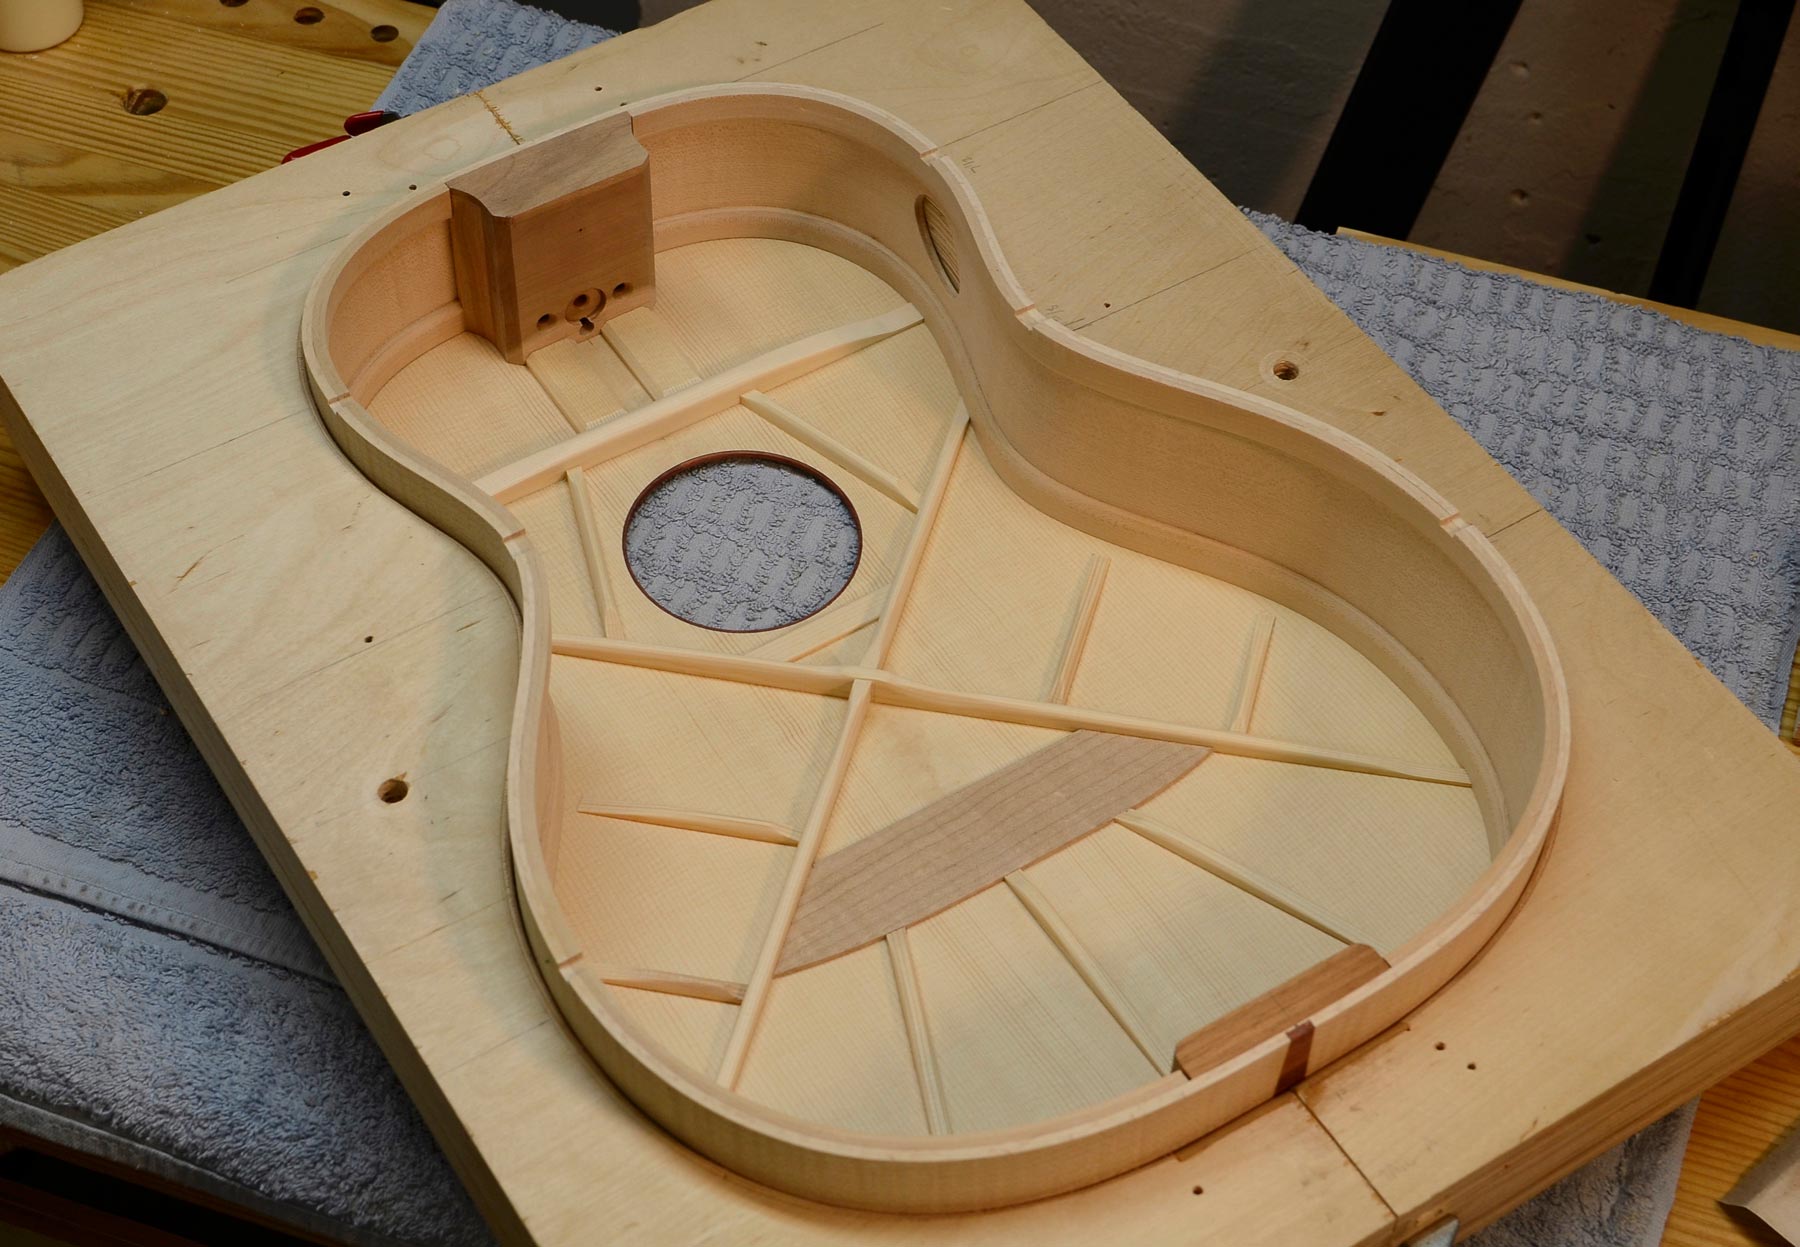
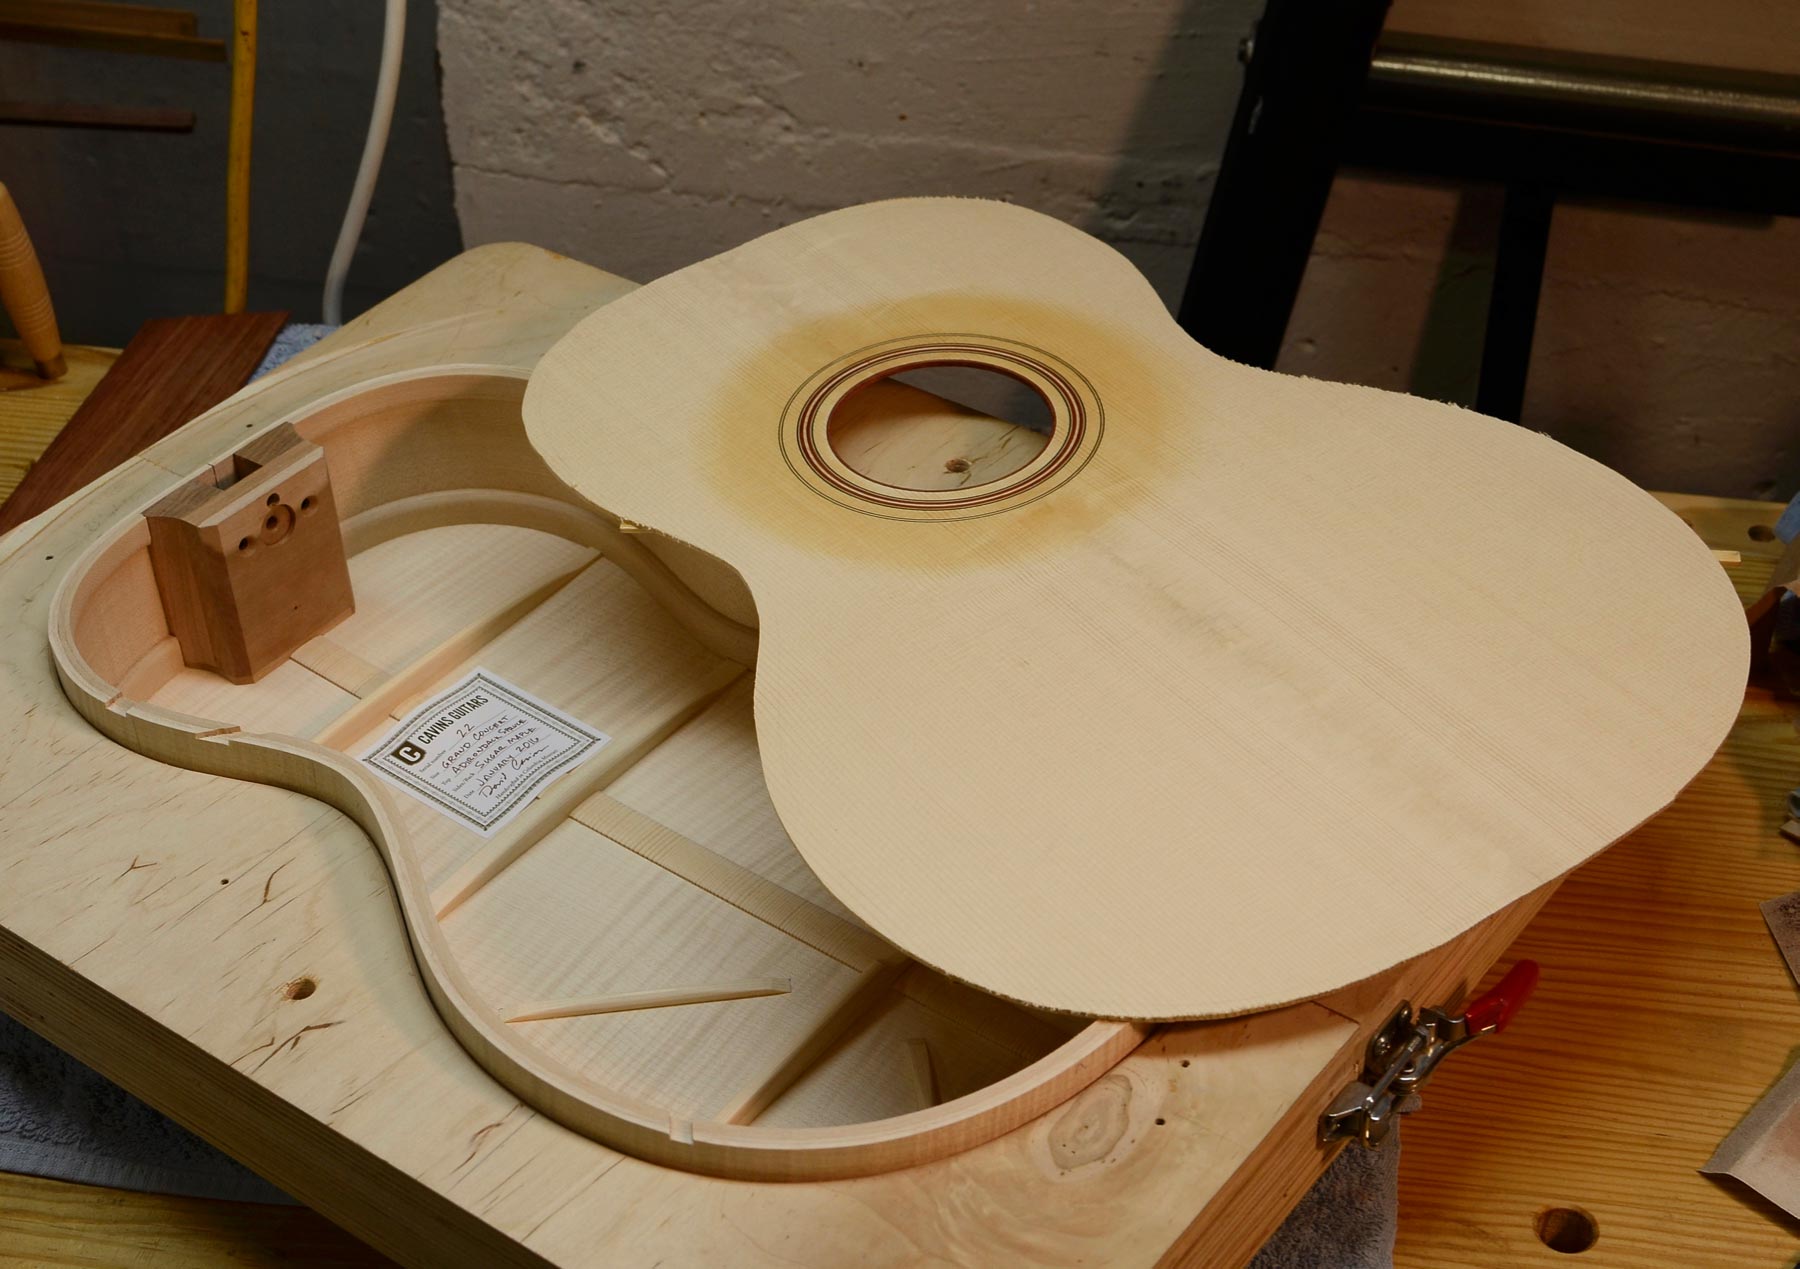
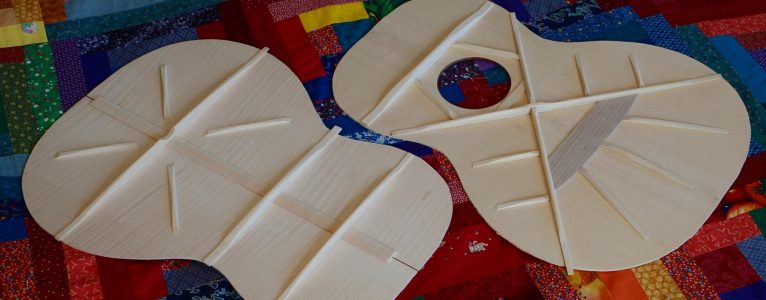
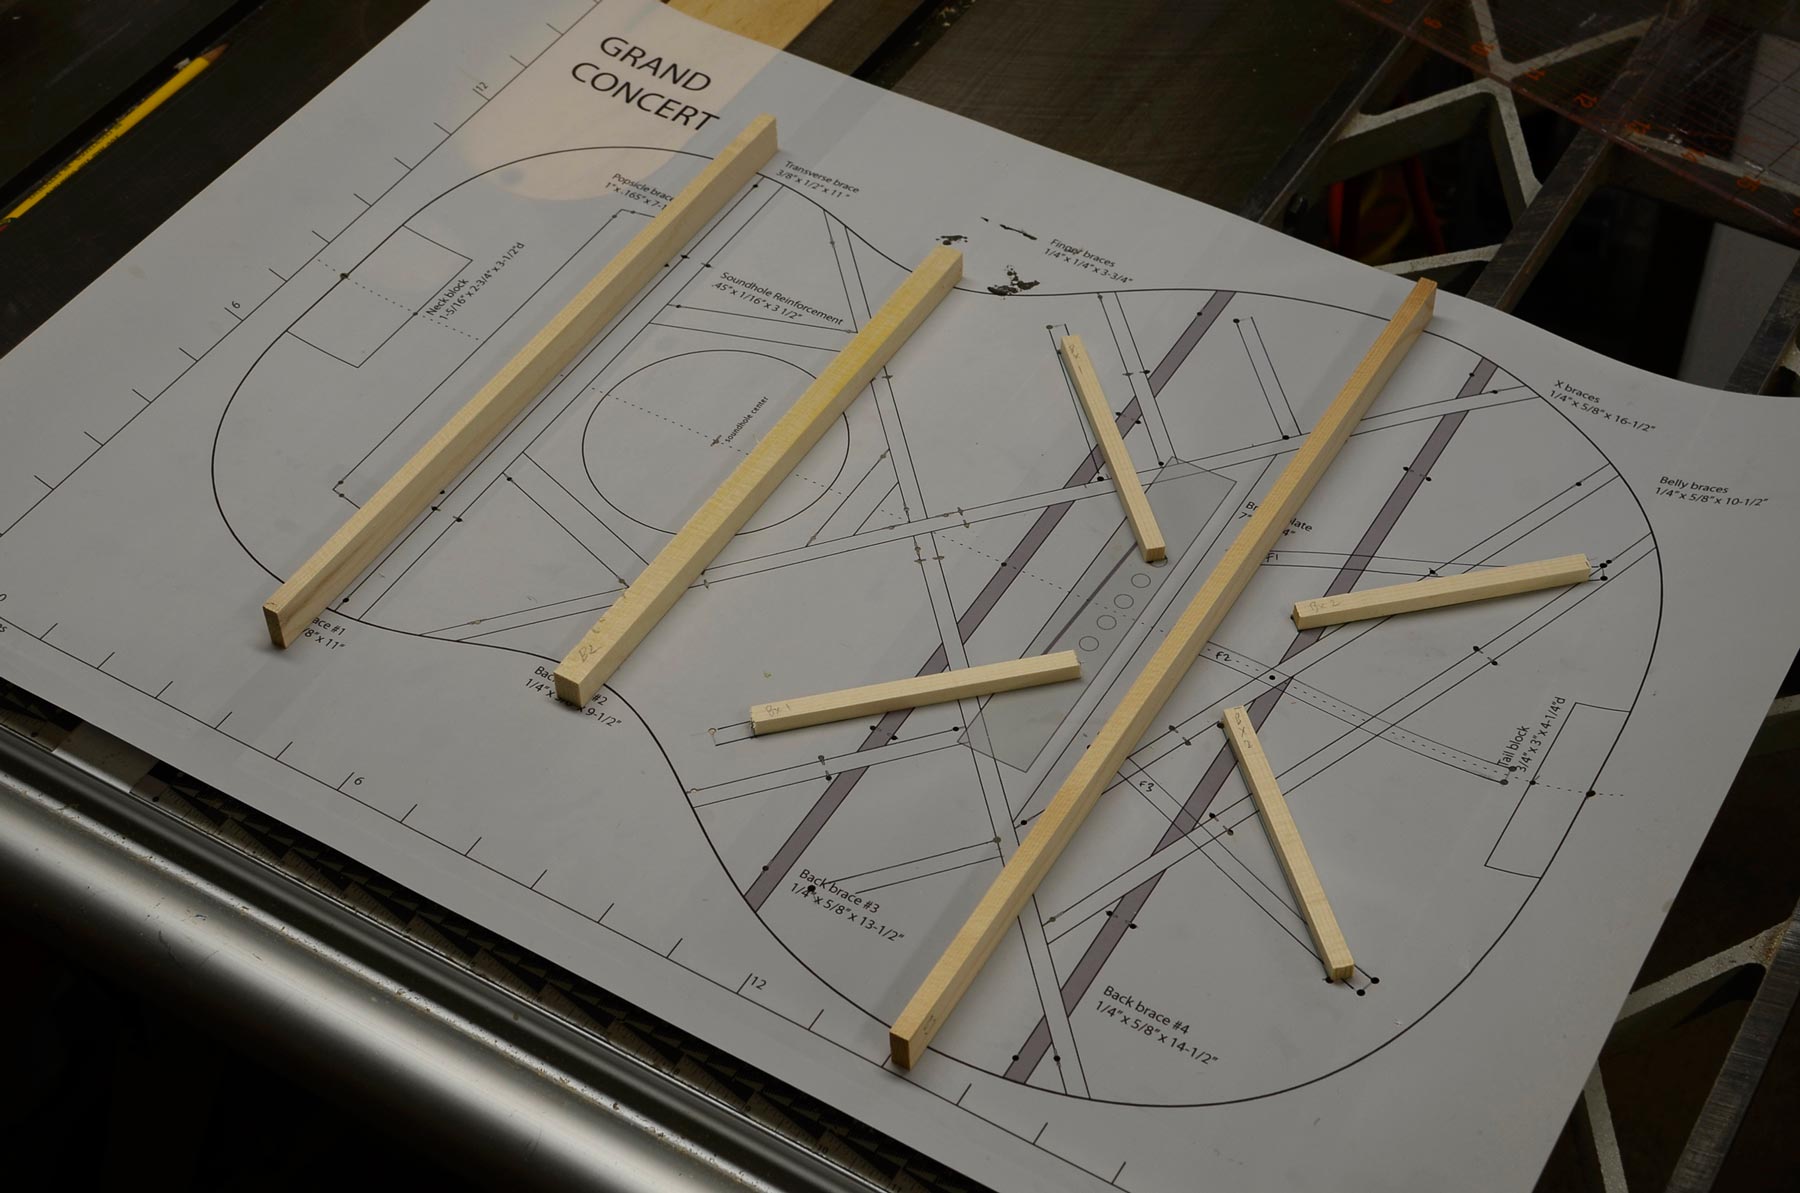
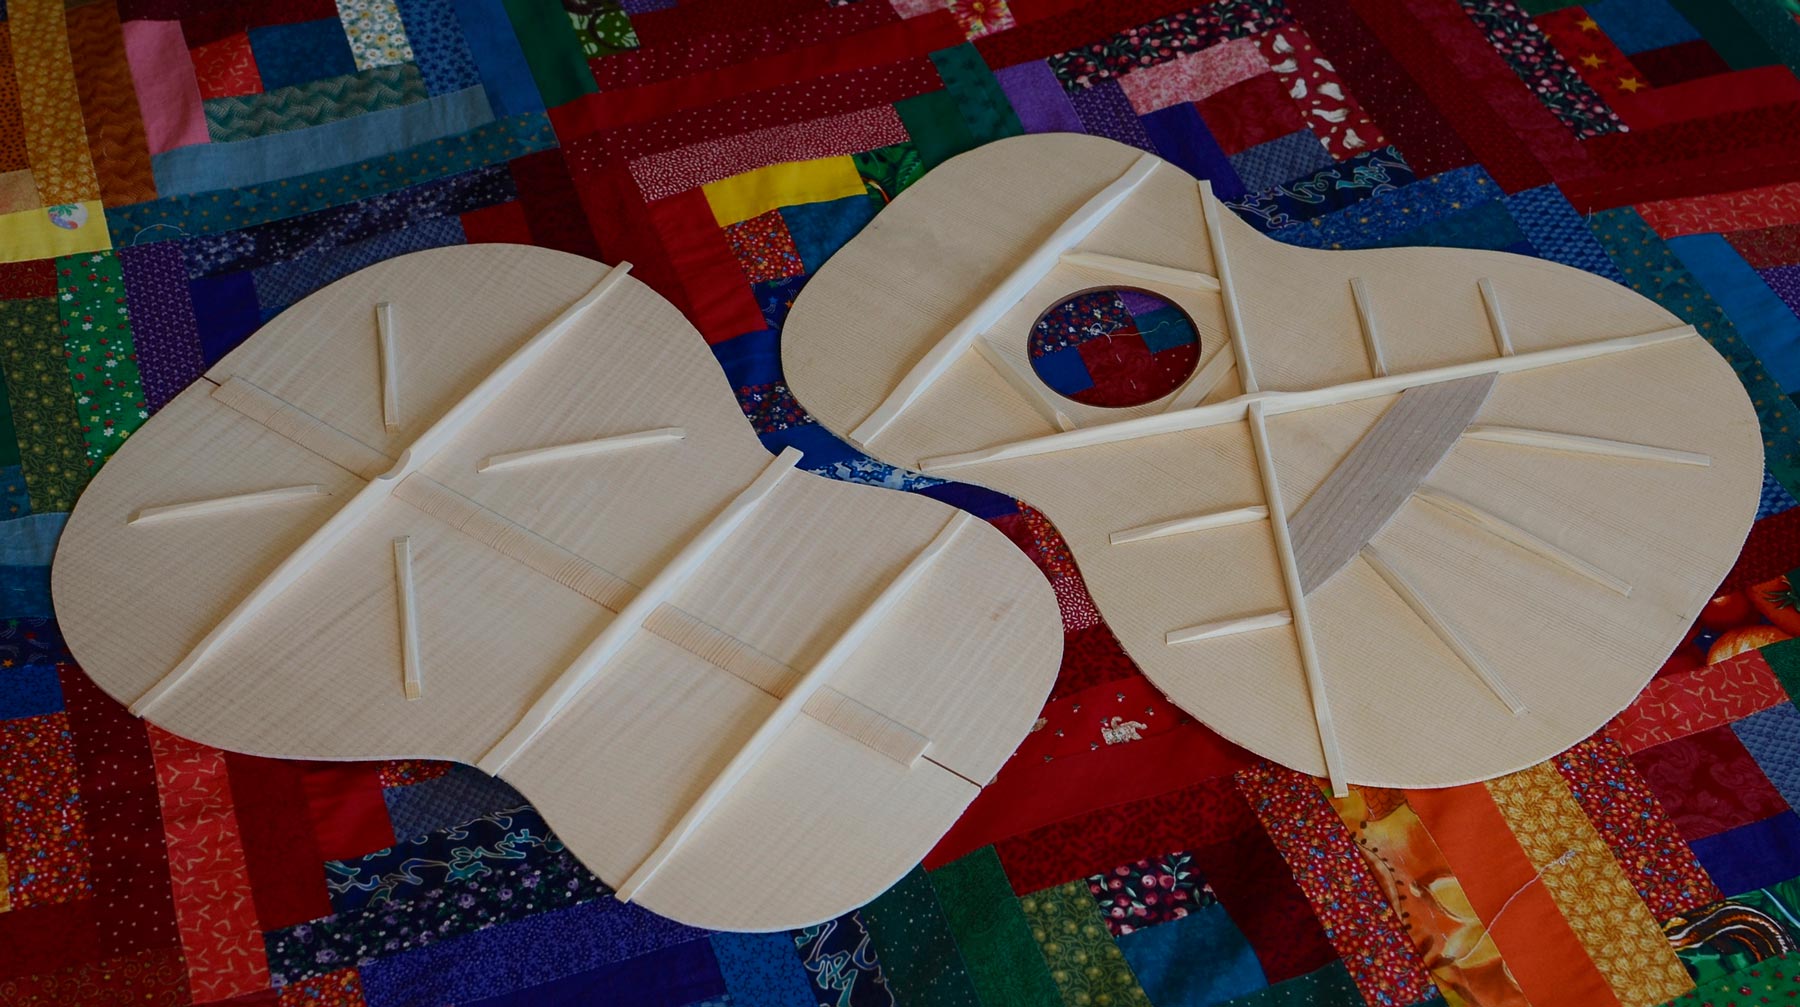
The top and back plate are braced and ready for assembly.
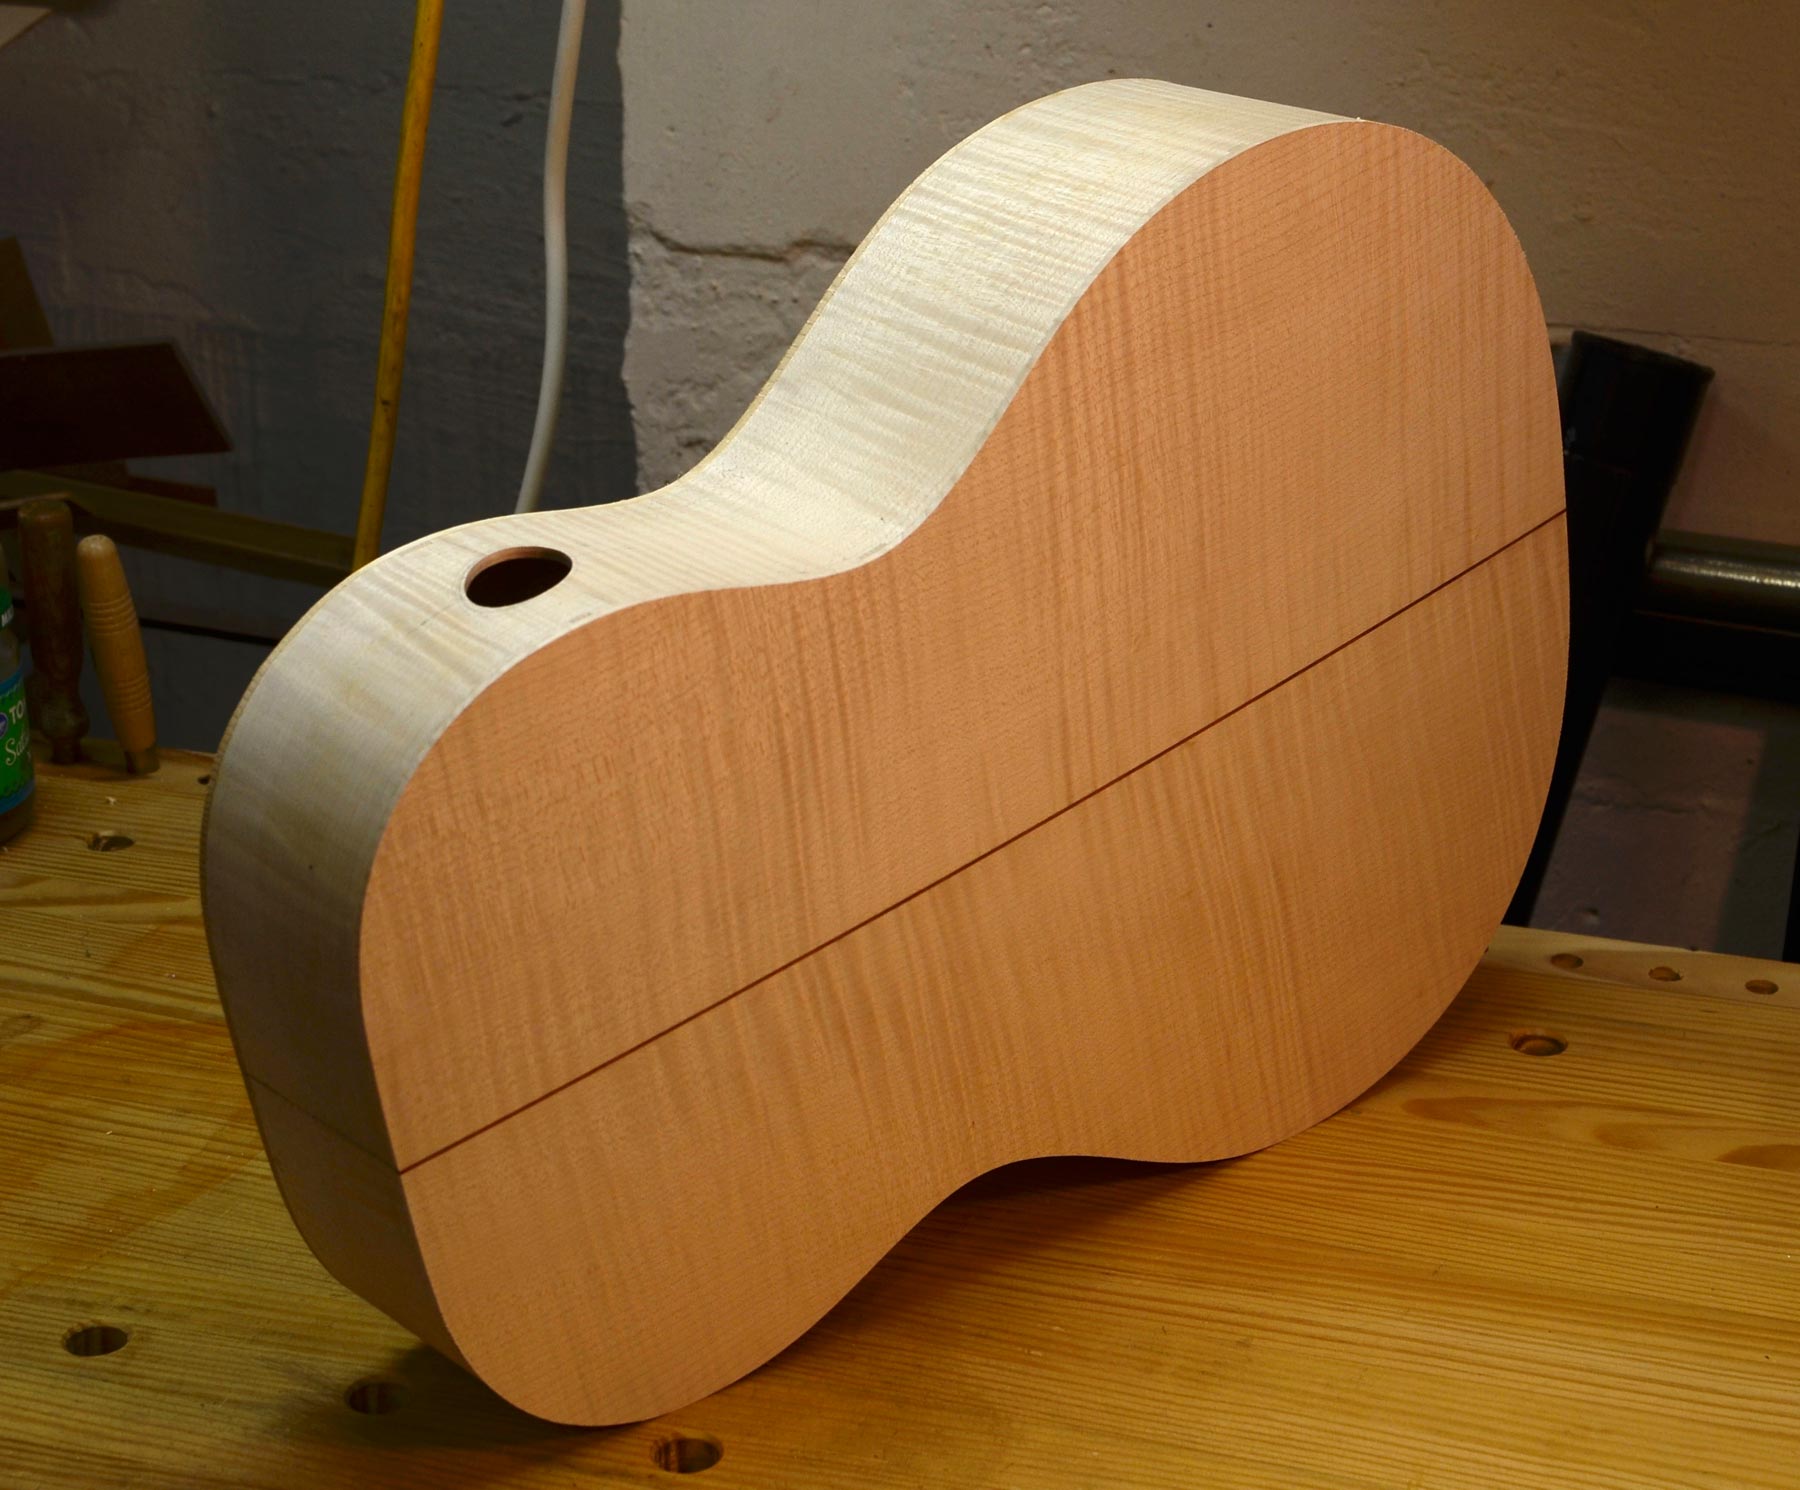
The sycamore back is attached to the rim assembly first.
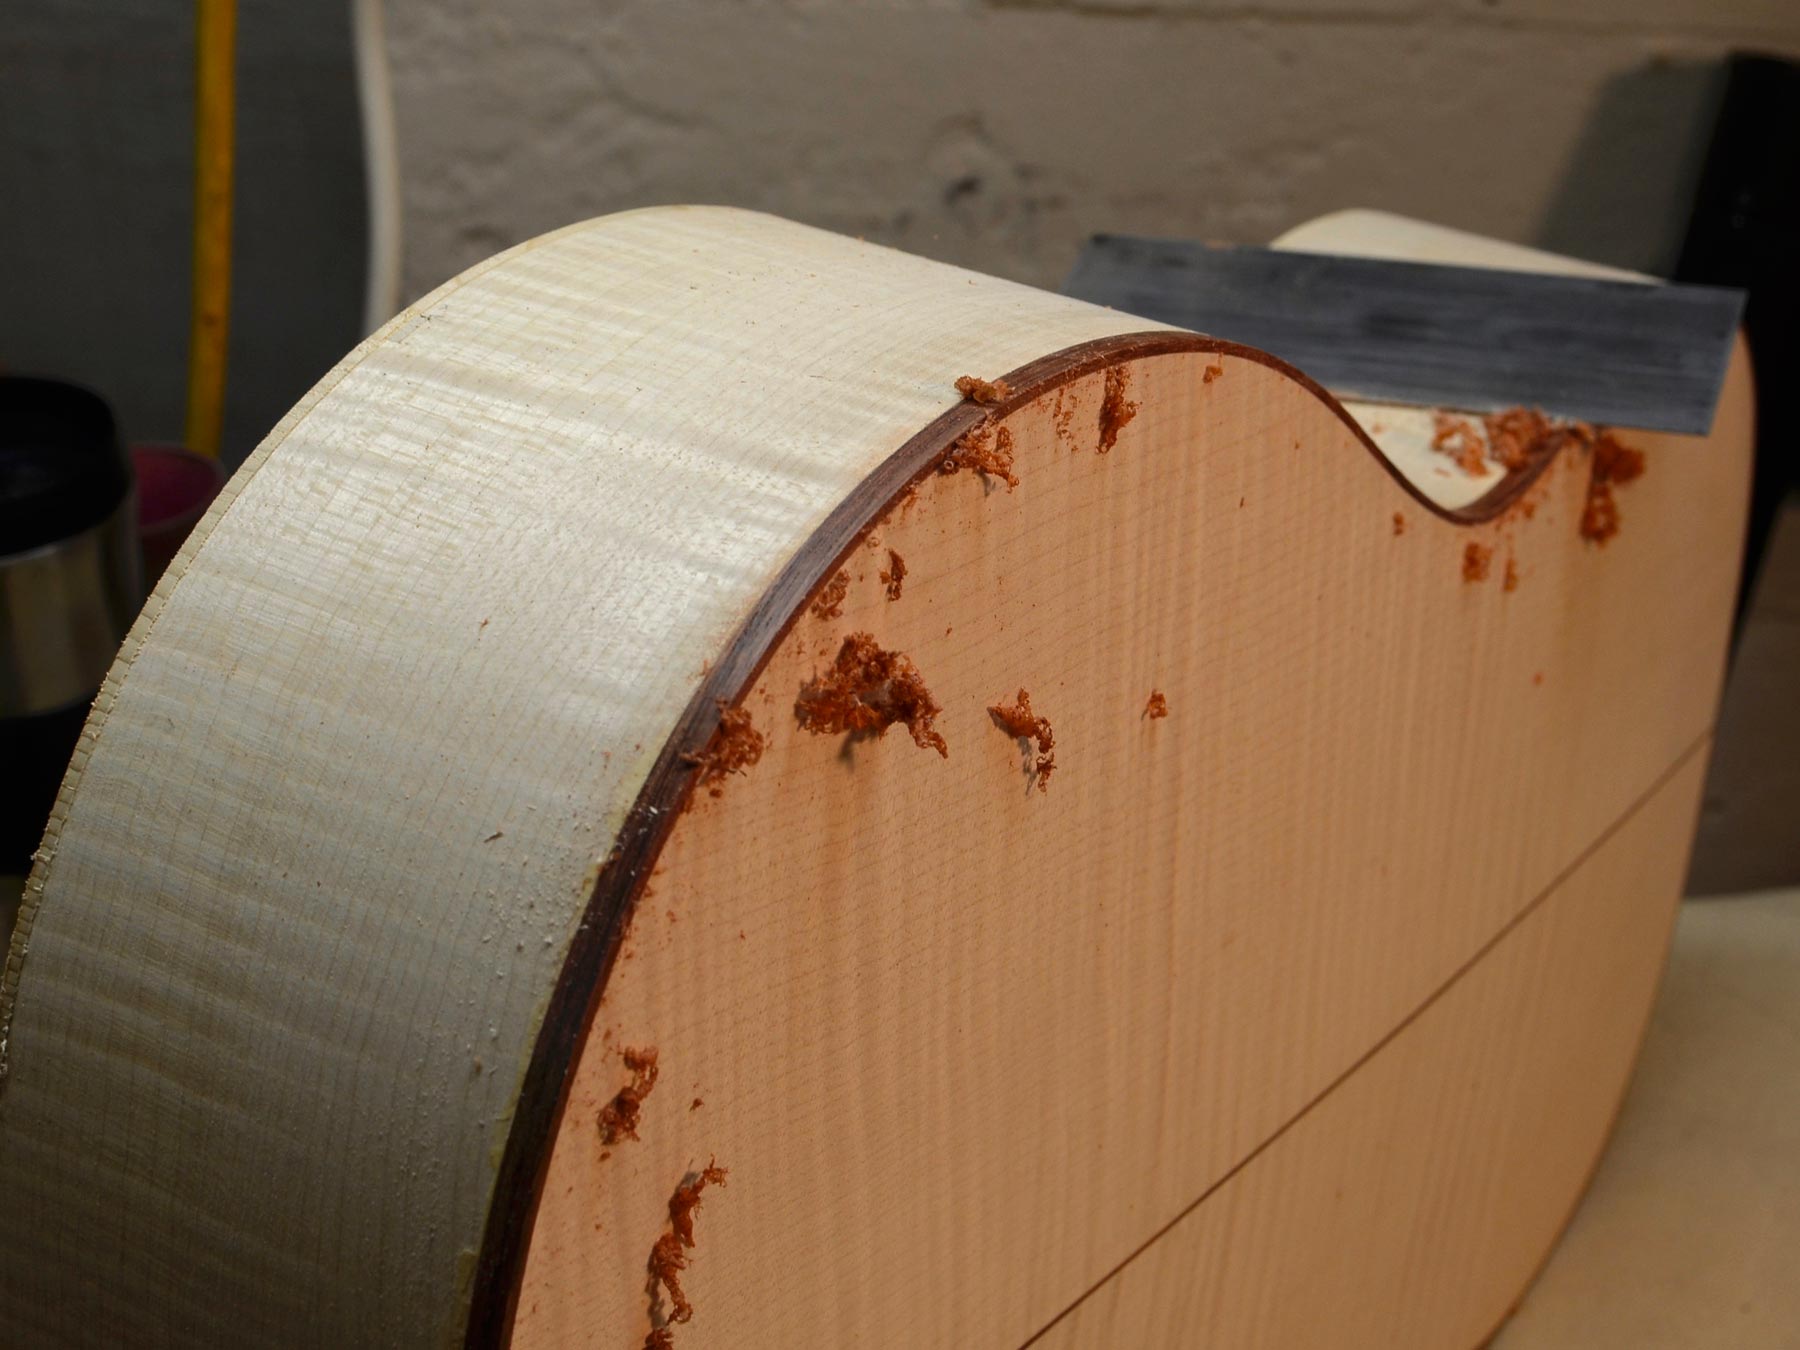
The channel for the back binding has been routed.
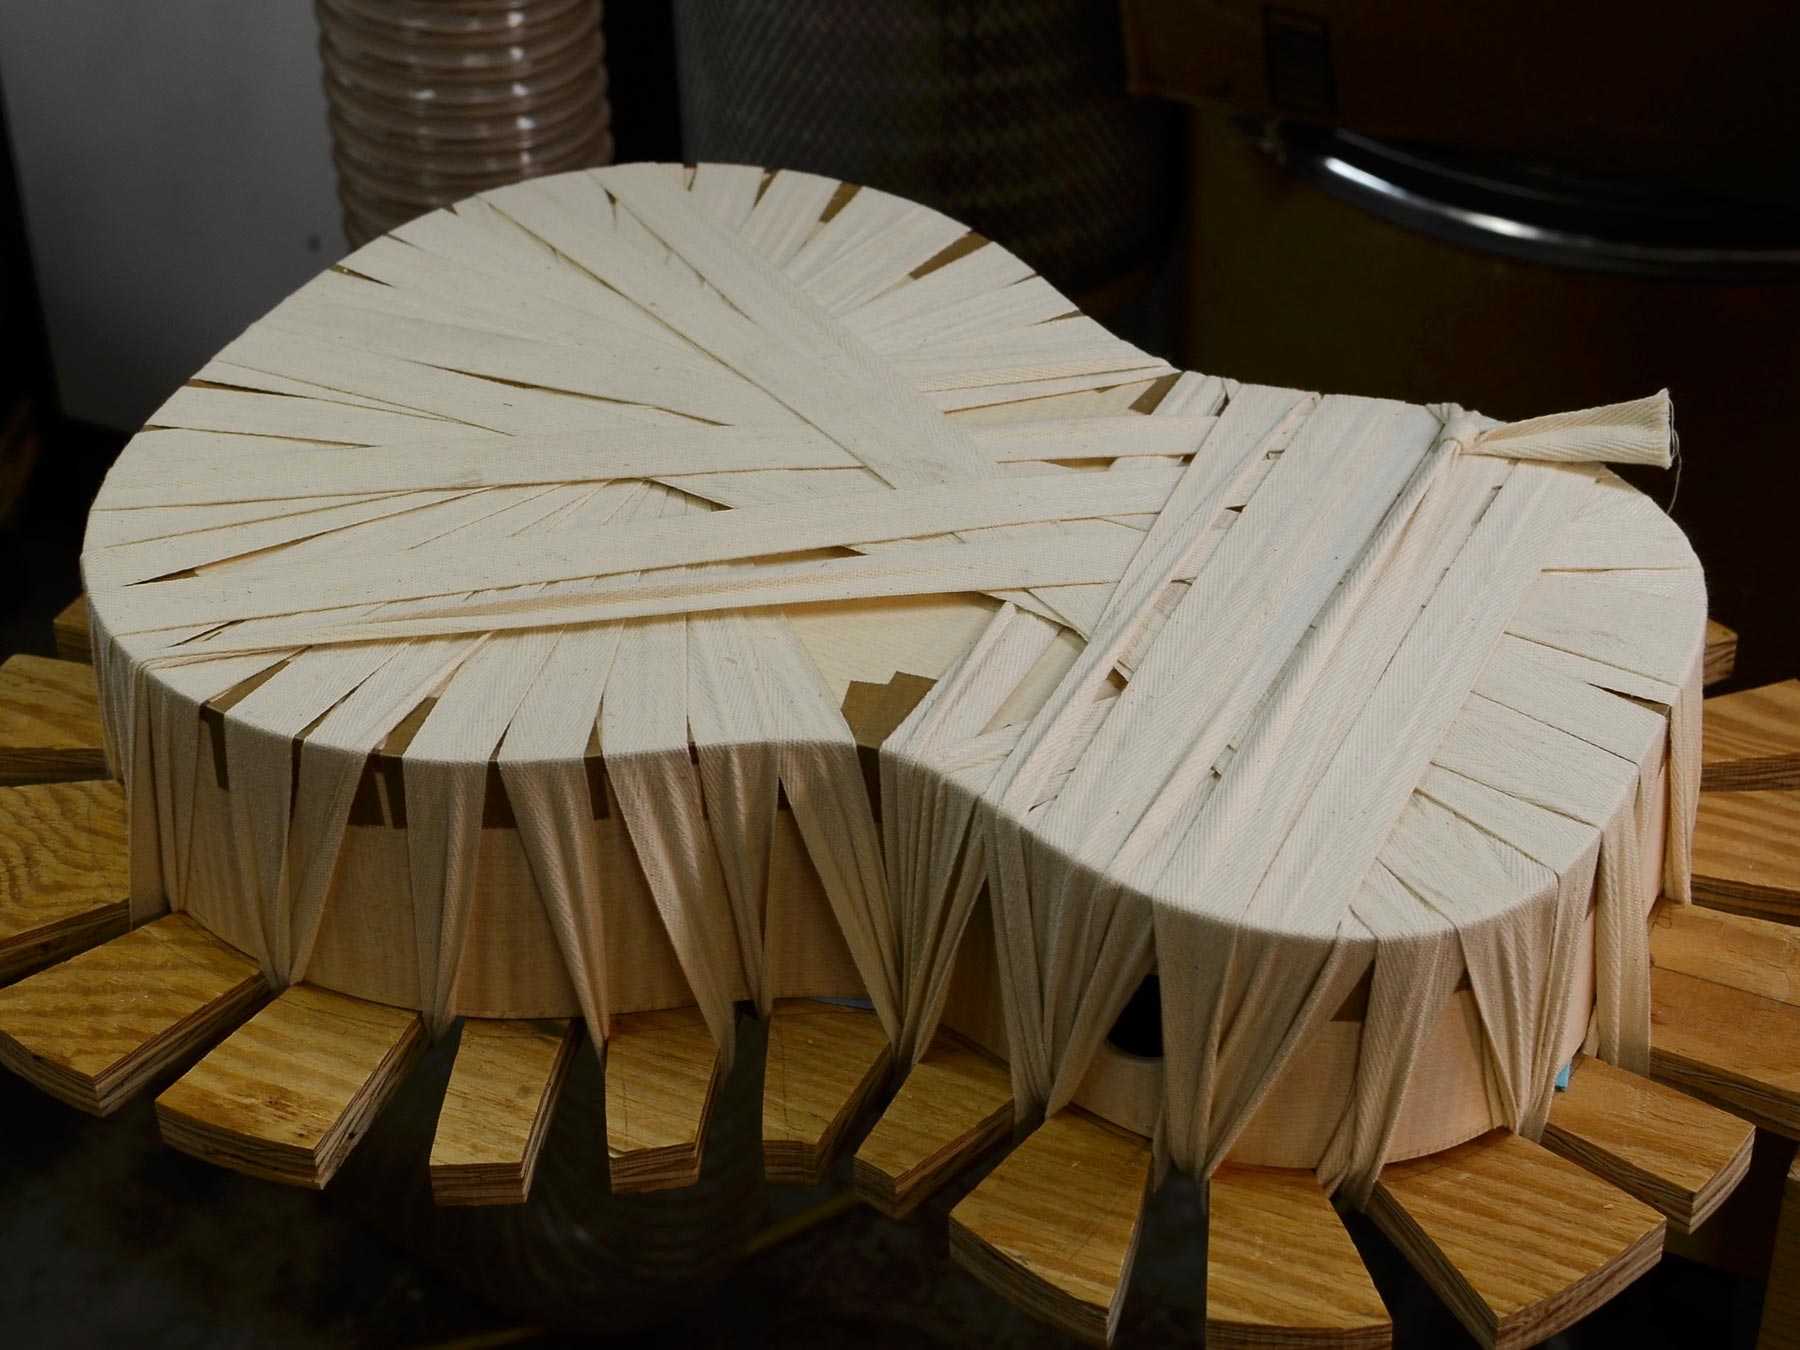
The binding and purfling need to be bent before attempting to install them.
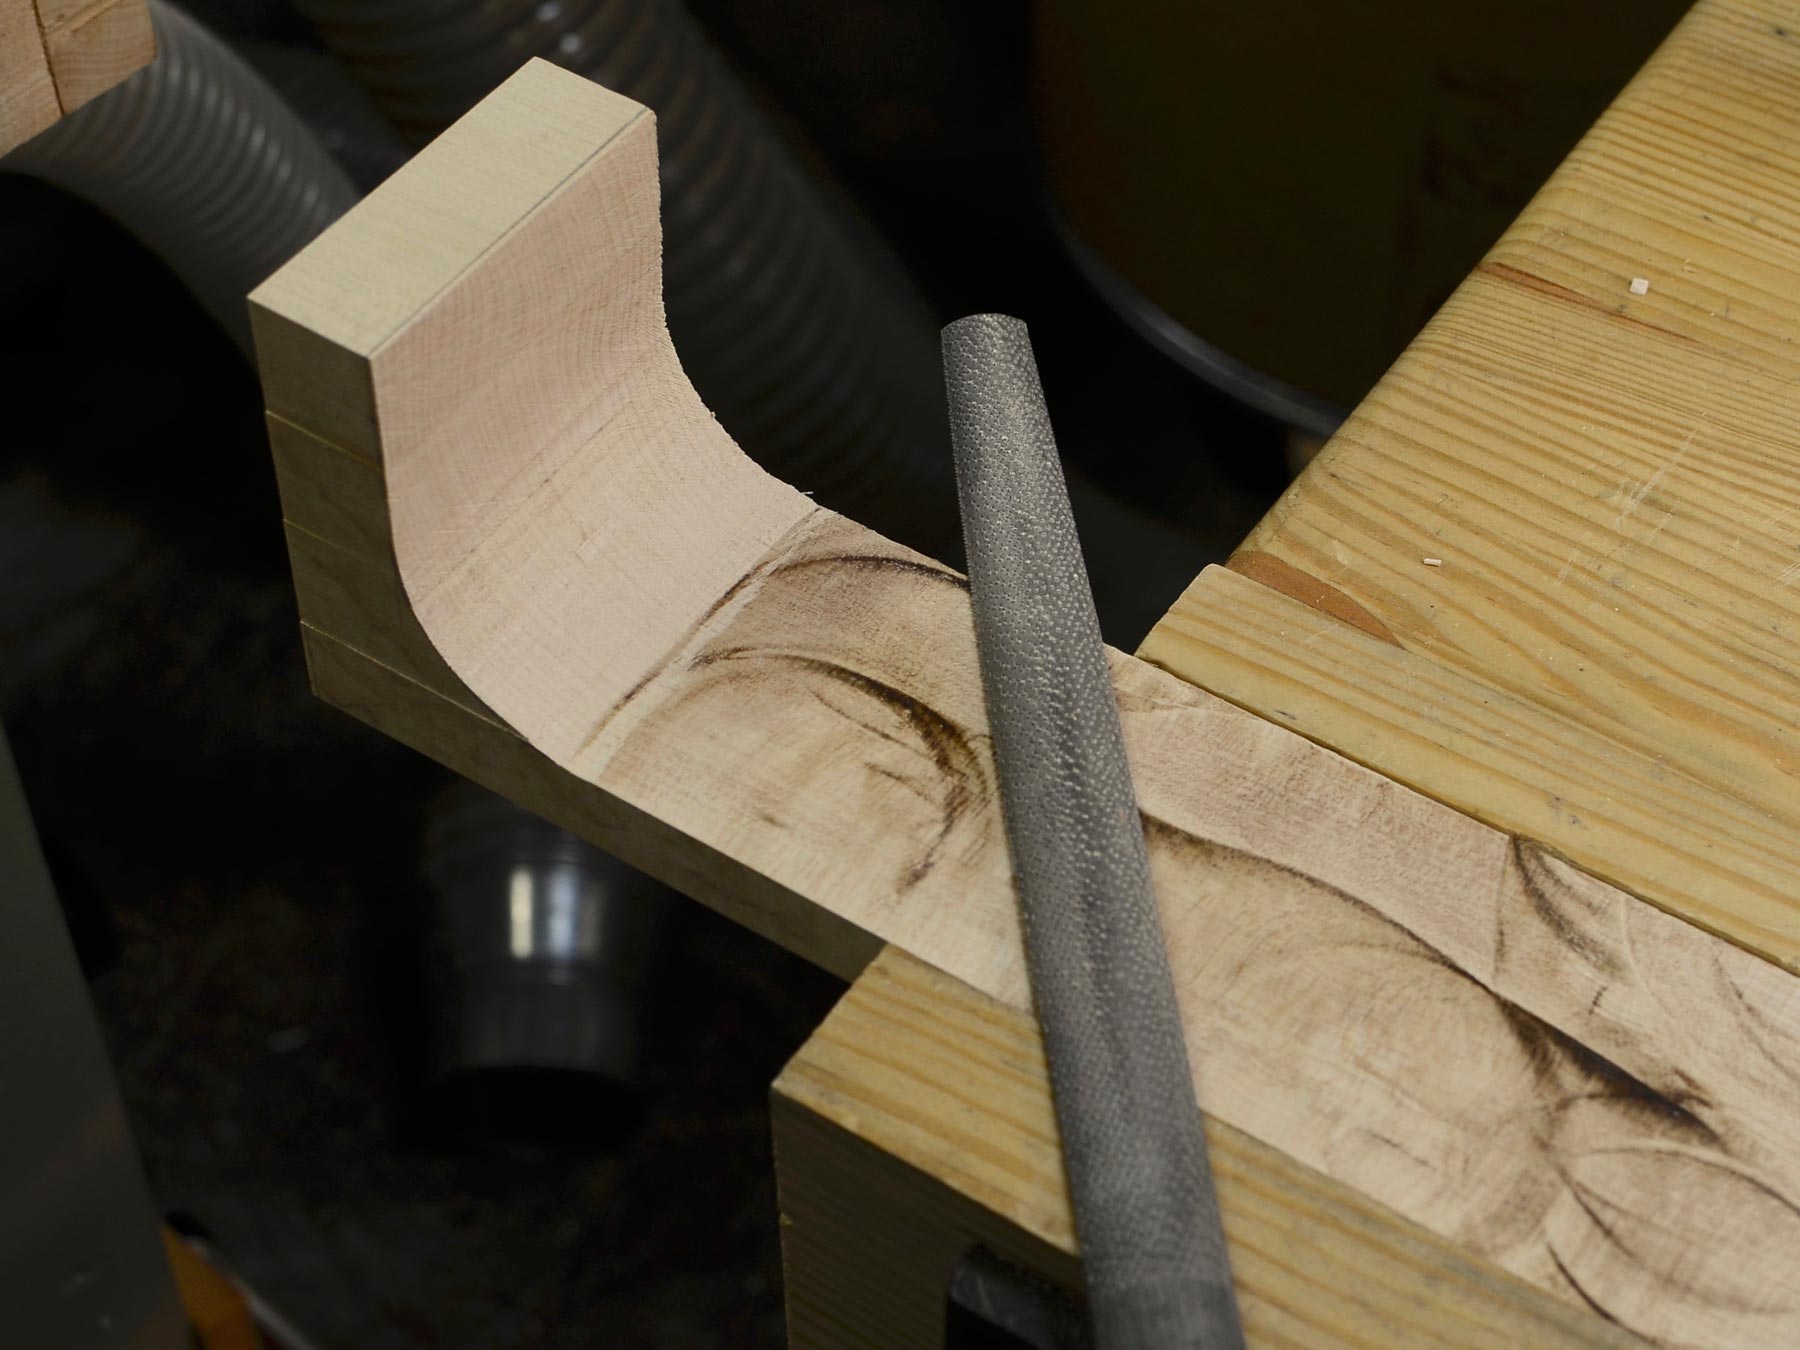
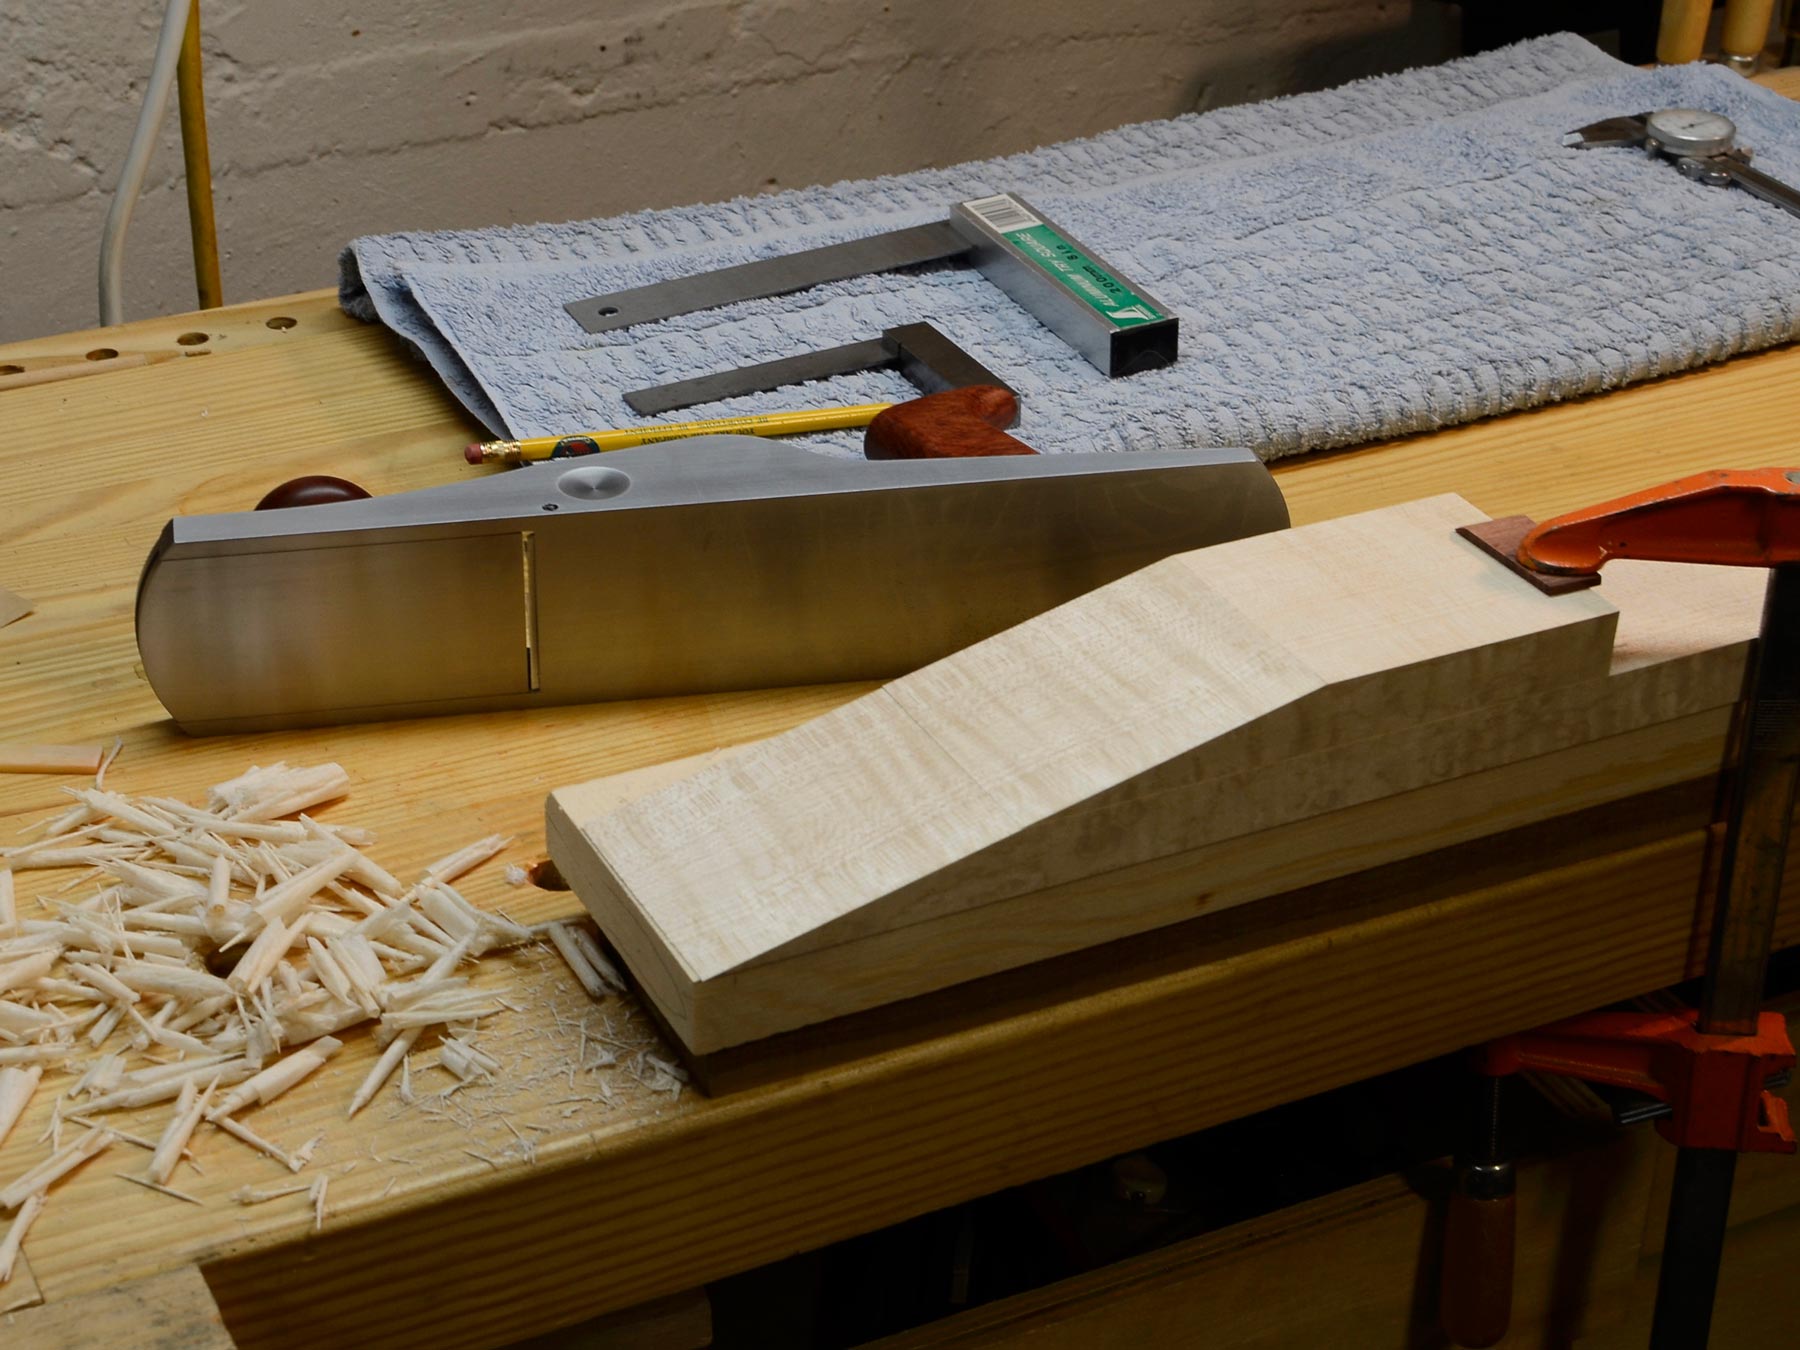
I work the neck with a spokeshave, forming facets that echo the general profile to be refined later by rasp.
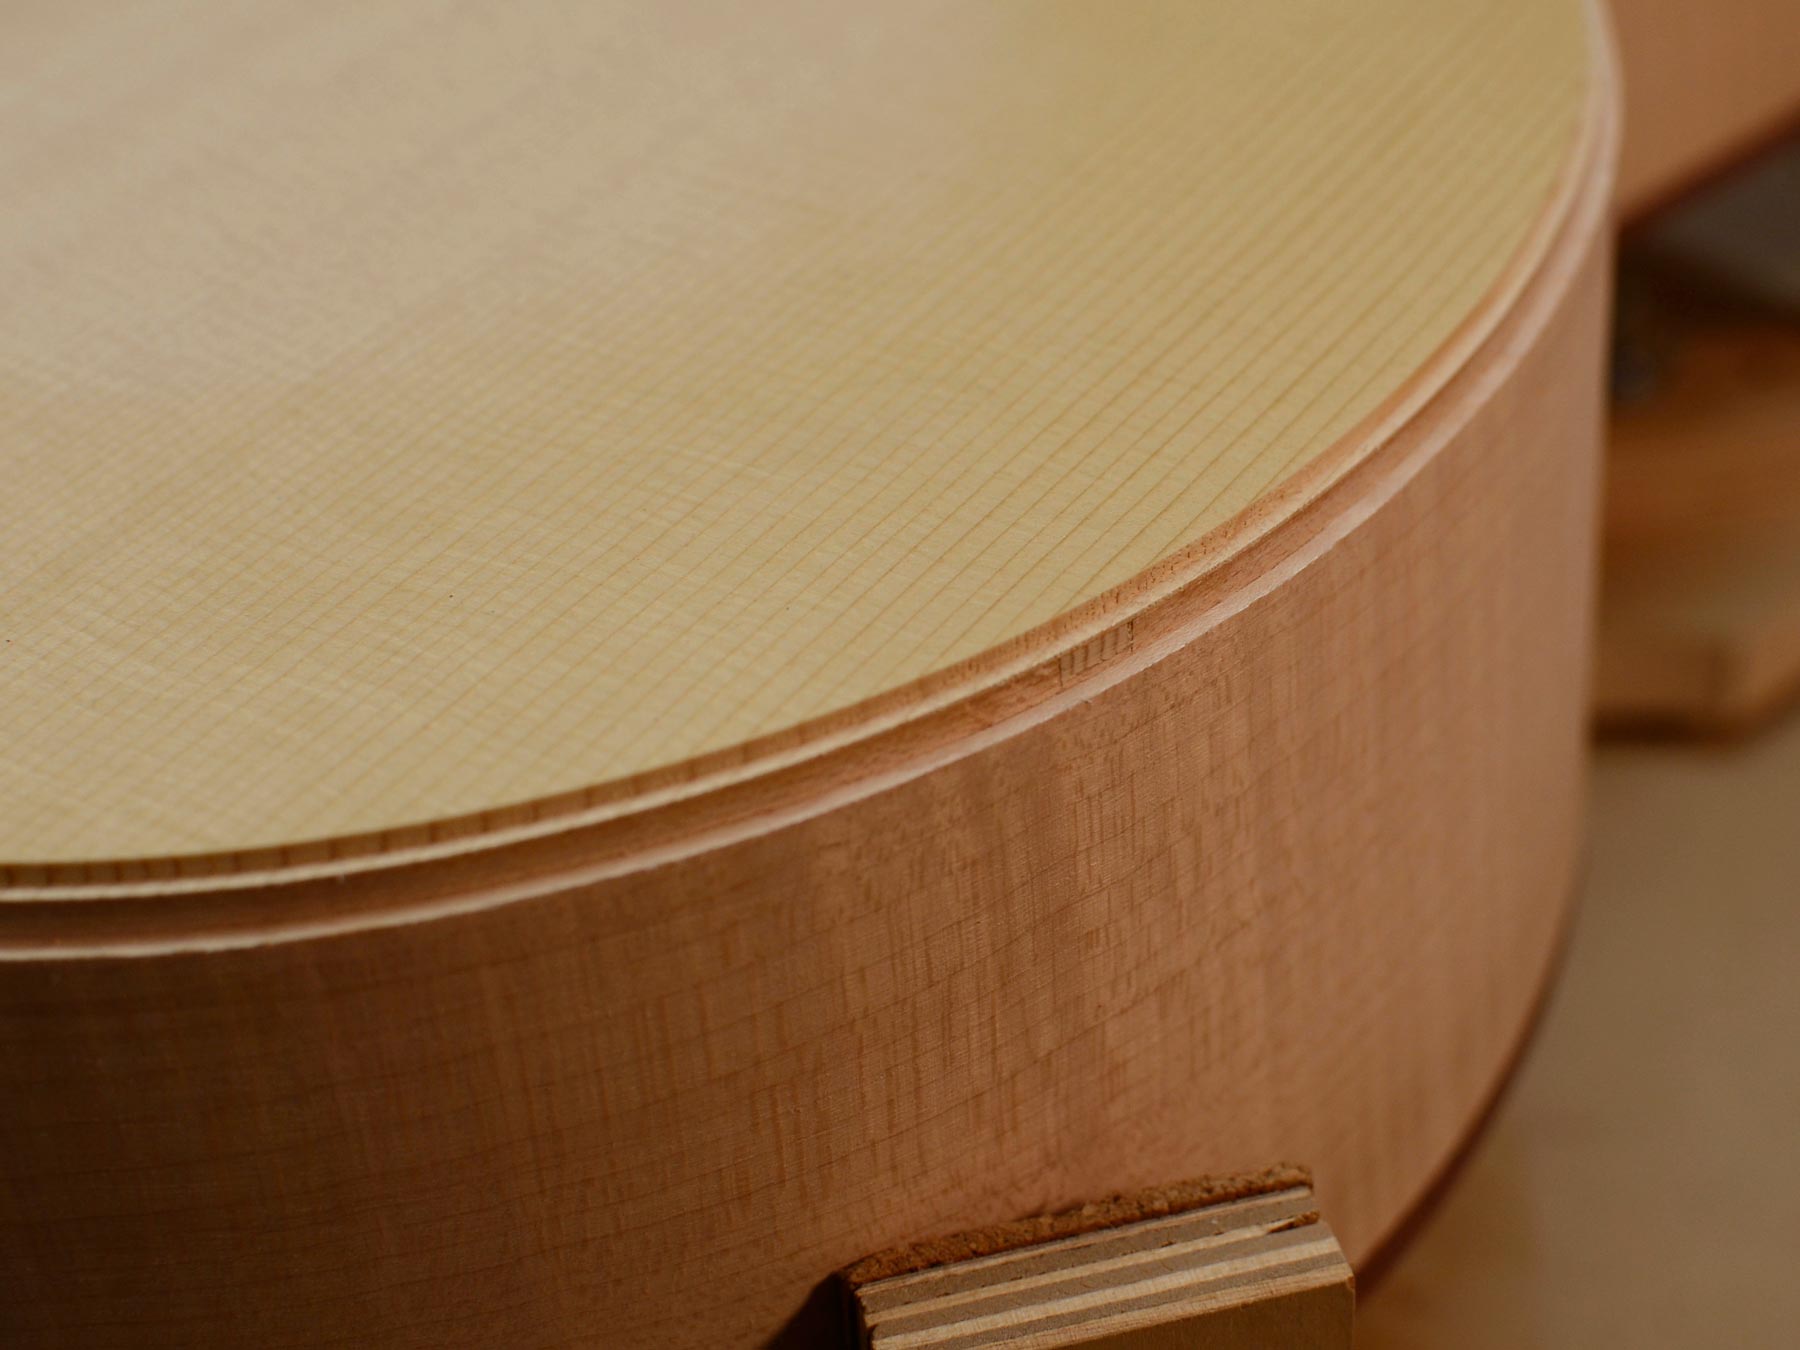
Binding and purfling have been installed and scraped flush. I’ve also cut the neck pocket.
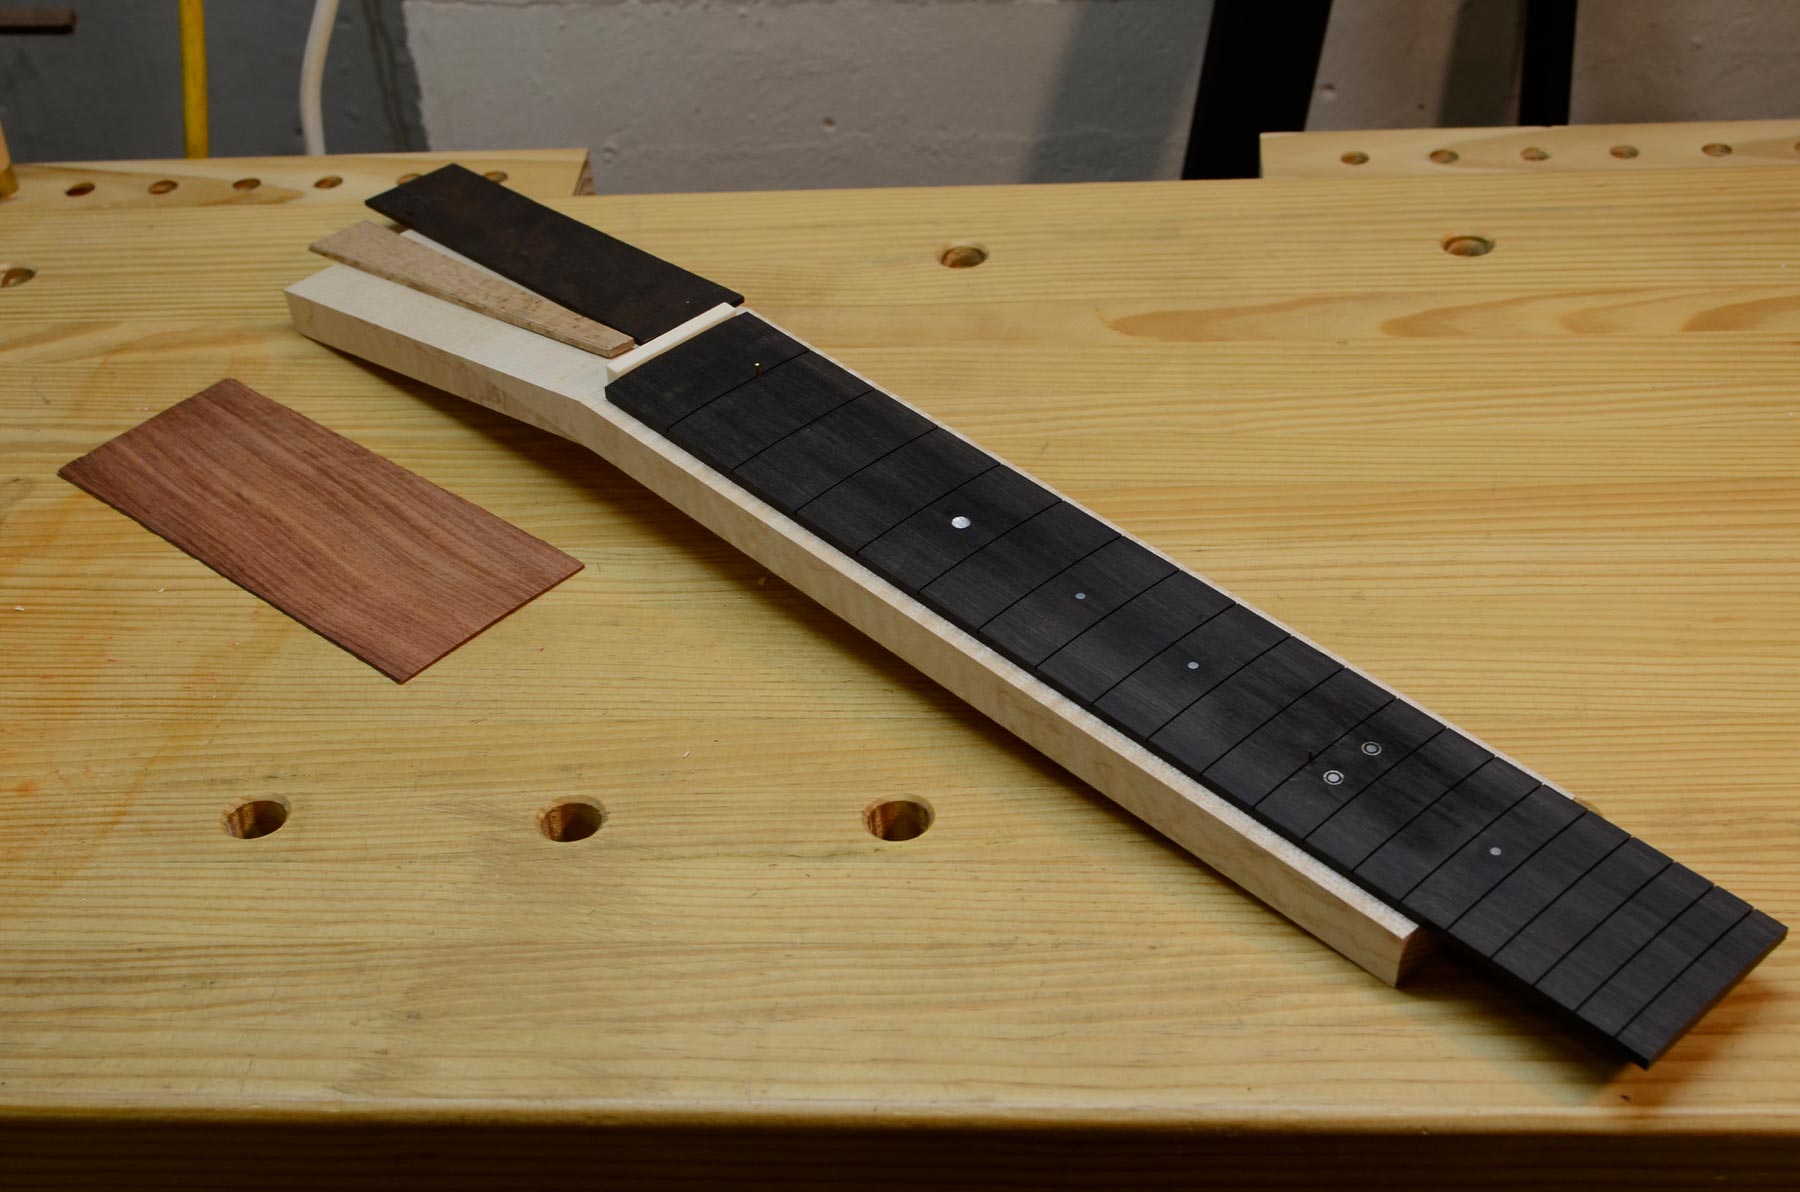
The neck has been fretted–I love the all-black look on this guitar..
I’ve slotted the headstock and shaped and sanded the transtions and overall shape.
All profiled and ready for finishing!
With a porous wood like sycamore, the first finishing step is filling the pores.
Pore filled applied and mostly sanded back to wood.
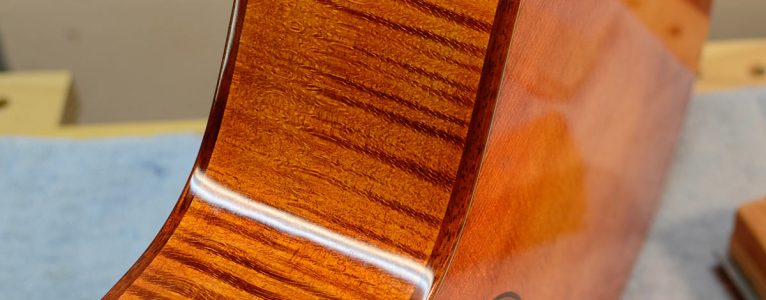
Next, the body is dyed and then sealed with shellac. The figure comes to life!
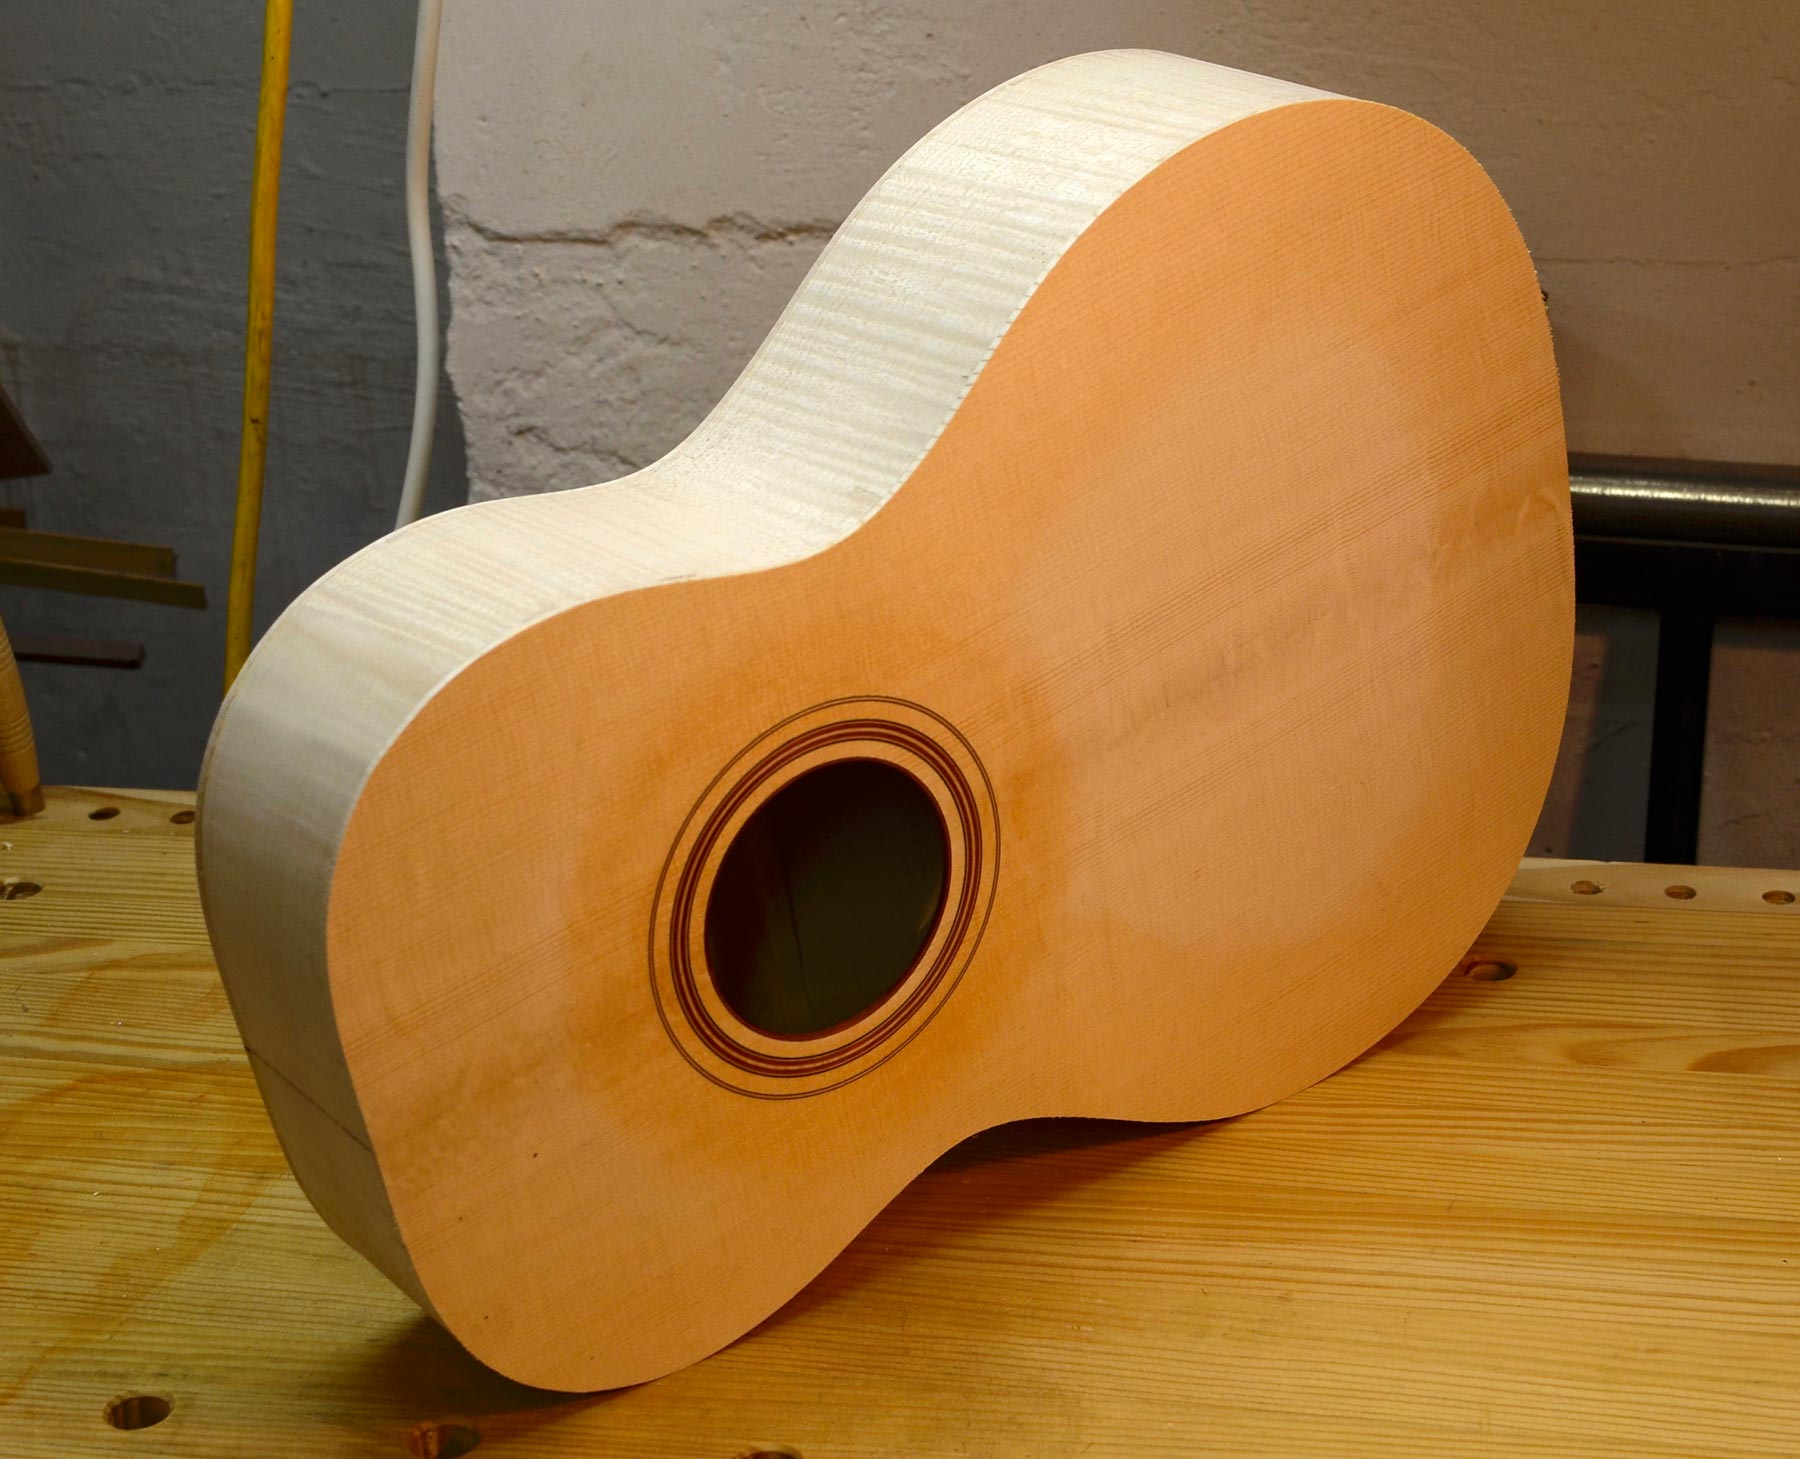
I’ve just begun work on a new 12-fret auditorium in American sycamore (from Callaway County, Missouri) and red (Adirondack) spruce. This guitar will feature laminated sides, an adjustable neck joint (adjustable from the inside of the guitar) and that wonderful snappy sound that sycamore provides. The aesthetic will be pure classic on this one: clean and simple rosette, binding, a slotted headstock, an African blackwood fingerboard and bridge and a warm brown finish.
The laminated sides are glued together in a vacuum bag.
Once the sides are laminated, they fit the form perfectly and show no springback.
The tail block is fitted to the inside of the rim.
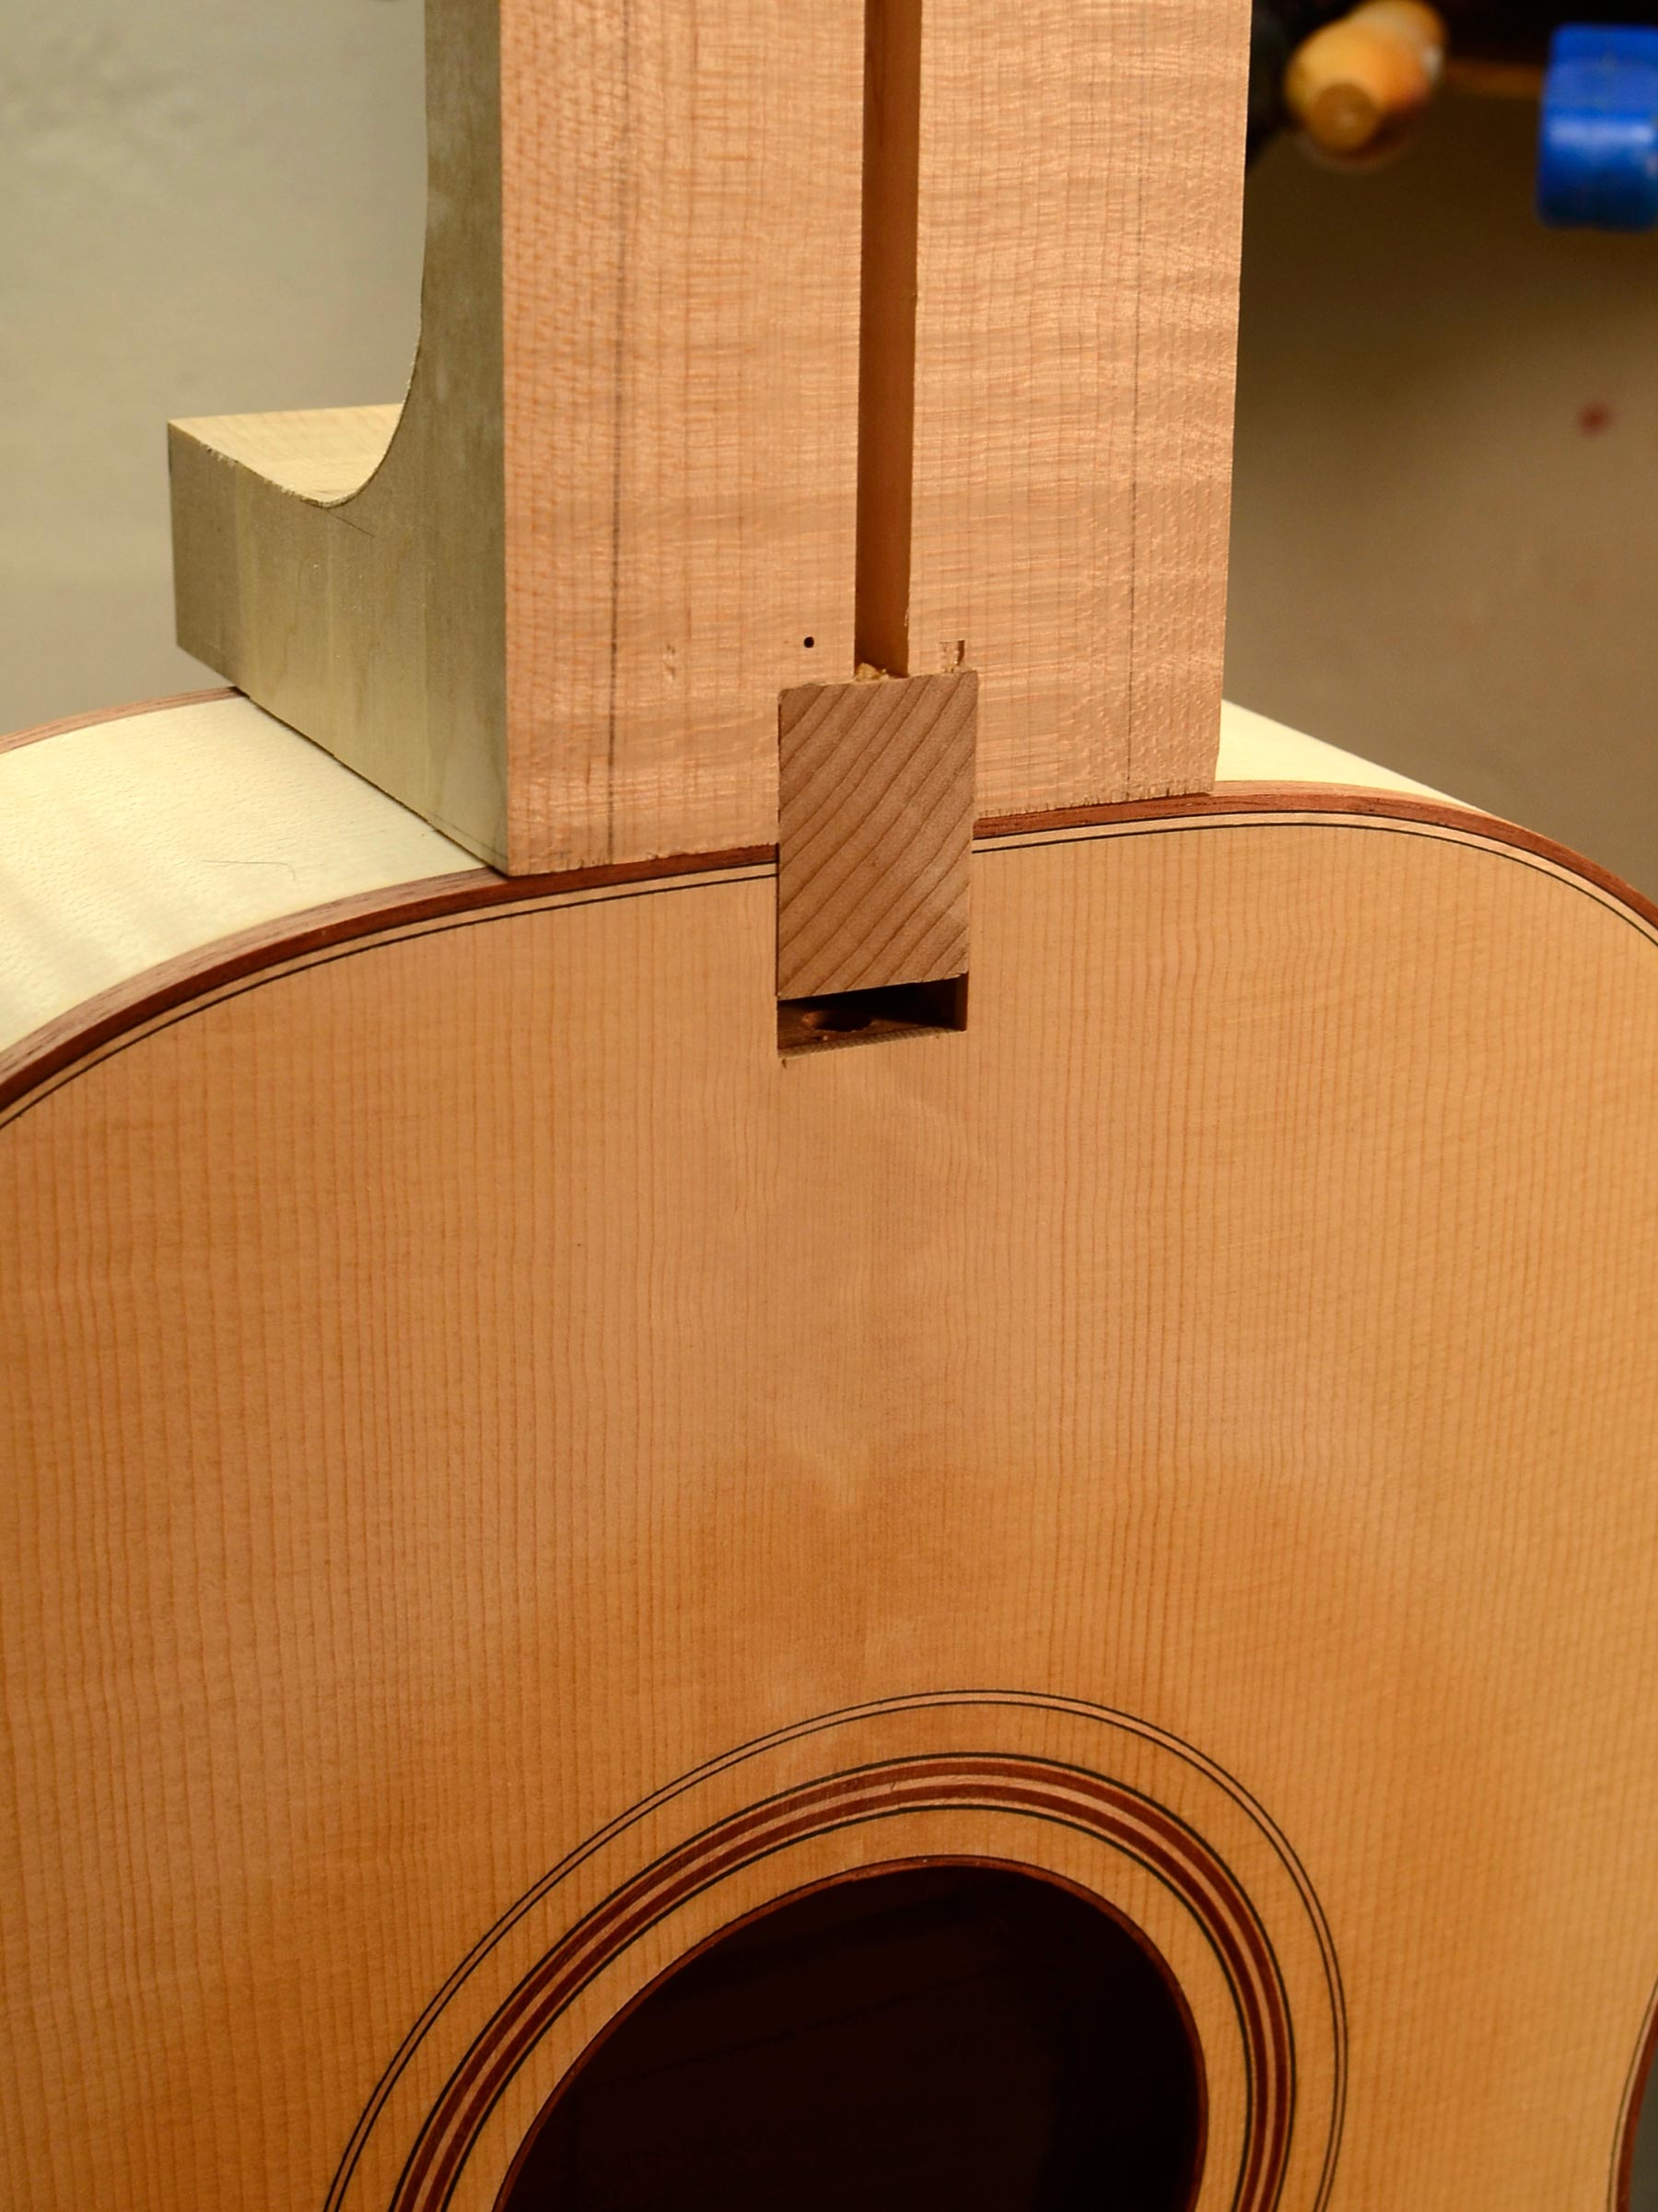
This neck block allows adjustment of the neck’s angle.
I’ve started using solid linings (basswood in this case). Two layers are bent to shape then glued in place.
The American sycamore back shows off its quarter sawn flecking.
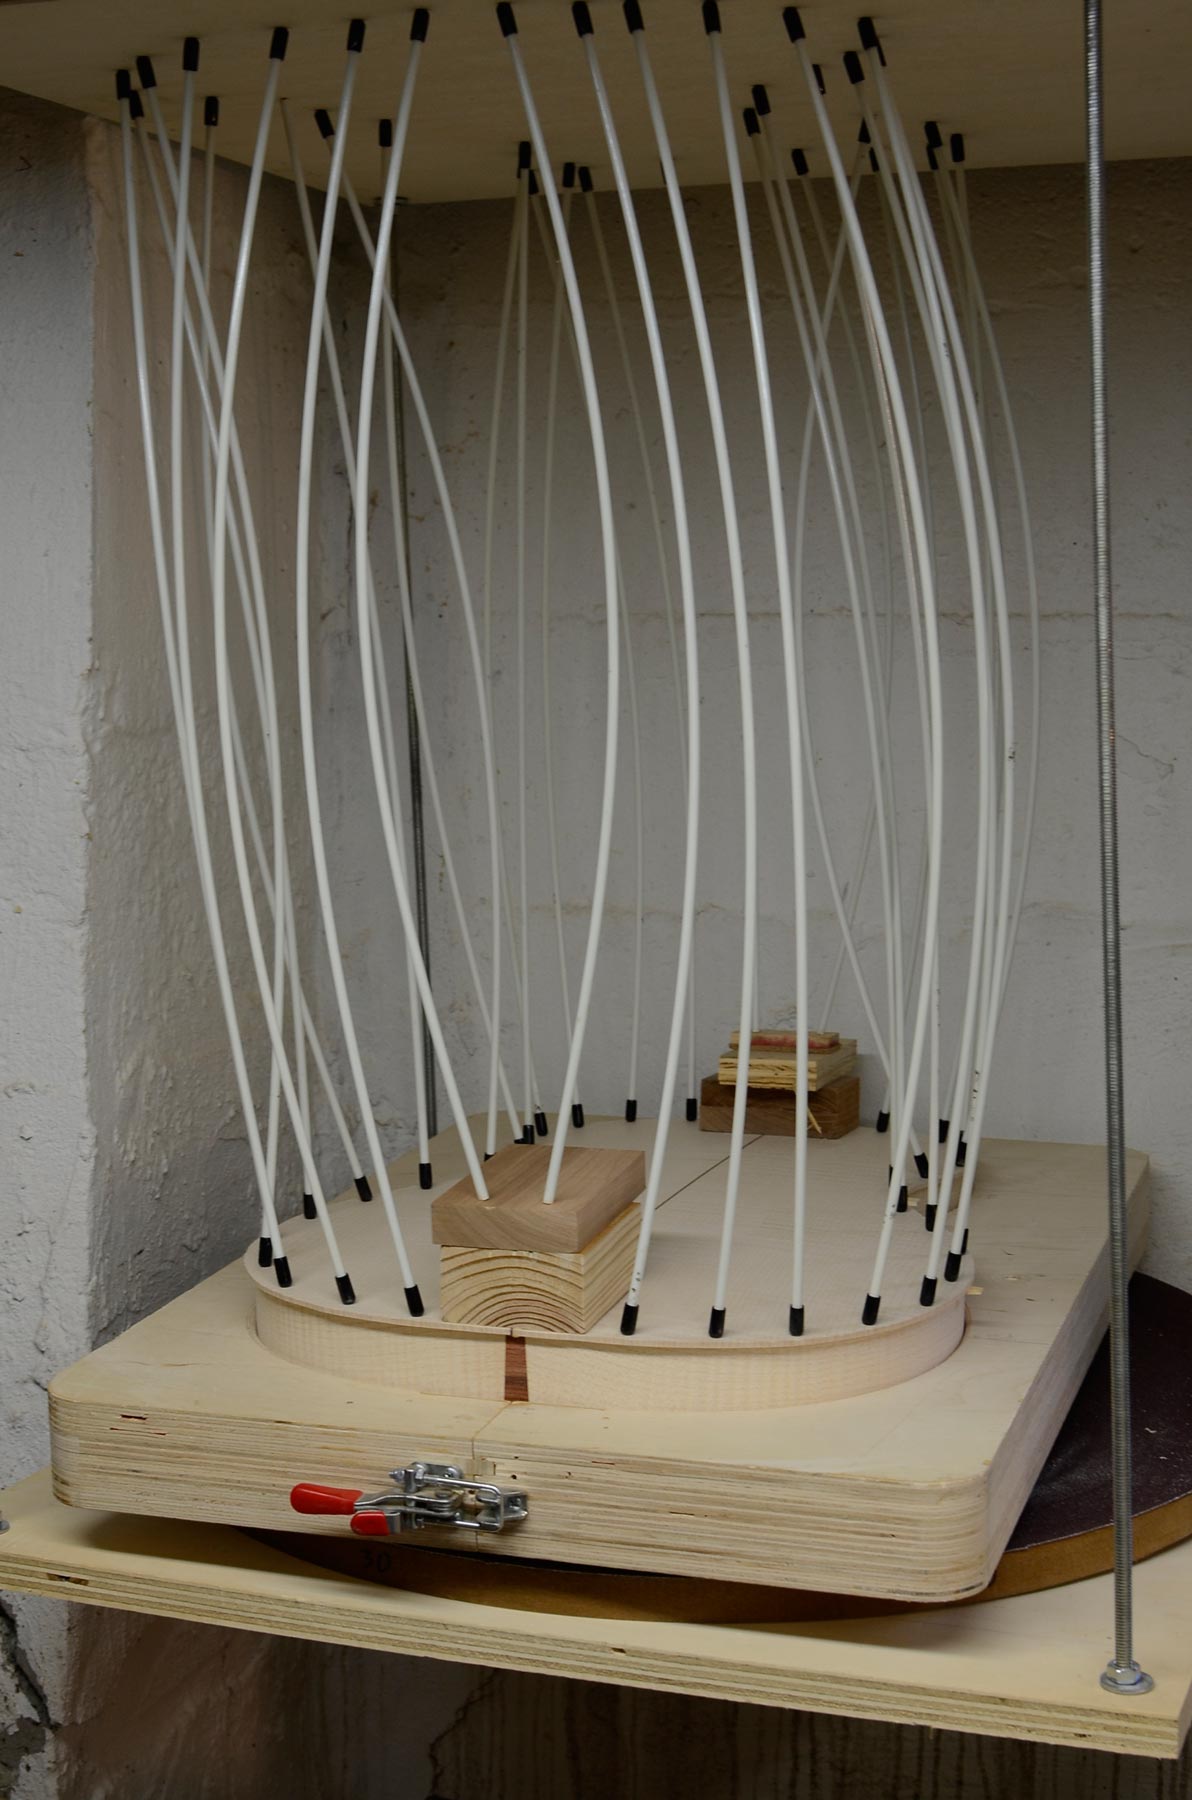
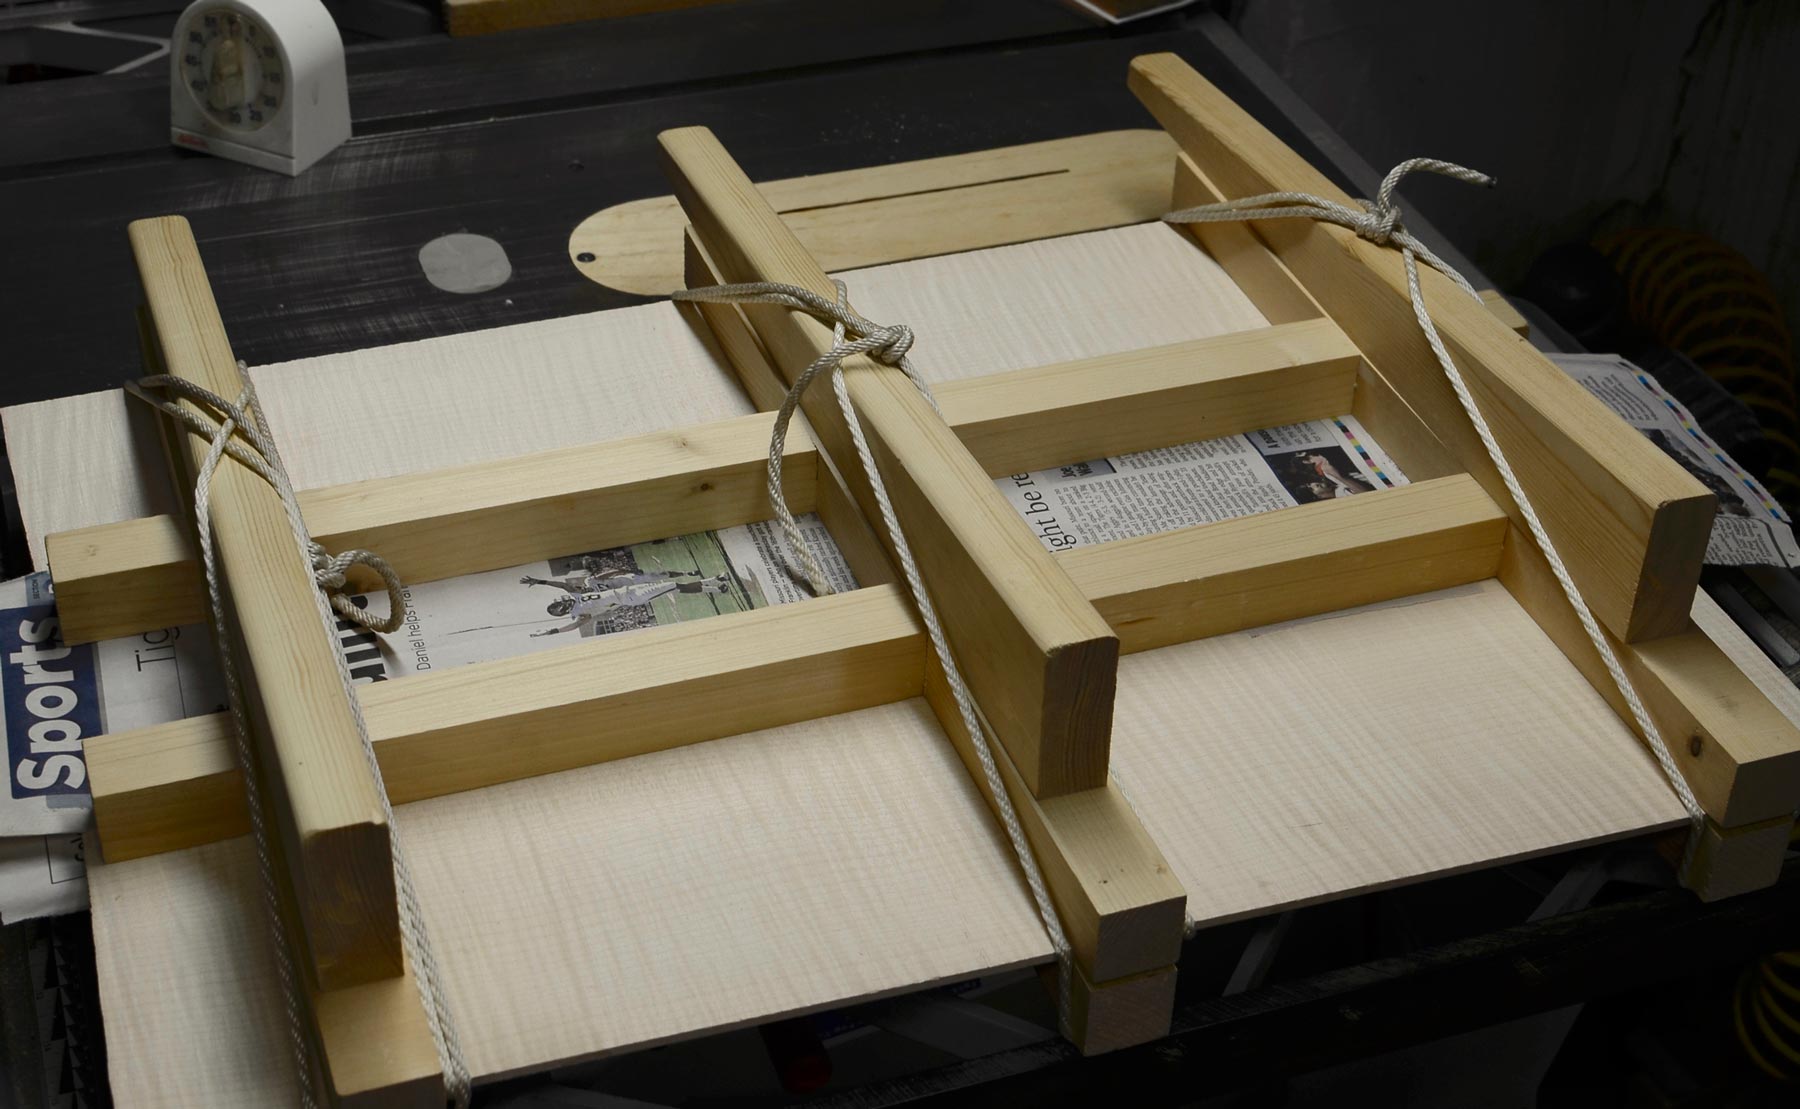
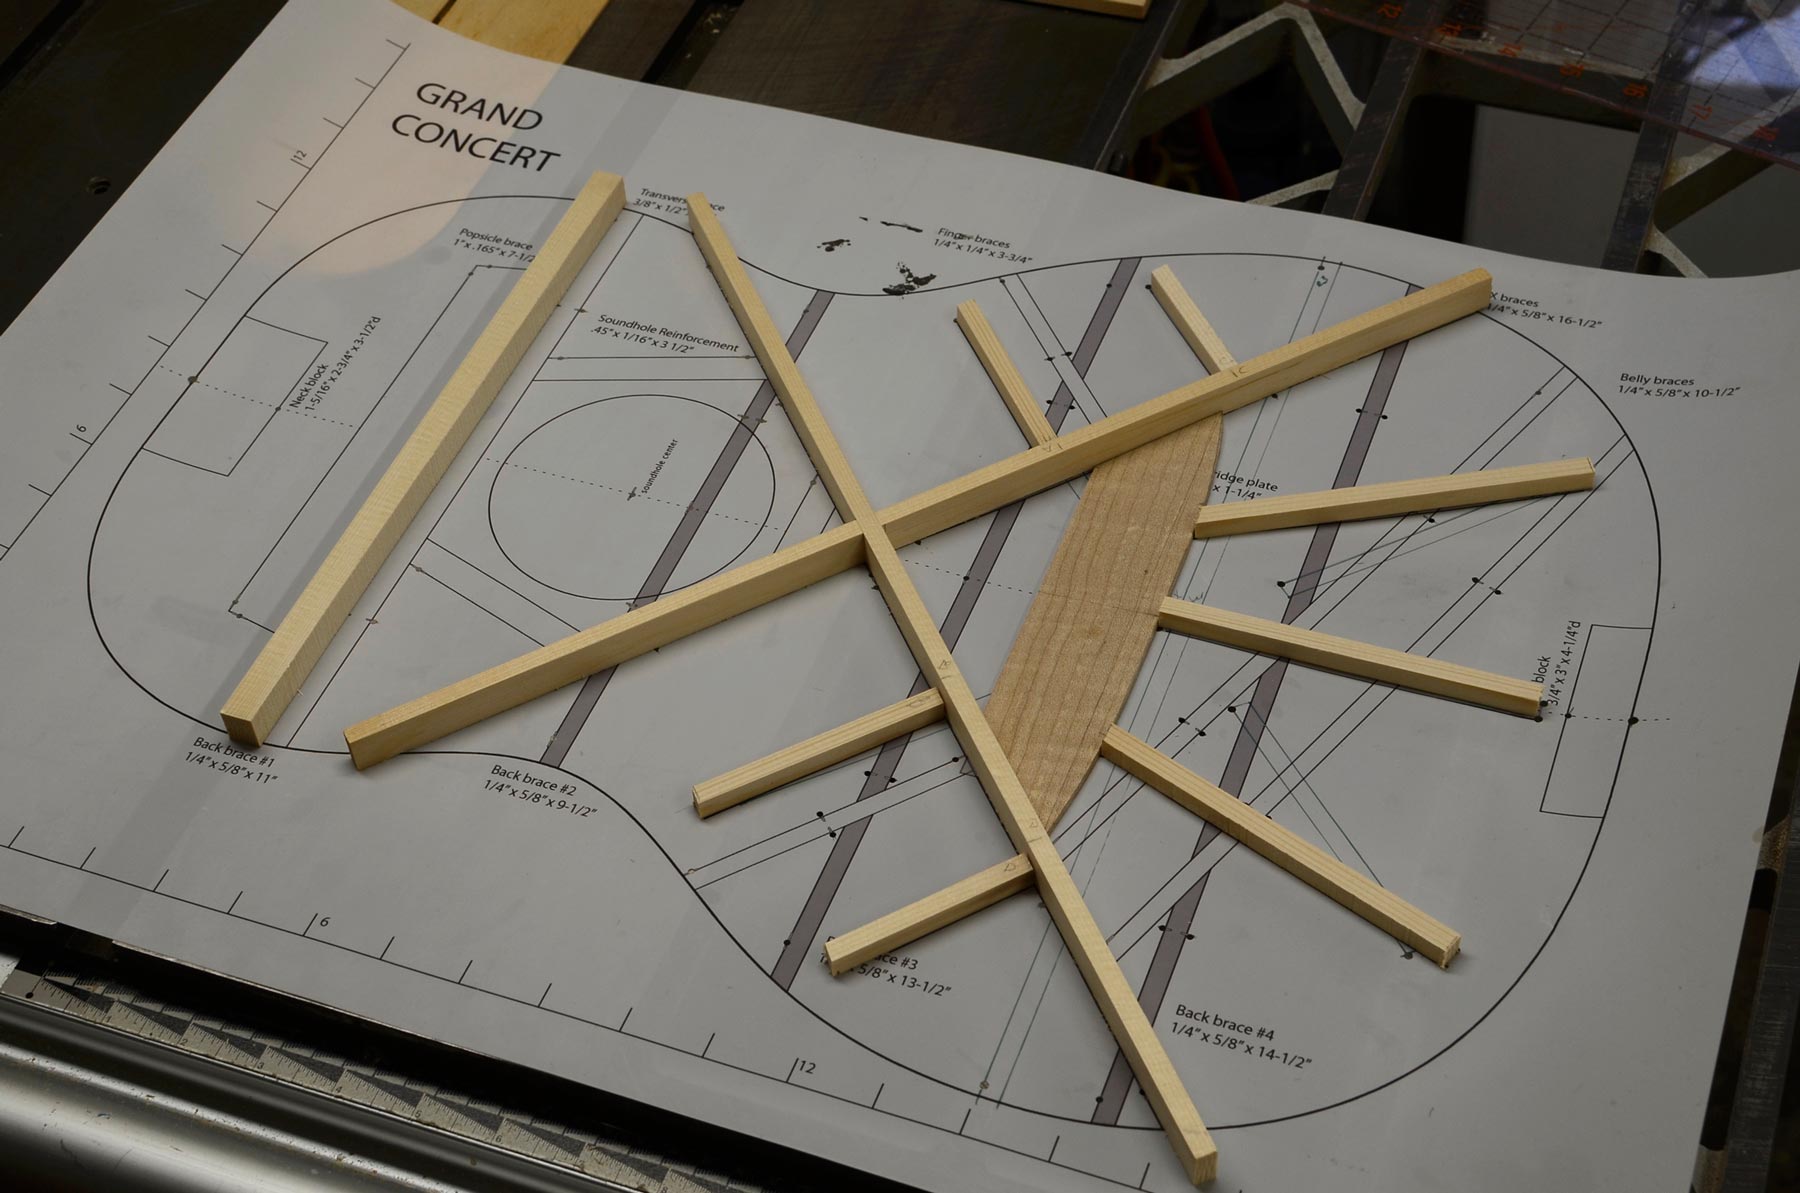
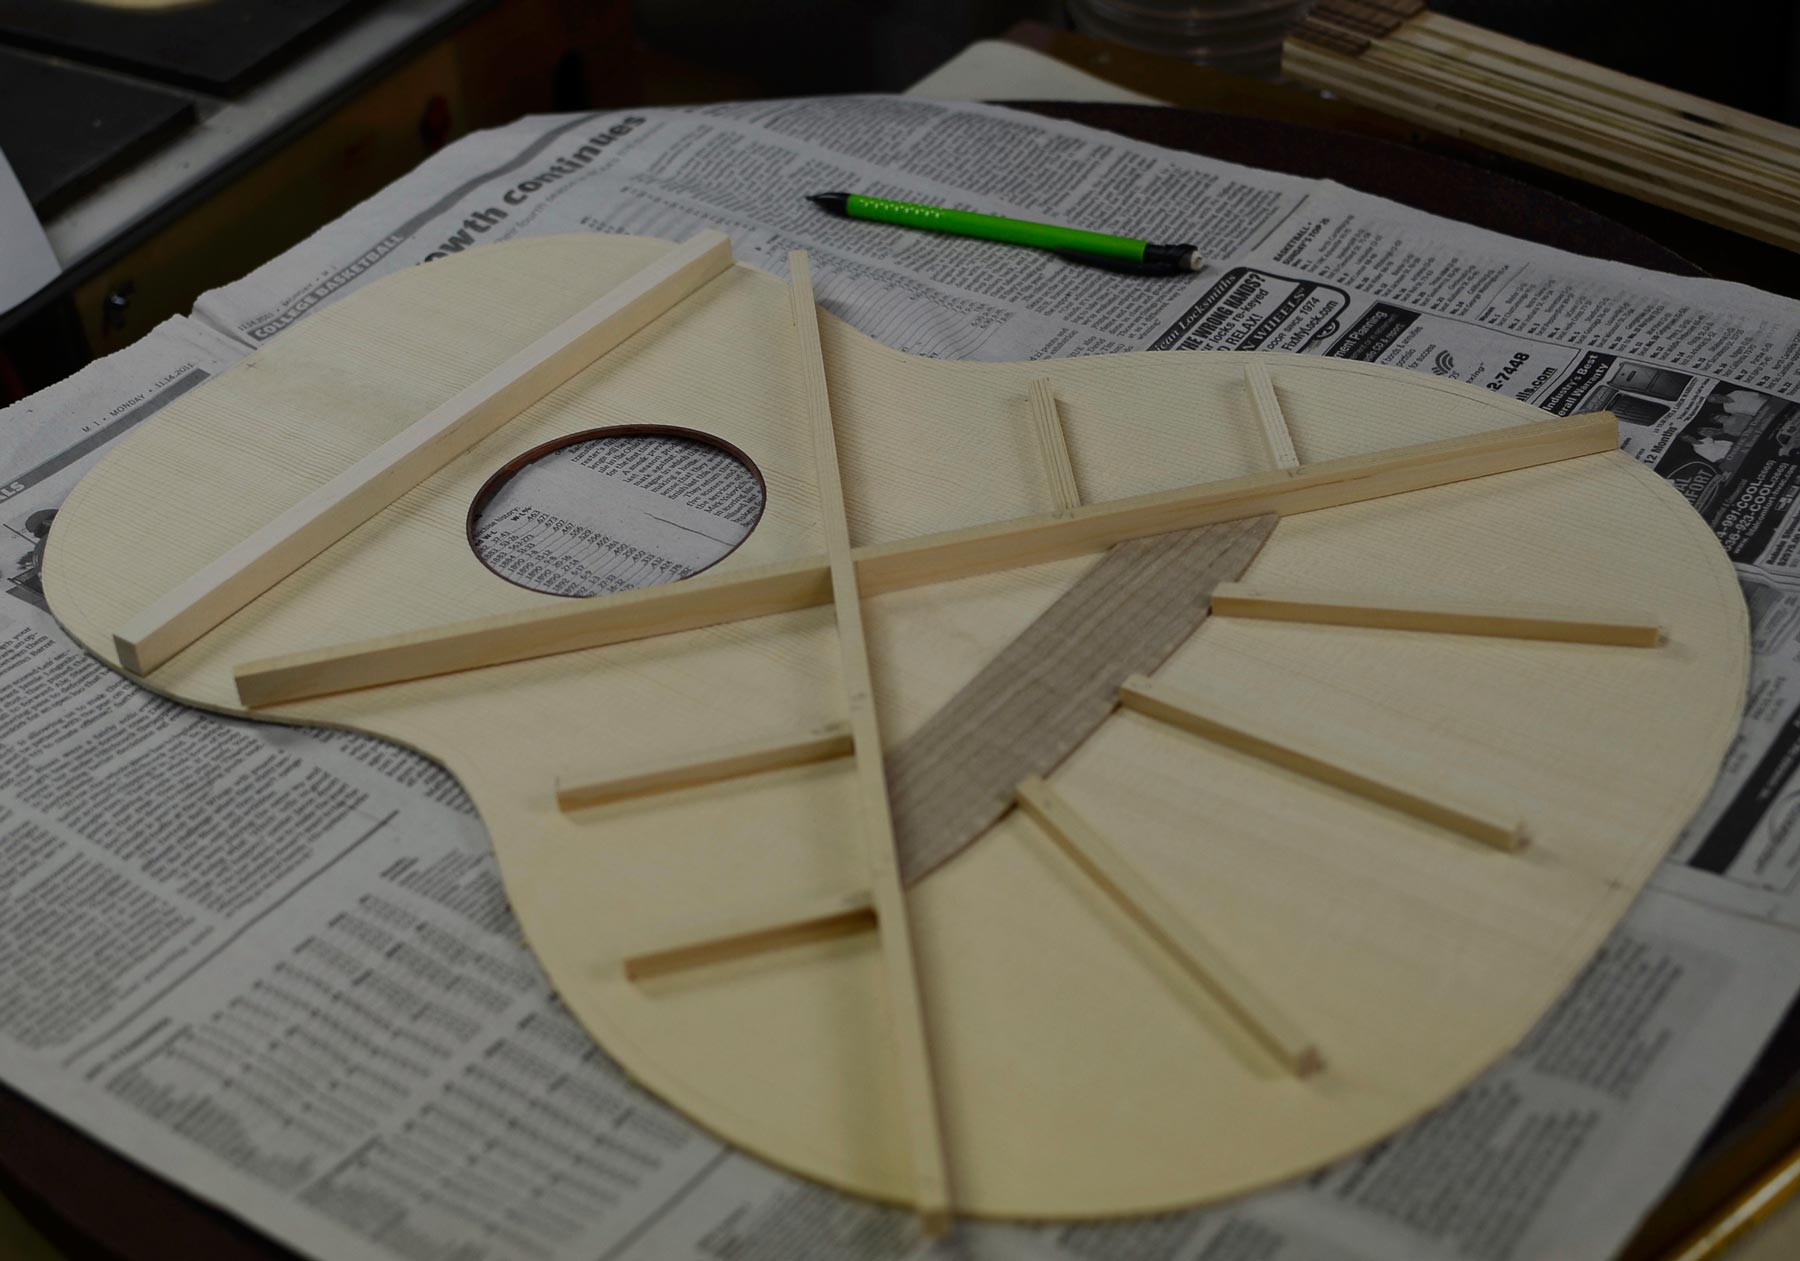
The back braces are radiused then glued in place in the go-bar deck.
These are the component parts of the rosette all bent into rings to be inlaid in the top.
There are a lot of ways to apply a sunburst. I like to use wood dye and work directly on the wood similar to the method used by violin makers (and guitar and mandolin makers before sprayed finishes became the norm). The method enhances the grain of the wood because dye interacts with it, becoming darker in the areas where the water base of the dye is held and stays wet, like areas with curl in the wood fibers. If you love the quirkiness of wood and like the way that watercolors look, then this method might be for you. It is, however, less predictable than spraying color coats over a sealed wooden surface. I think it’s worth the extra work and a little risk! Continue reading “Making a Dyed Sunburst”→
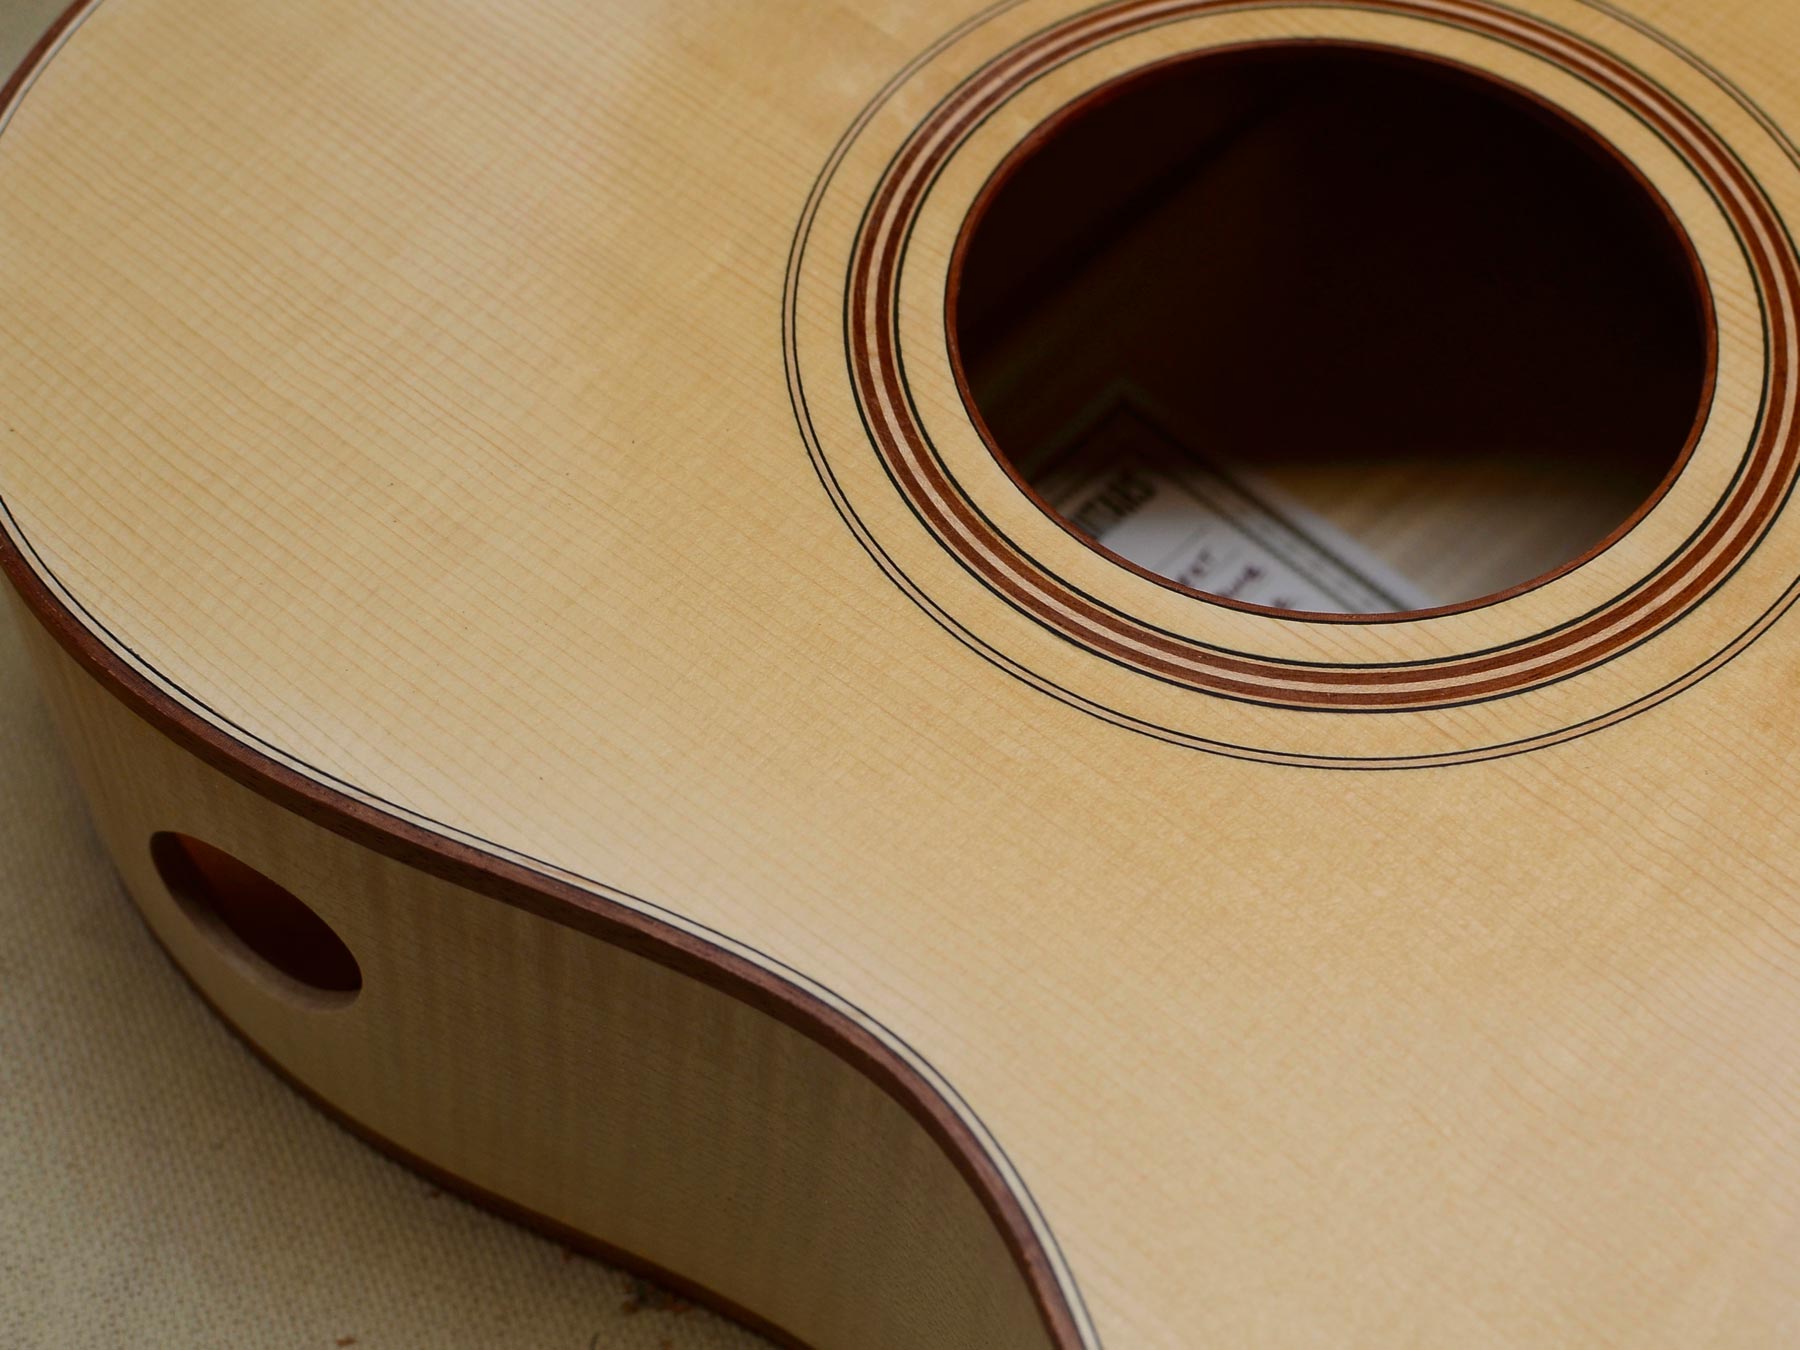
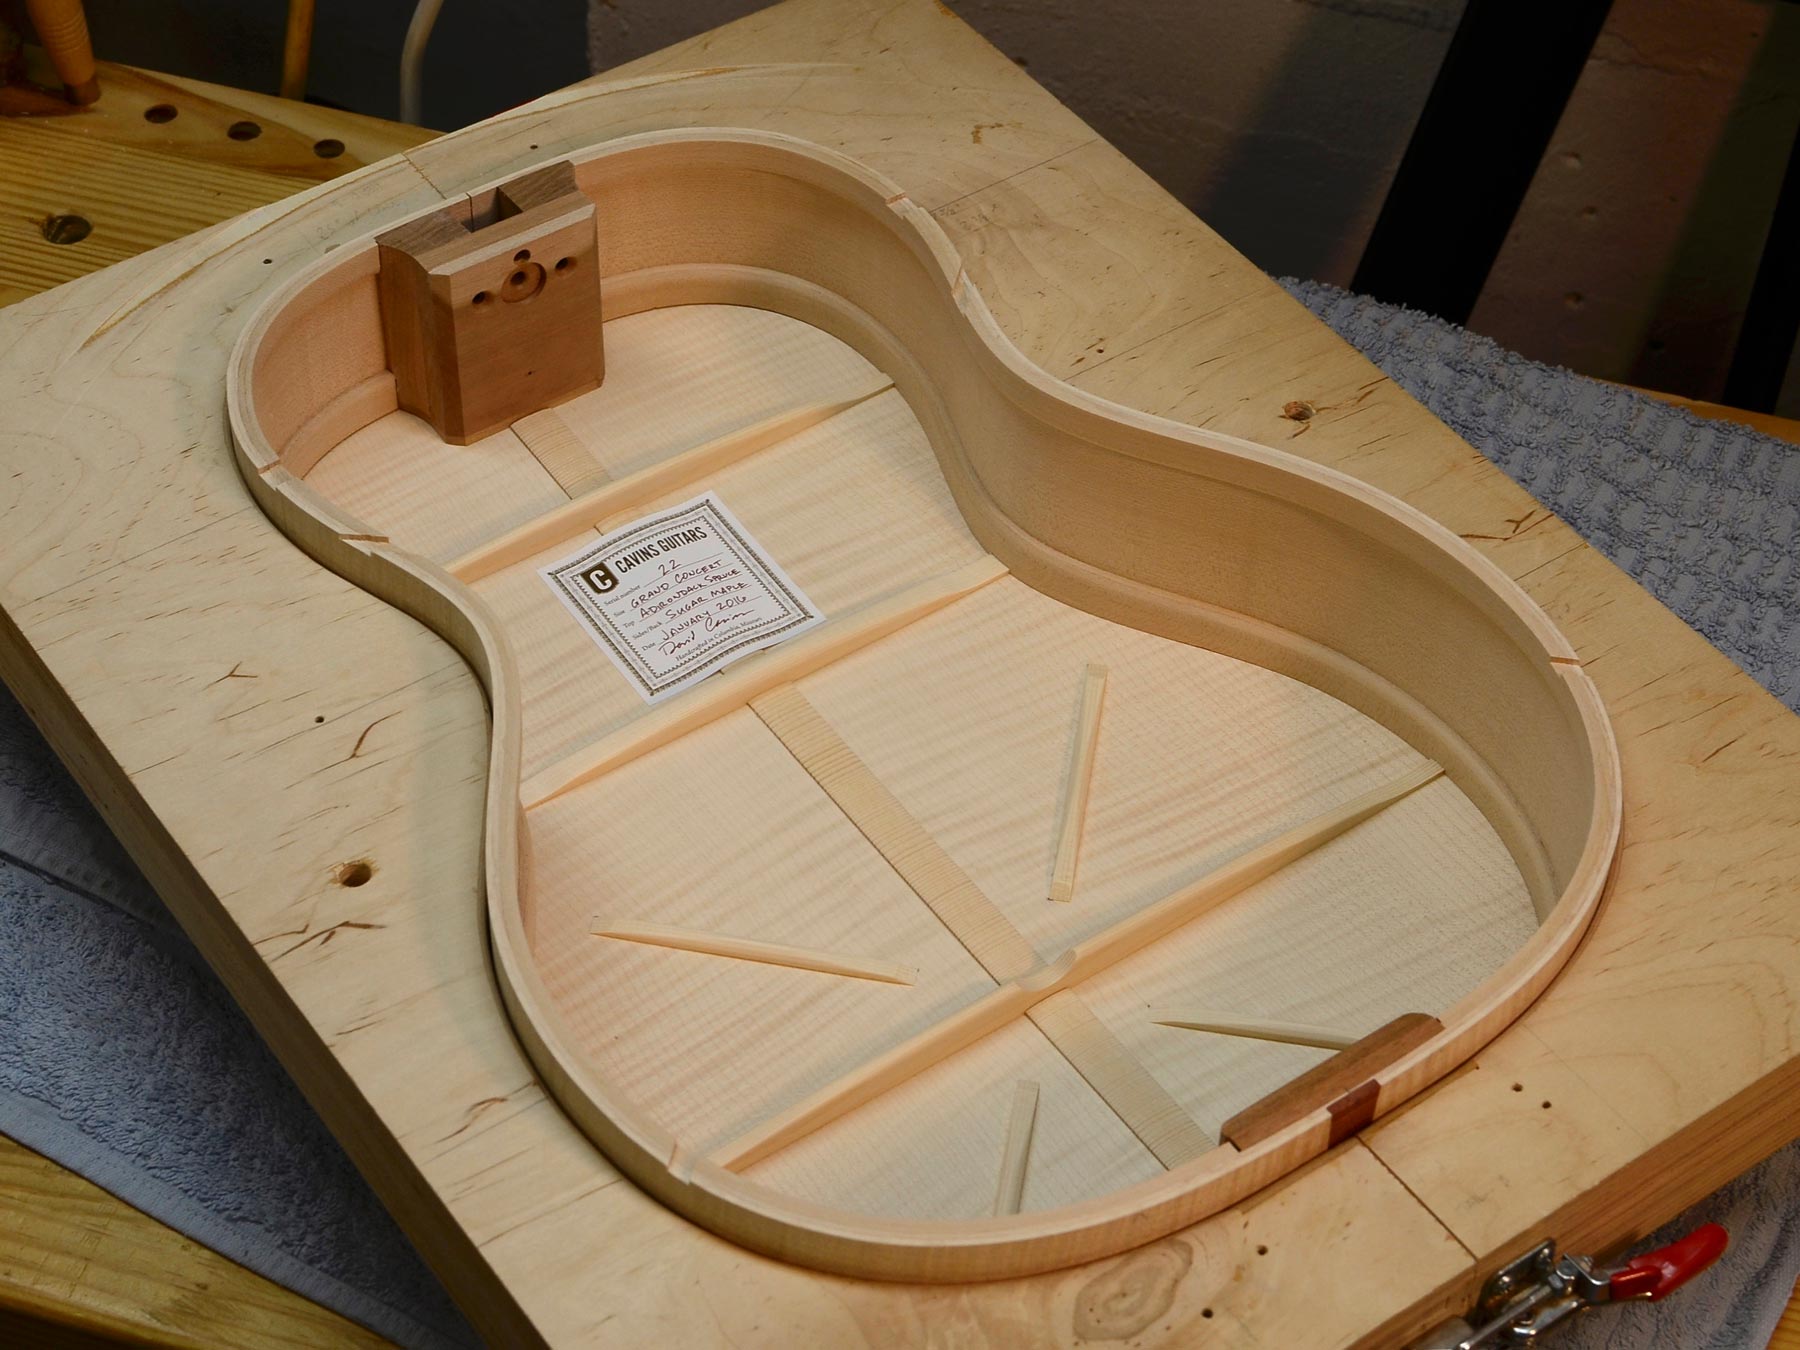
I’ve recently started a new build, an adirondack and sugar maple 12-fret grand concert guitar that will be clean and contemporary-looking, with a sound port and paddle headstock featuring really sharp-looking Gotoh “X-finish” tuners. Notably, this guitar will be my first production guitar to use double sides and solid lining, which I’m pretty excited about. The goals for this guitar’s sound are a focused bass with good carrying power and trebles that are thick, musical and committed.
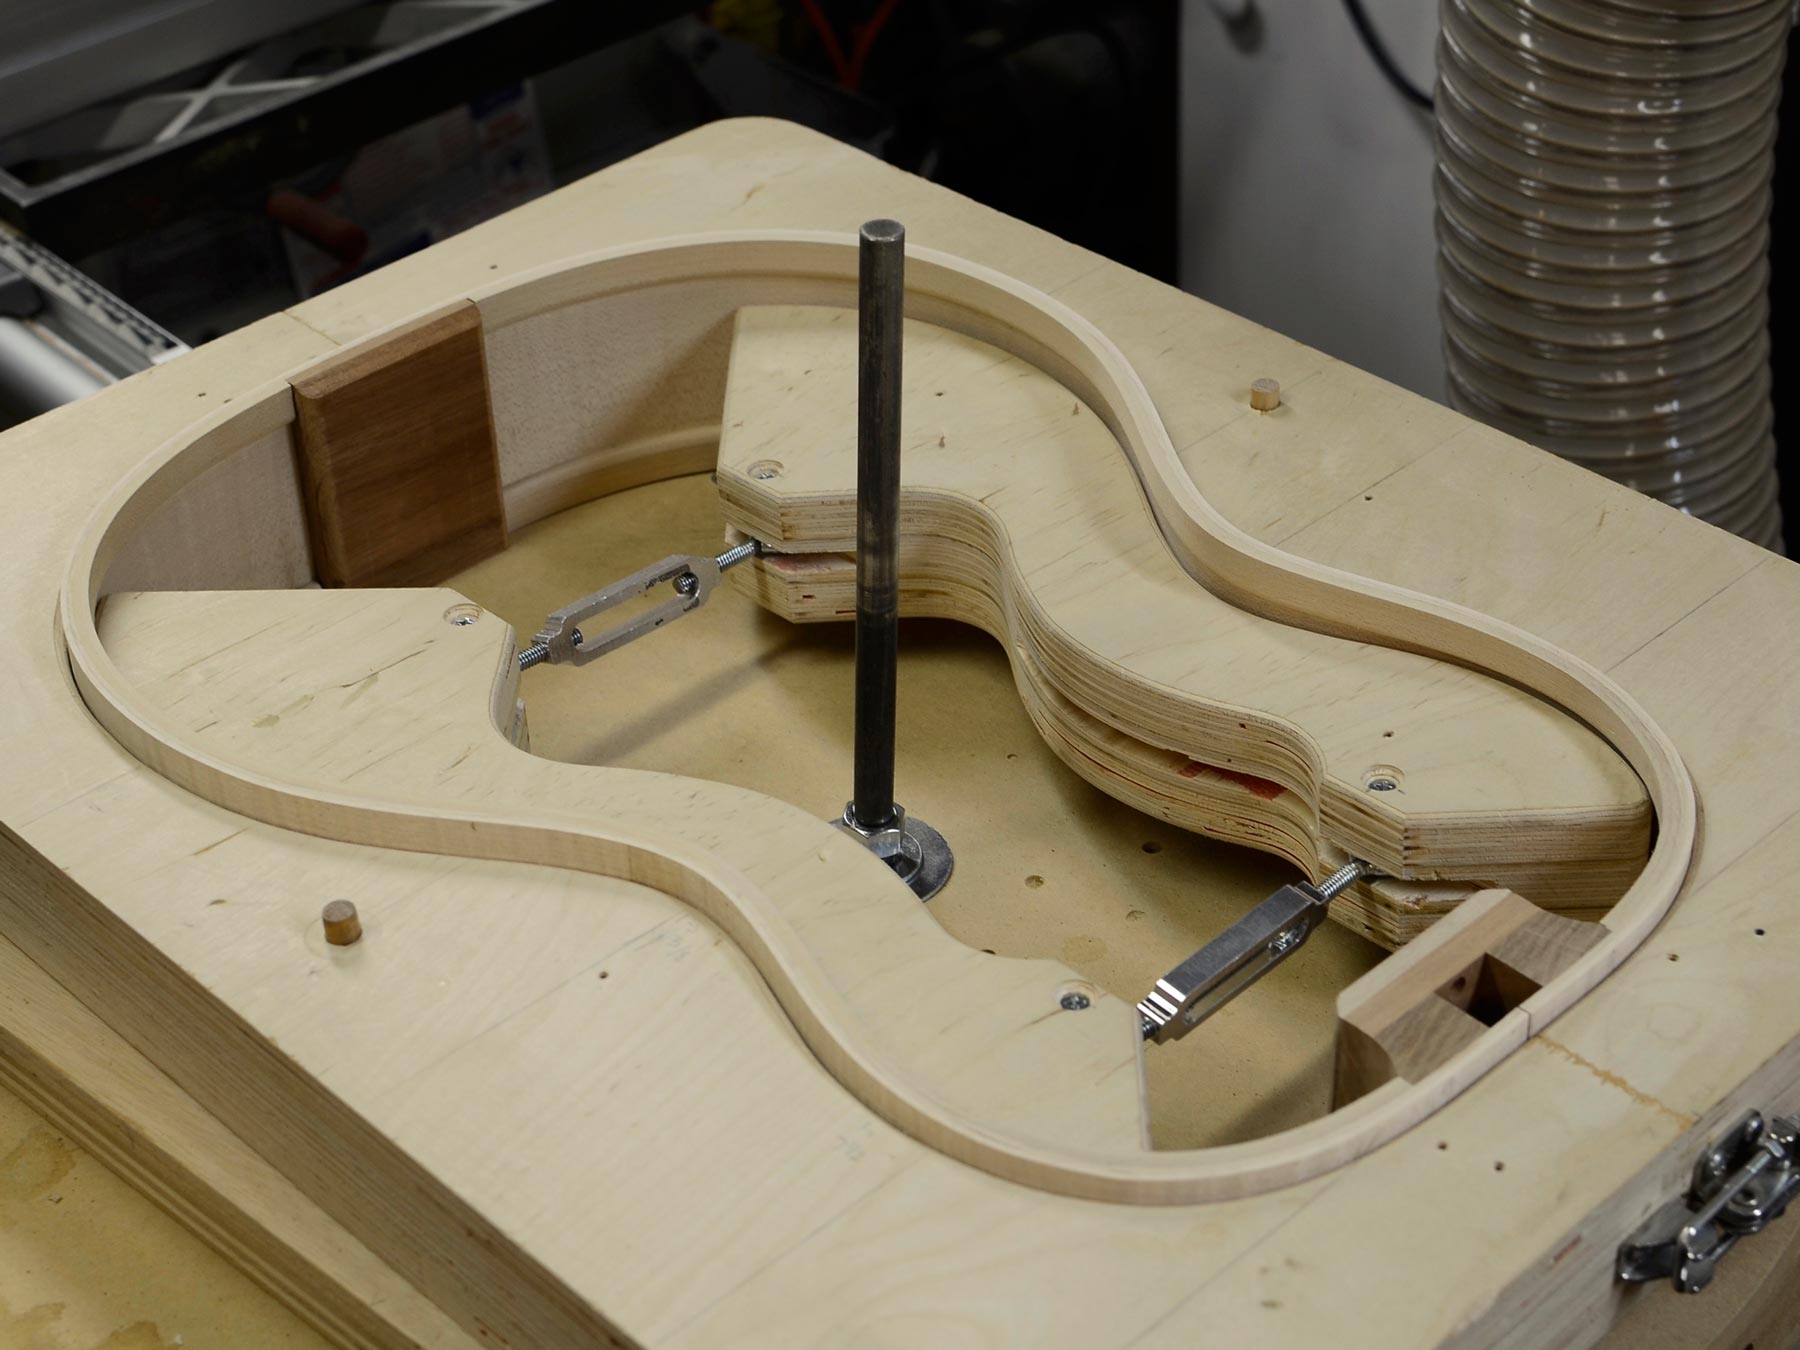
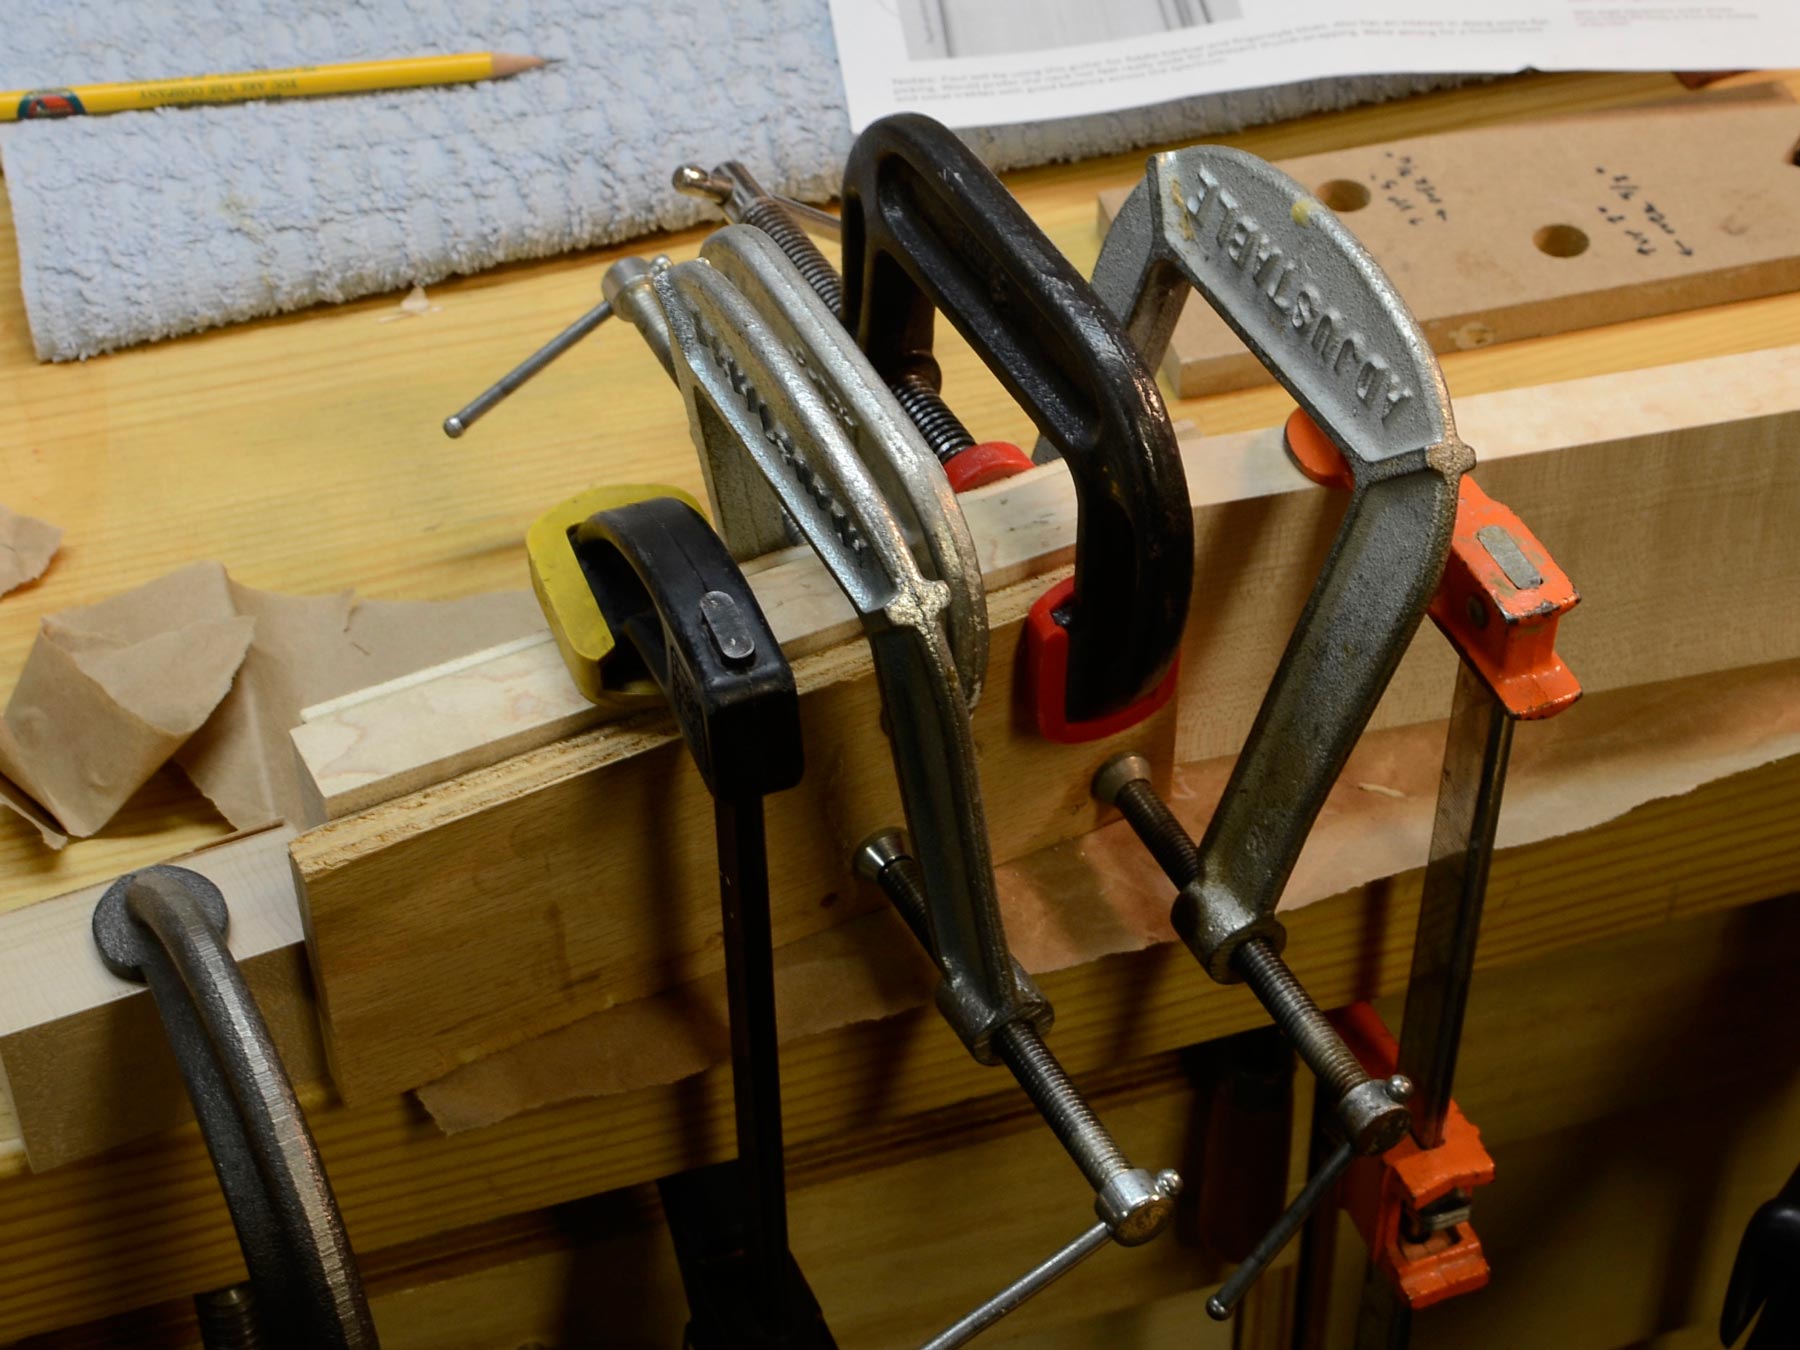
Two layers of linings are pre-bent, then applied one layer at a time.
The completed rim assembly: each side is made of two sugar maple slats lined with two layers of basswood.
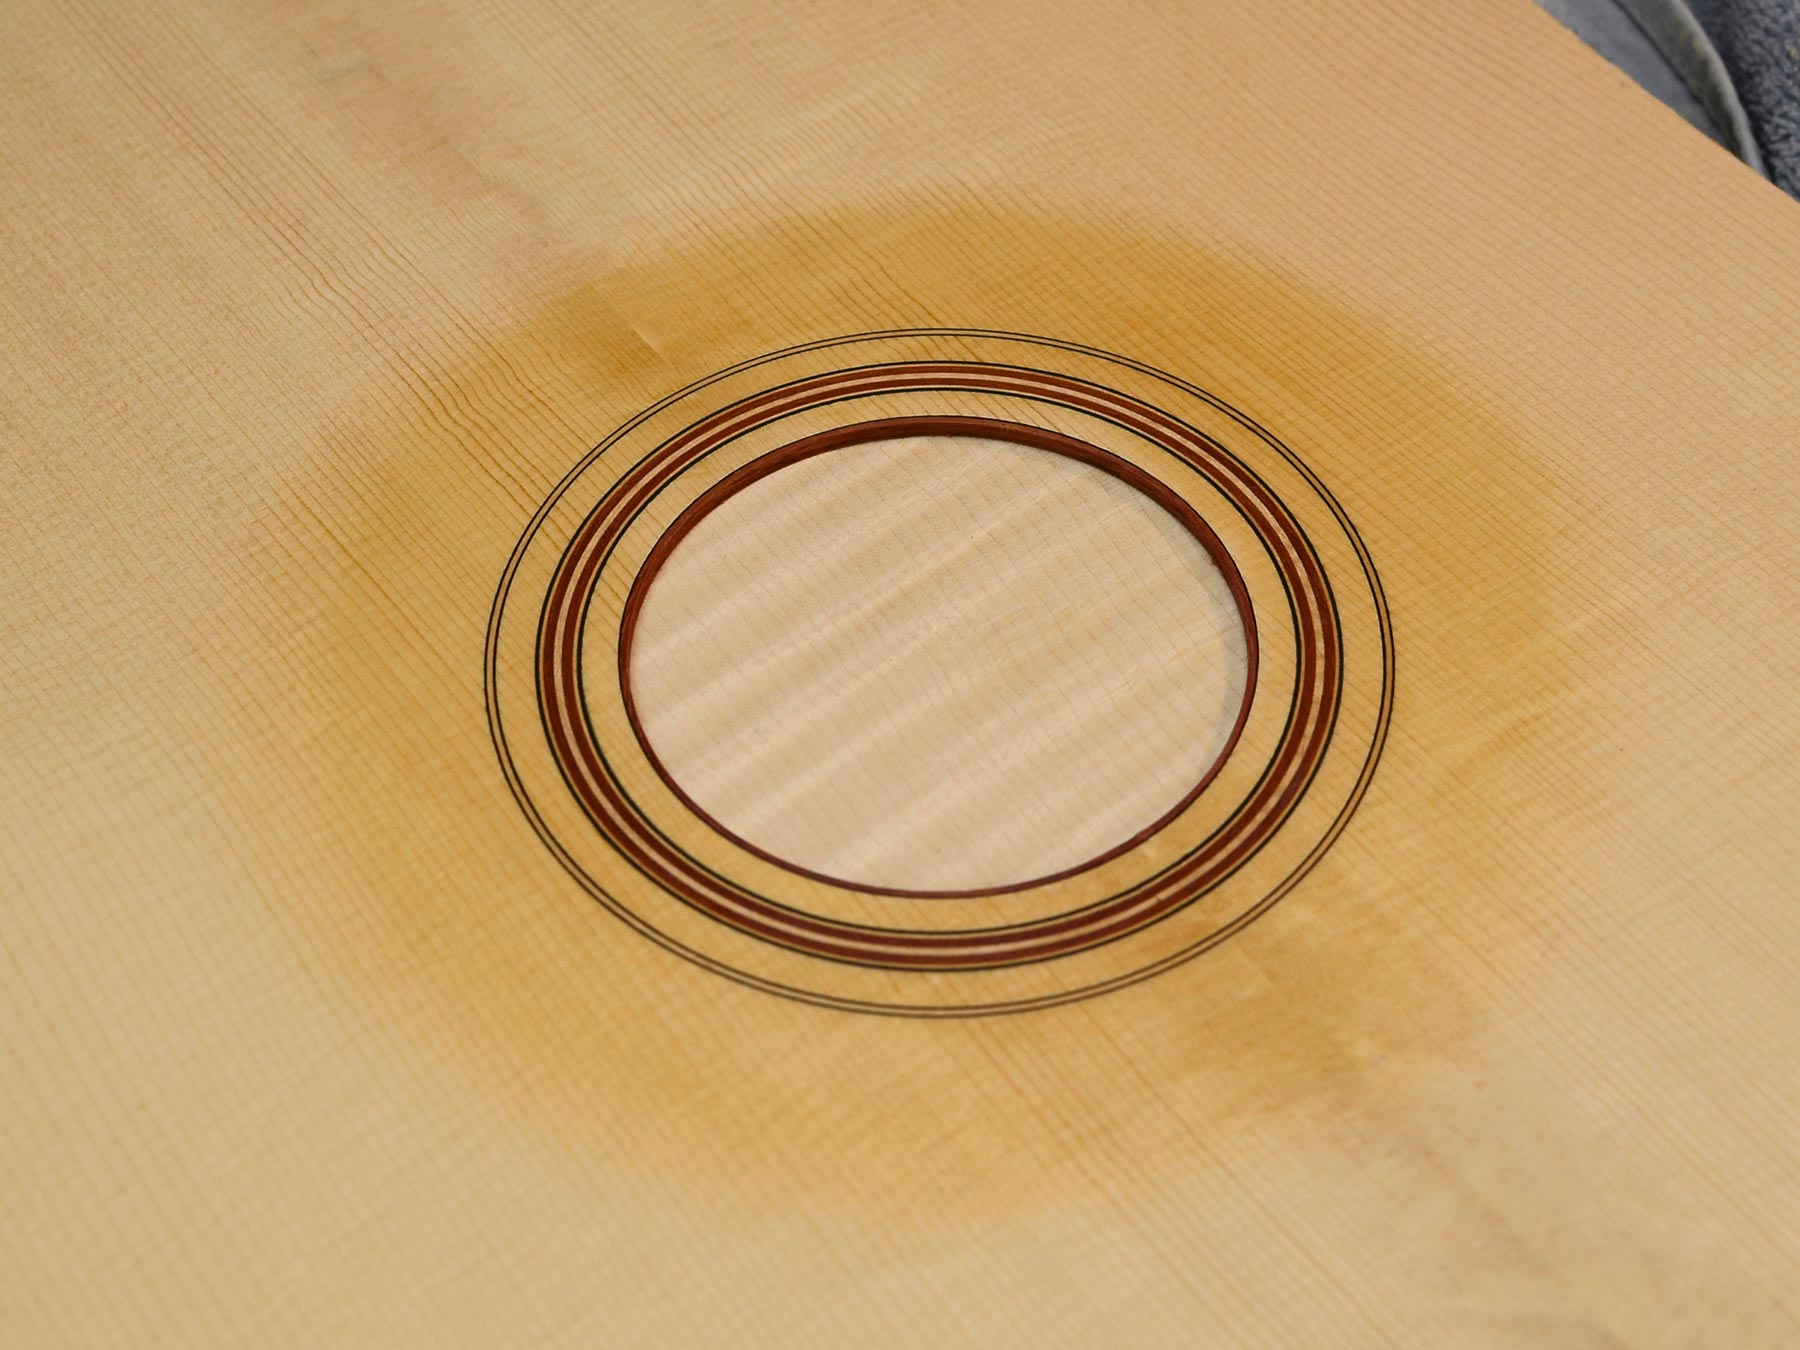
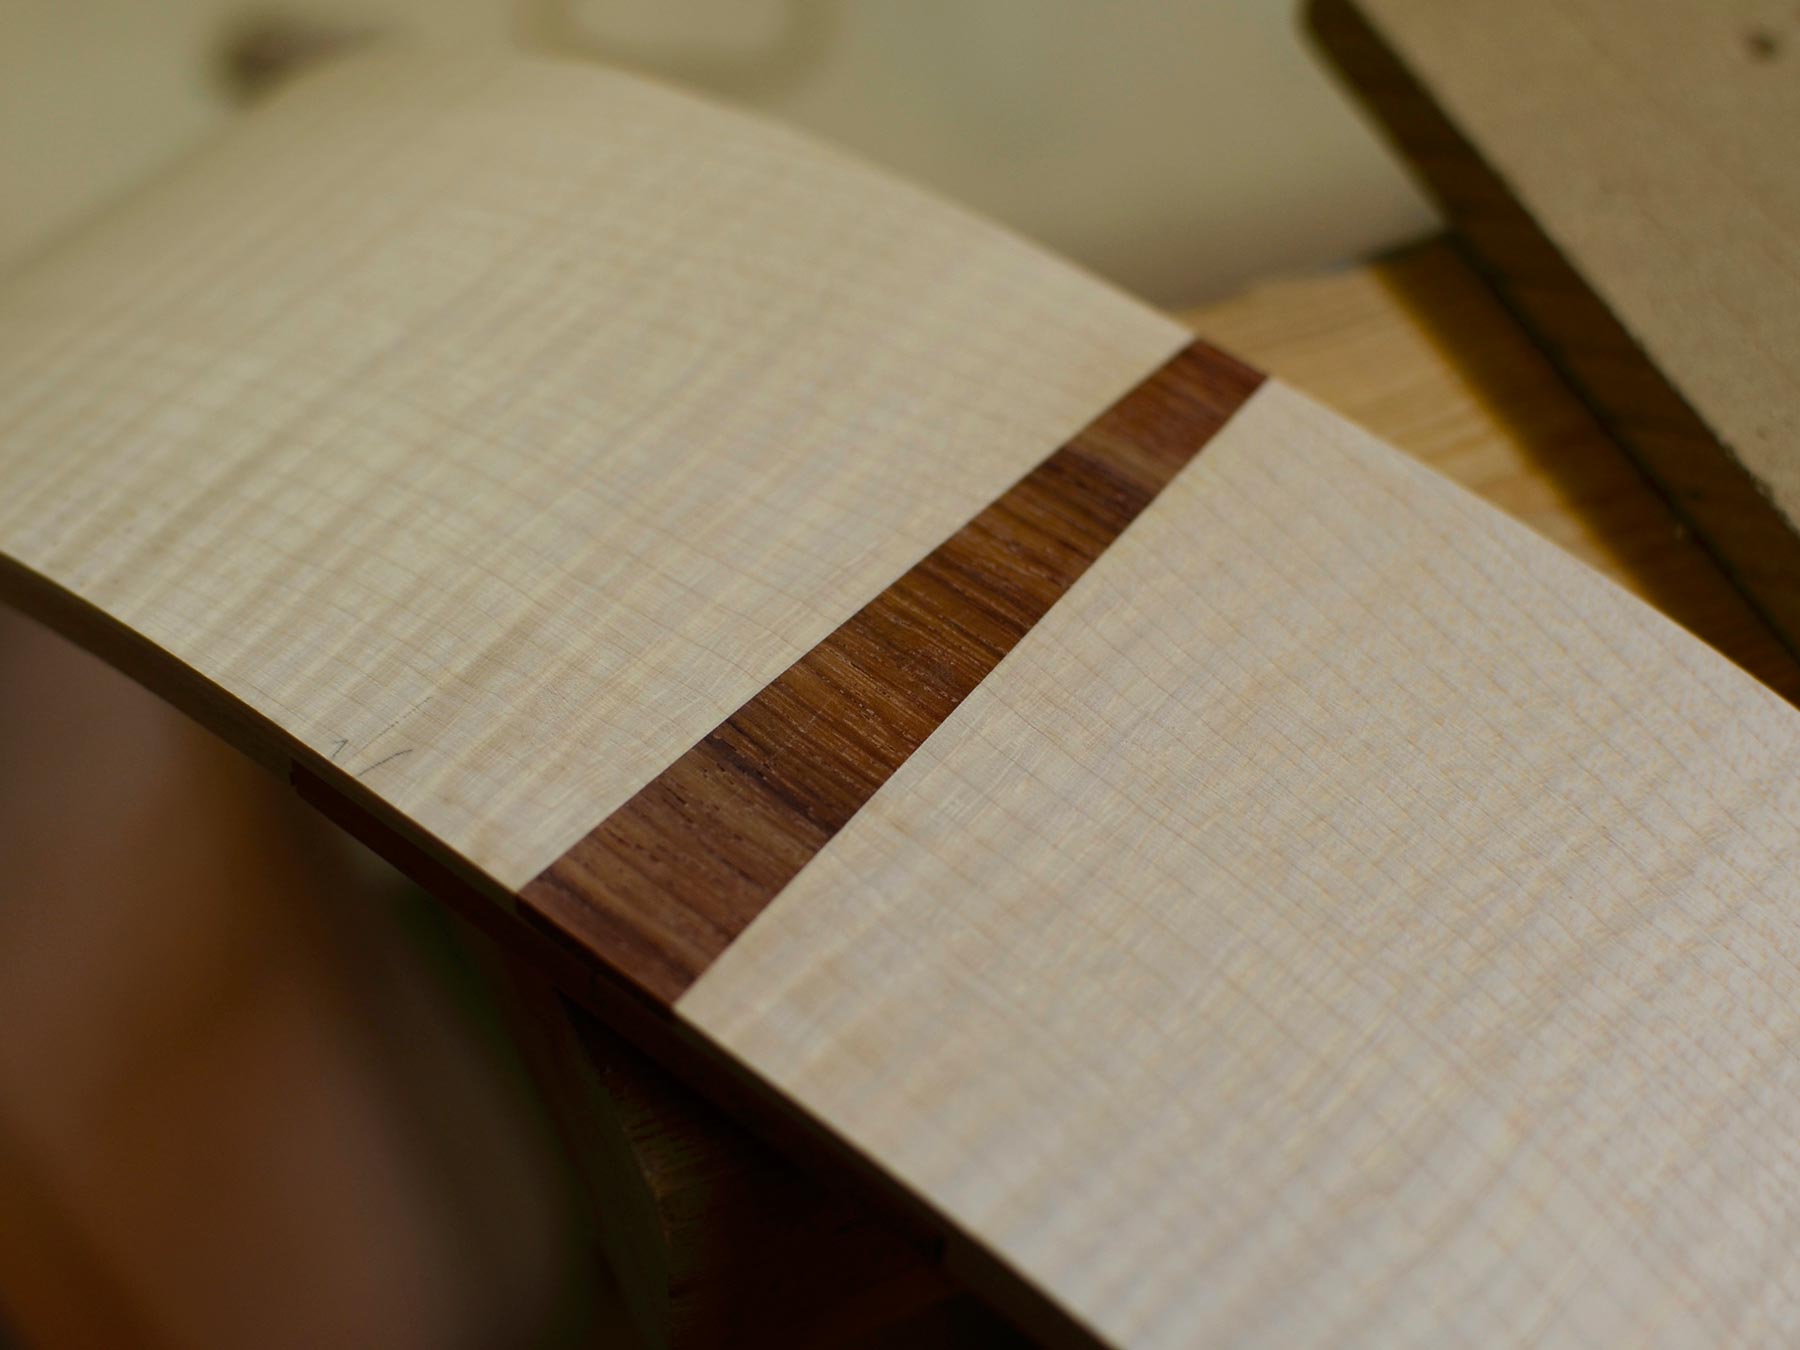
I pre-bend the wood strips I’ll use in the rosette. These pieces are maple and hormigo.
Fitting the rosette rings together in the routed groove.
Success! The rosette strips are all cut to length and dry-fitted together.
The rings are all glued up together and then planed and scraped flush with the surface of the sound board.
See the next installment of this guitar’s build gallery.