 There seems to quite a bit of variation in what people (and companies) mean when they say “handmade.”
So, I thought it would help if I explain what I mean.
If you’ve talked to me, you know that I think wood is the heart of the sound of a guitar. This process—starting with the best materials for the job—can’t be done by the pallet-load; I look individually through a lot of wood to find the pieces that look, feel and sound good to me. Plus, I’m lucky to have good relationships with my wood suppliers, and I take their advice and expertise seriously. Consequently, I get great pieces of wood that have the structural advantages I want.
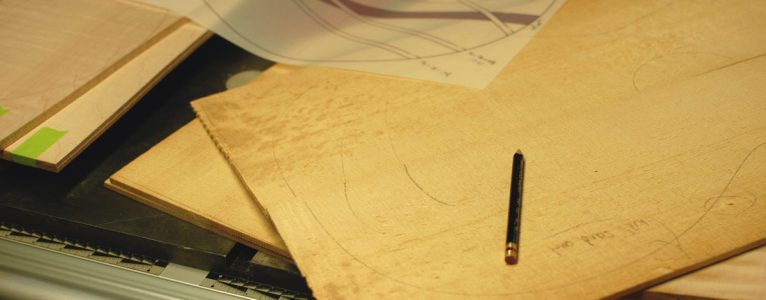
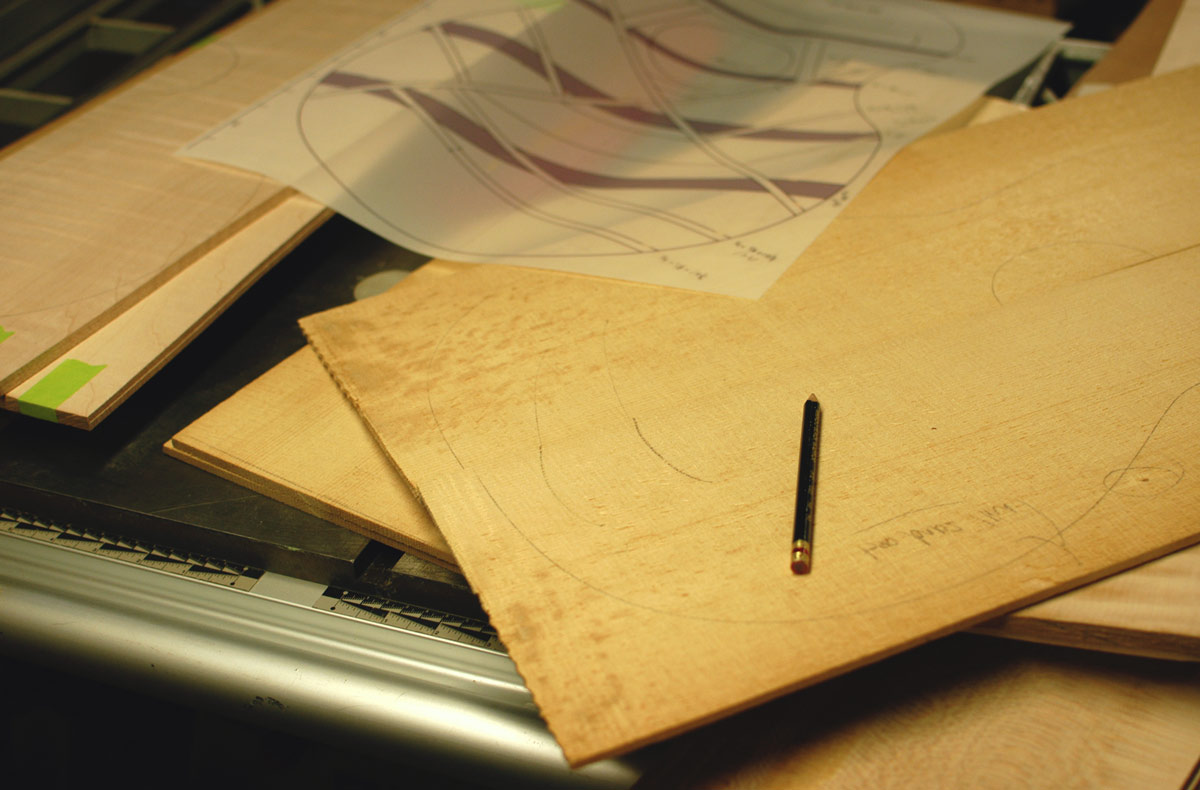
Since I’m a small, one-at-a-time shop, I carefully place my patterns to get the best grain orientation. Once I’m satisfied that I’m getting the most out of the wood I’ve selected, everything is milled and thicknessed by me. I determine thickness by flexing each piece, not by a micrometer reading. Each piece of wood has a certain stiffness, and there is definite variation from set to set. Because I’m not building to spec, but responding to the material at hand, I can squeeze more out of each instrument. When you use rigid standard specs for bracing and thicknessing, you wind up producing some decent guitars and the occasional really good one, when Fate throws you wood that matches your set specs. Rigid standards are great for production numbers, but not great for matching the properties of each piece of wood with the specifications that will allow it to have the best possible sound.
 All of my brace wood is selected and milled by me (and, here again, I’m getting really good brace stock from my wood supplier), glued up with hot hide glue, and finally hand-shaped for strength and lightness. How thin or how thick varies quite a lot depending on the brace wood and the stiffness of the top. This is the crucial step, in my mind, since the bracing is hugely important to the finished sound. I carve the basic shape, then flex and tap the top, looking for a nice round ring. It takes time, but this is definitely not the place to cut corners.
Next time, I’ll talk more about my necks, bridges and other parts.
I hope you’ll pardon my ignorance, but I’m curious as to what I’m looking at in the picture where you’re gluing up braces to the top. What are those long rods standing up along the braces?
Hi Jenny-