Skip to content
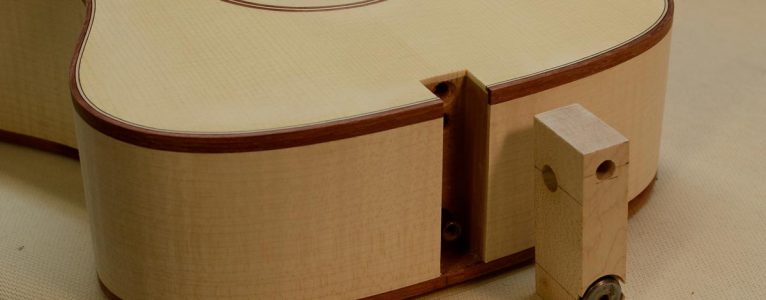
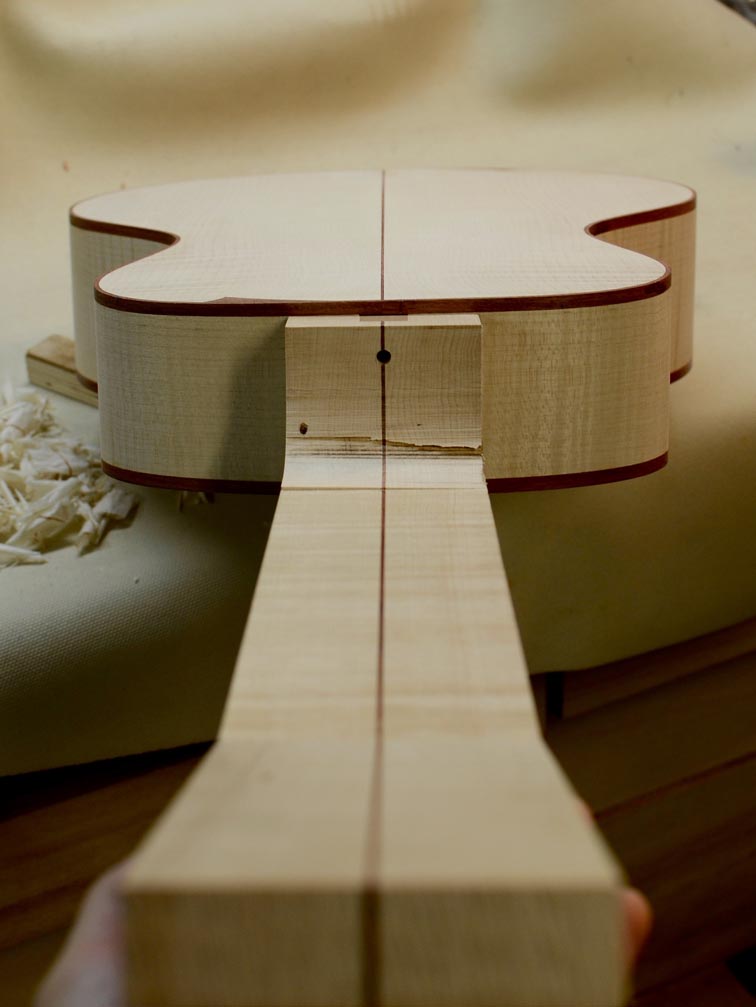
The neck mortise and the floating tenon for the adjustable neck joint.
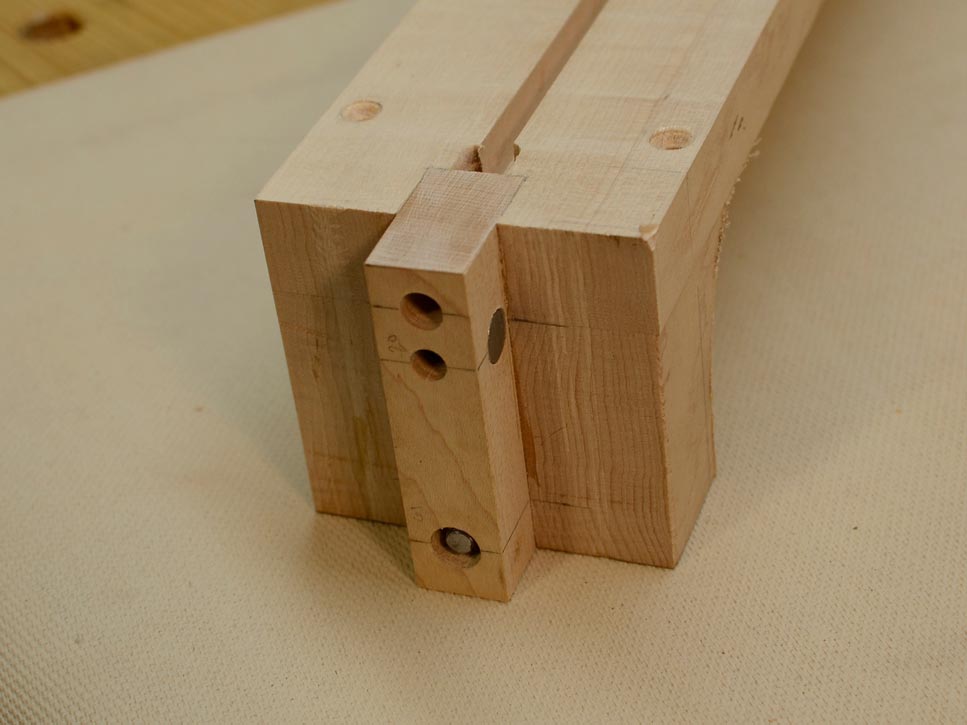
Once the floating tenon is glued into the neck, it looks pretty official.
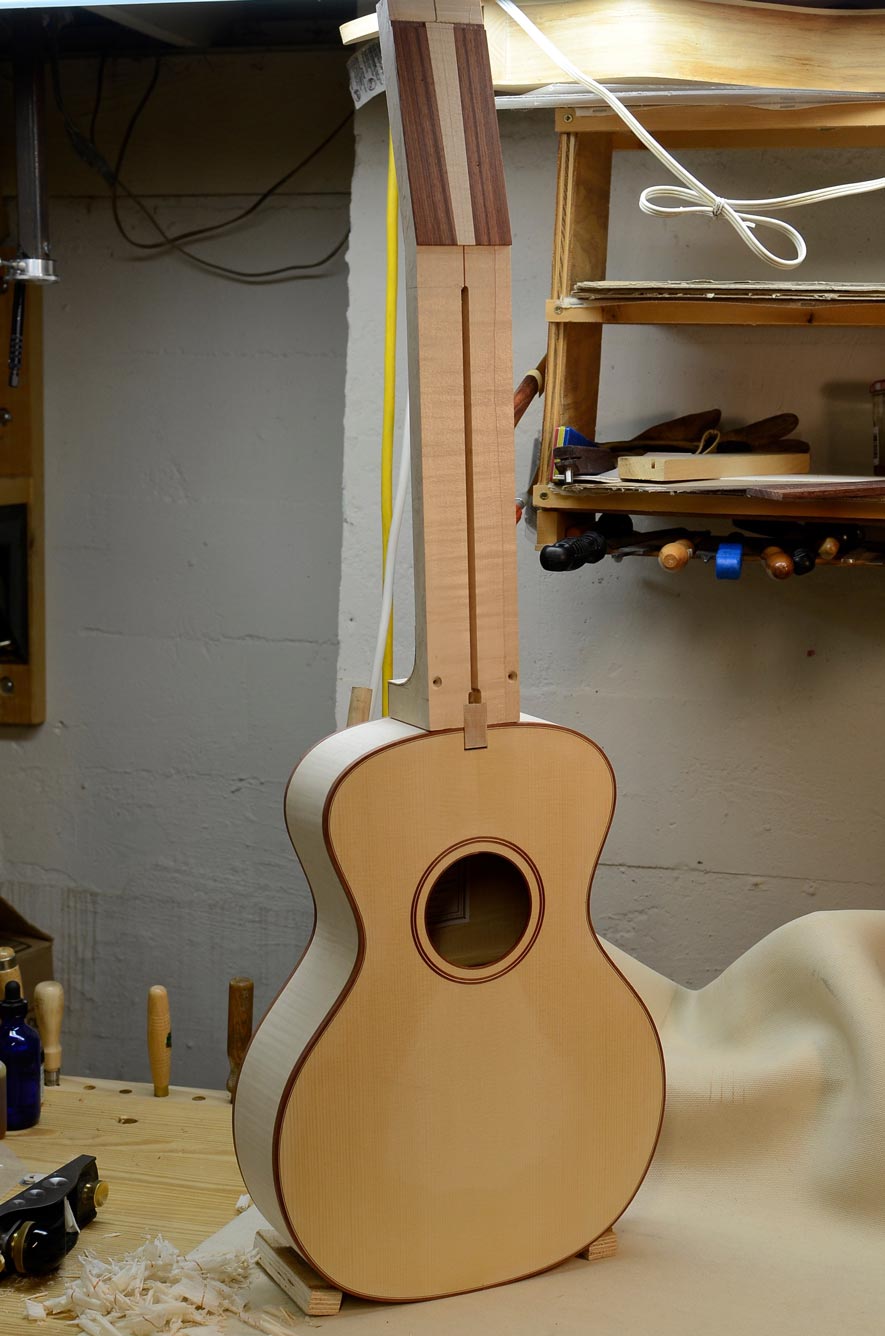
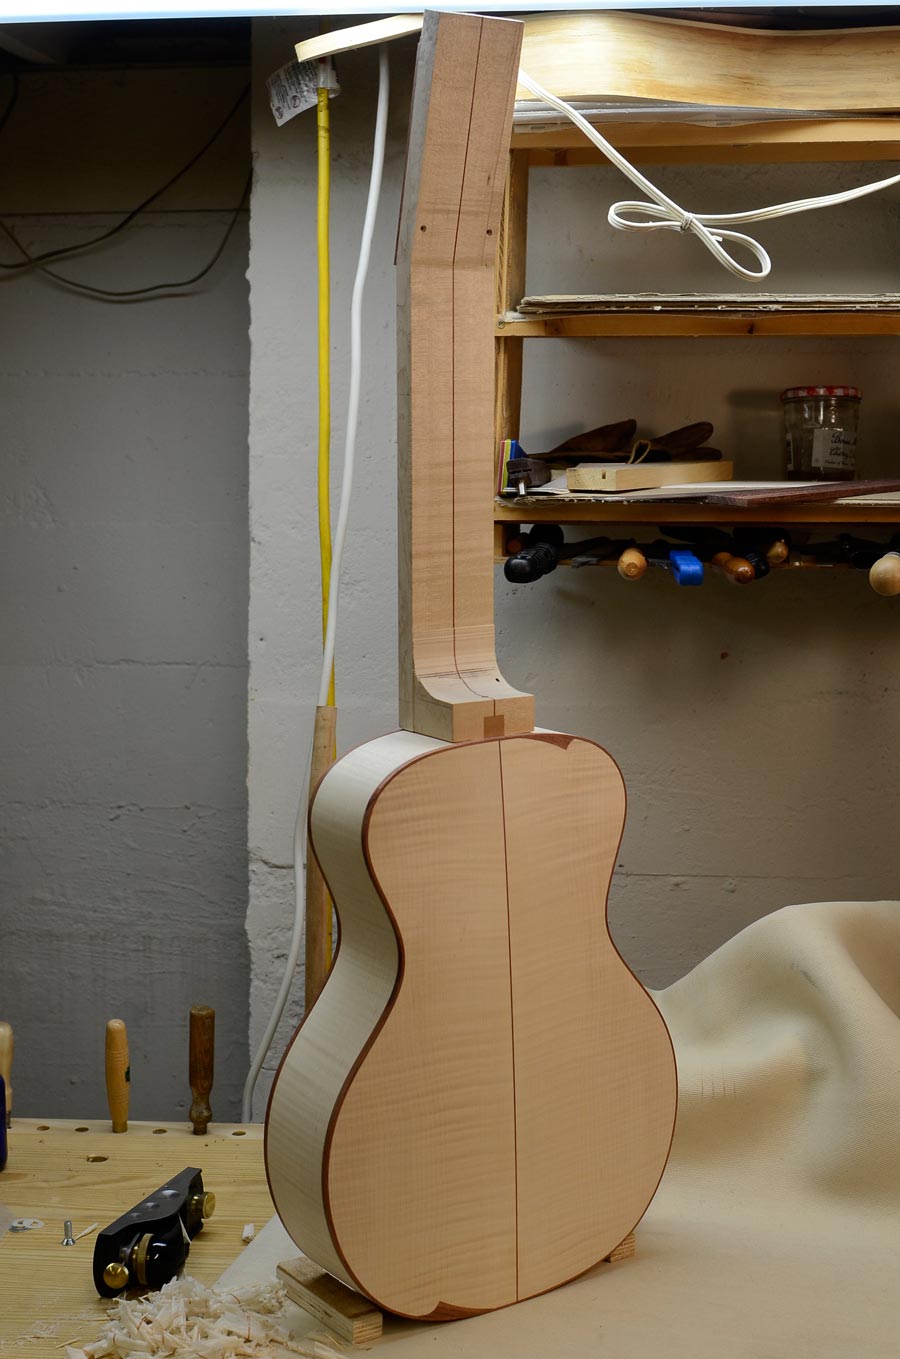
The neck attached!
The neck attached!
The neck attached! The small hole in the heel will allow access to the adjustment bolt.
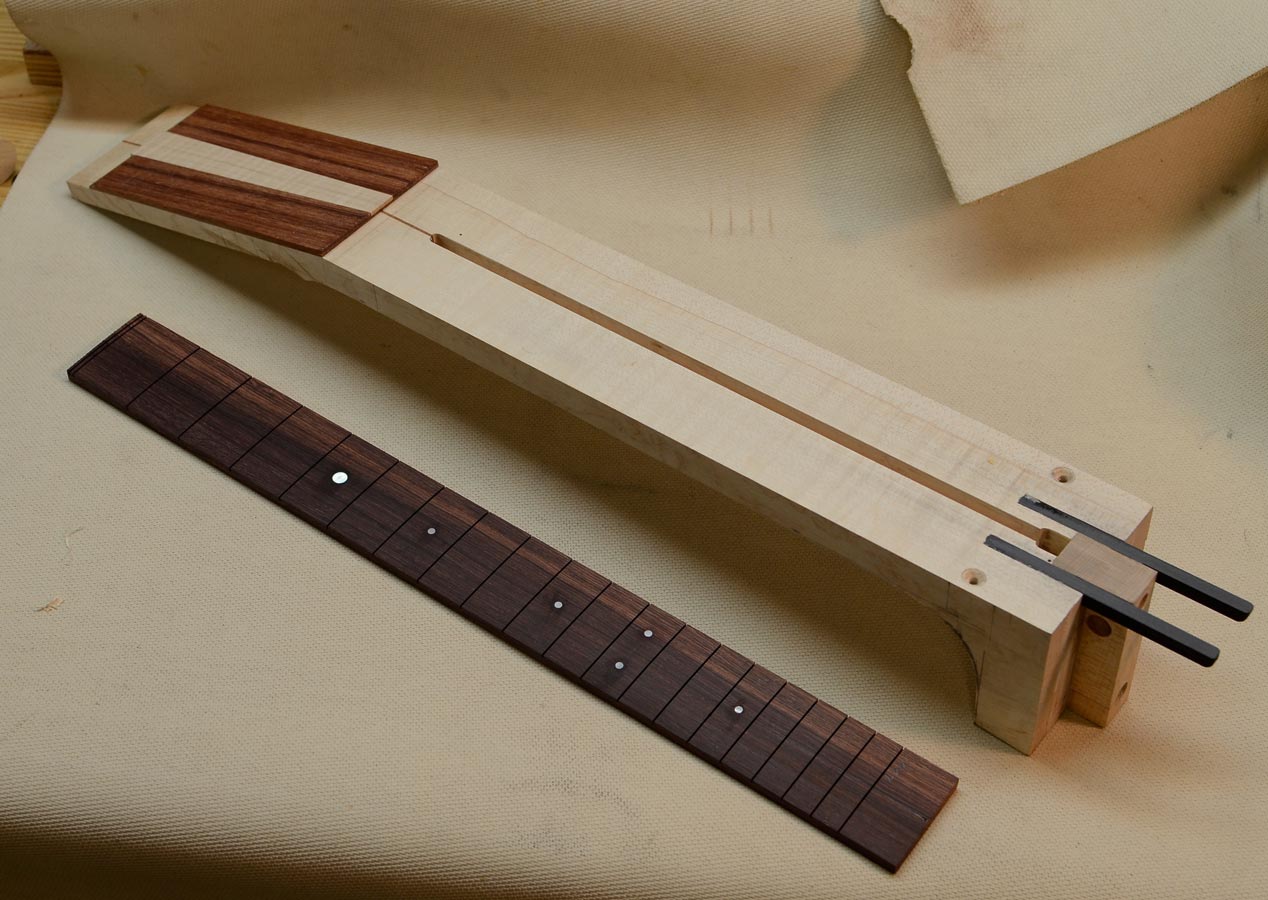
The neck has been registered to the neck blank using tiny brass pins.
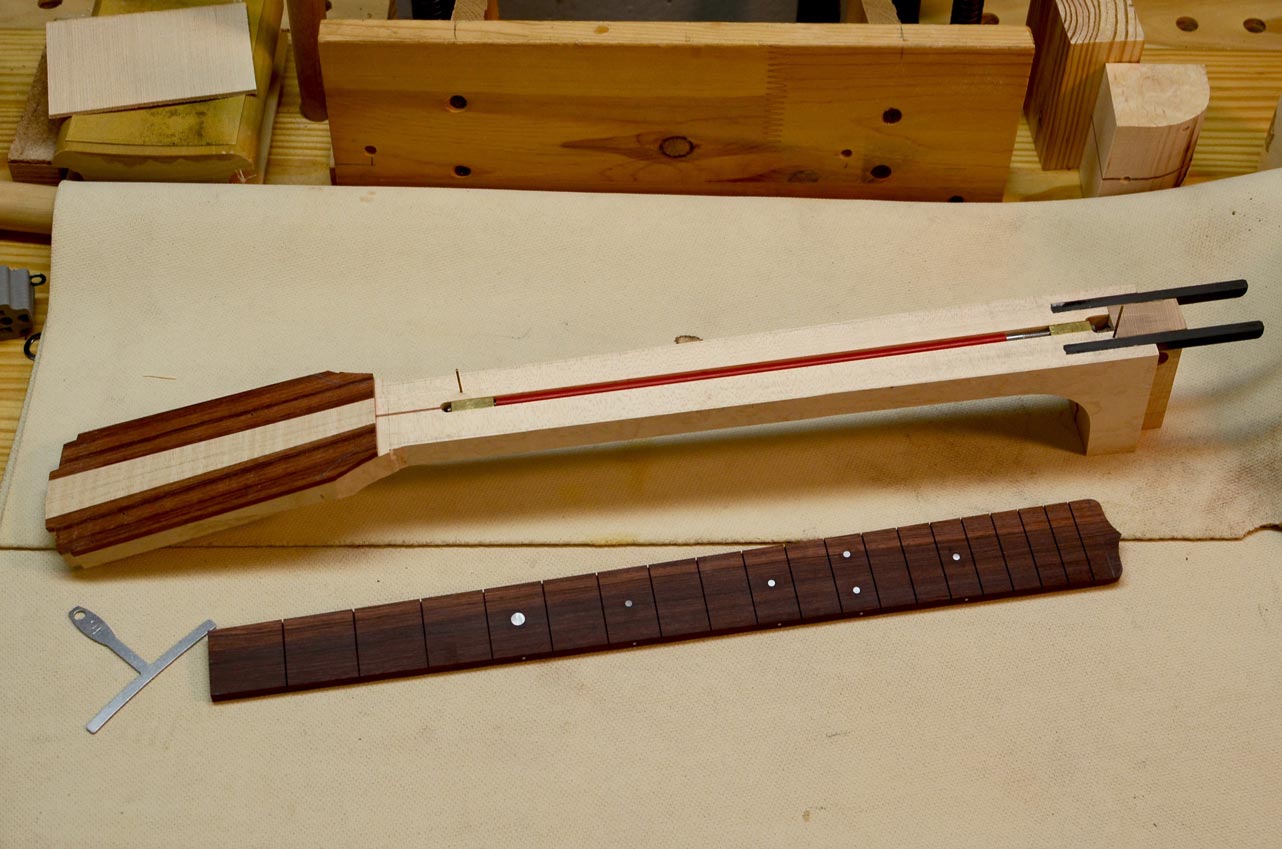
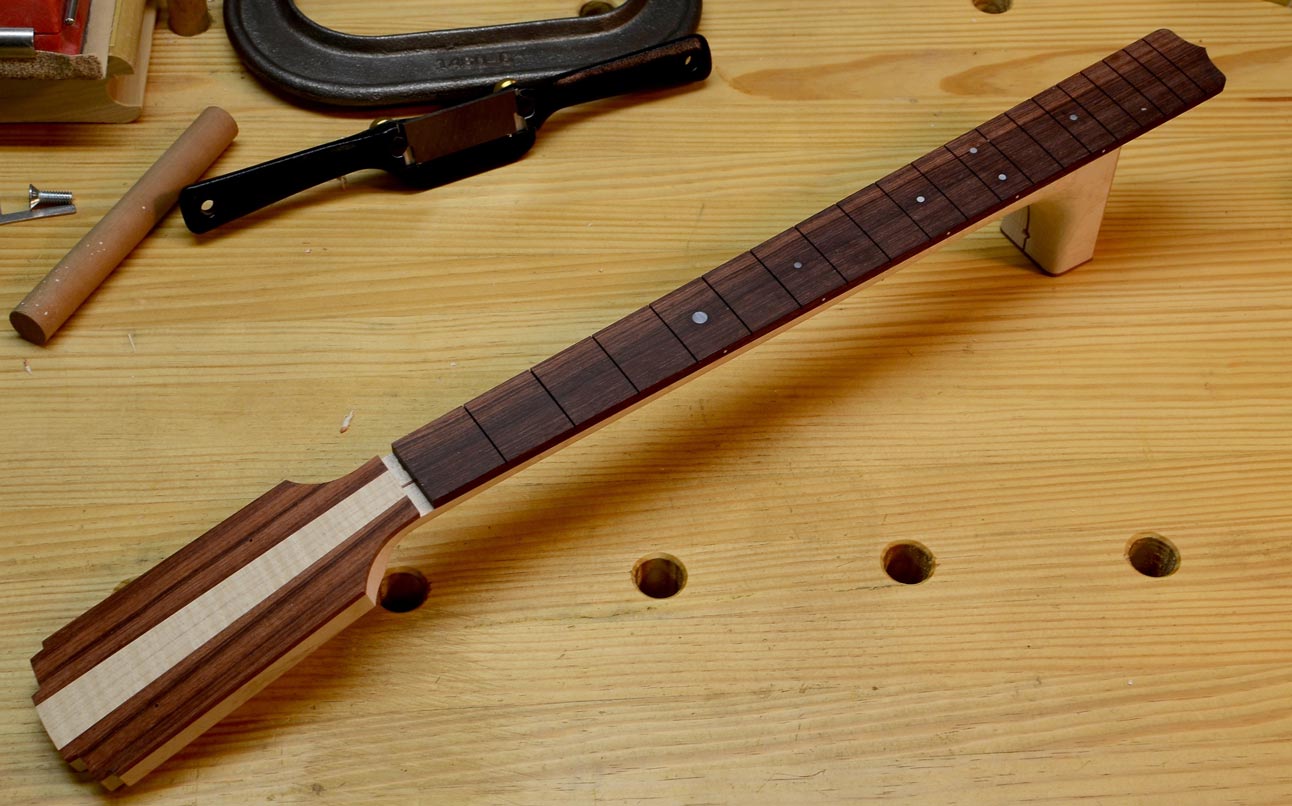
The fingerboard is ready to be tapered and then the neck blank will be shaped to match the fingerboard.
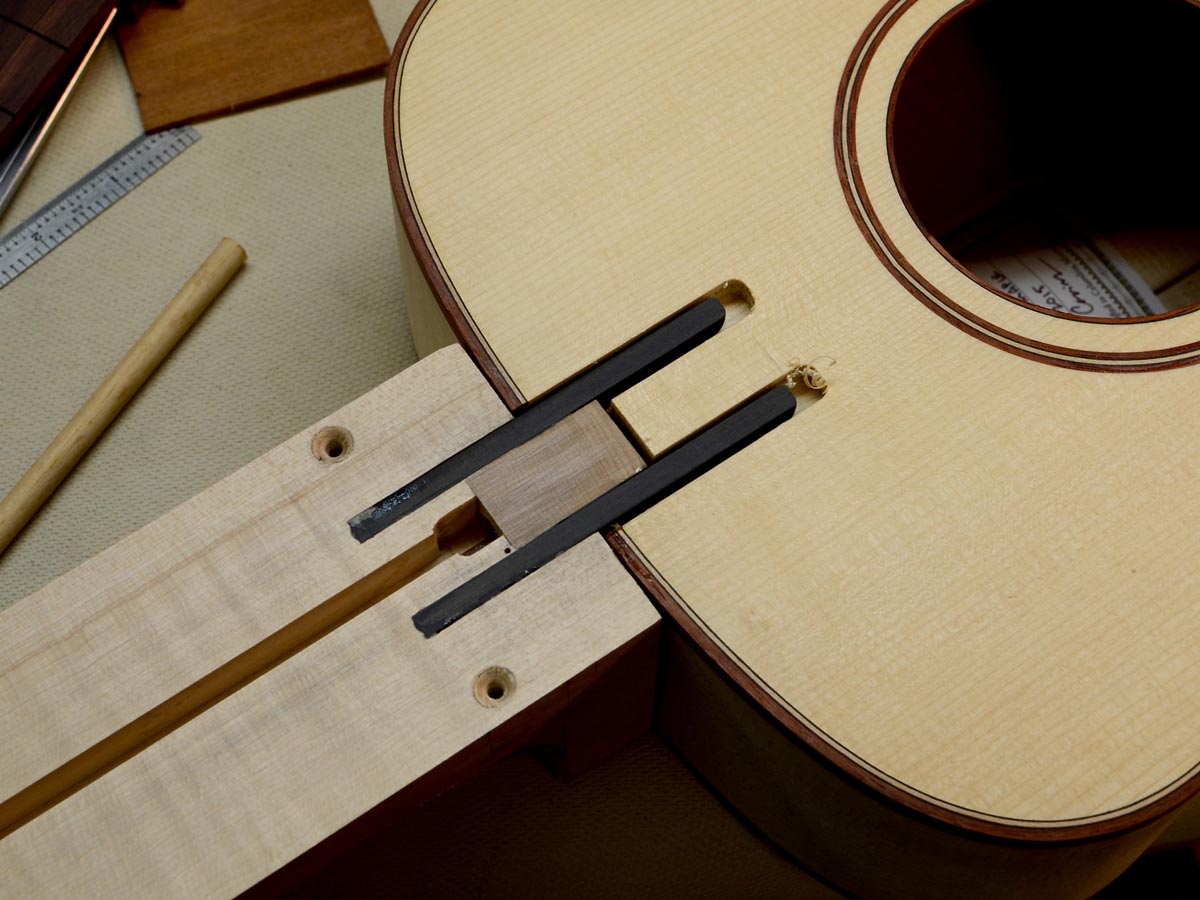
These carbon fiber struts will support the end of the fingerboard.
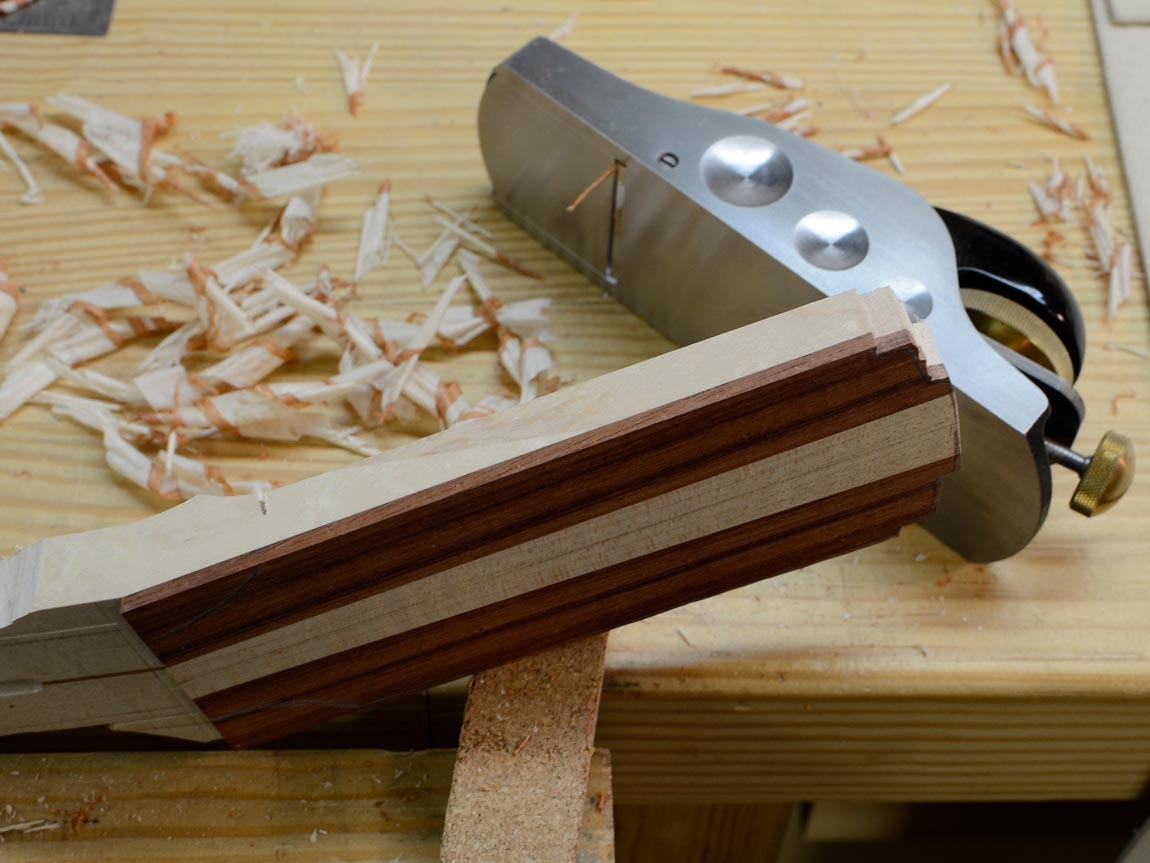
Planing the taper on the side of the headstock.
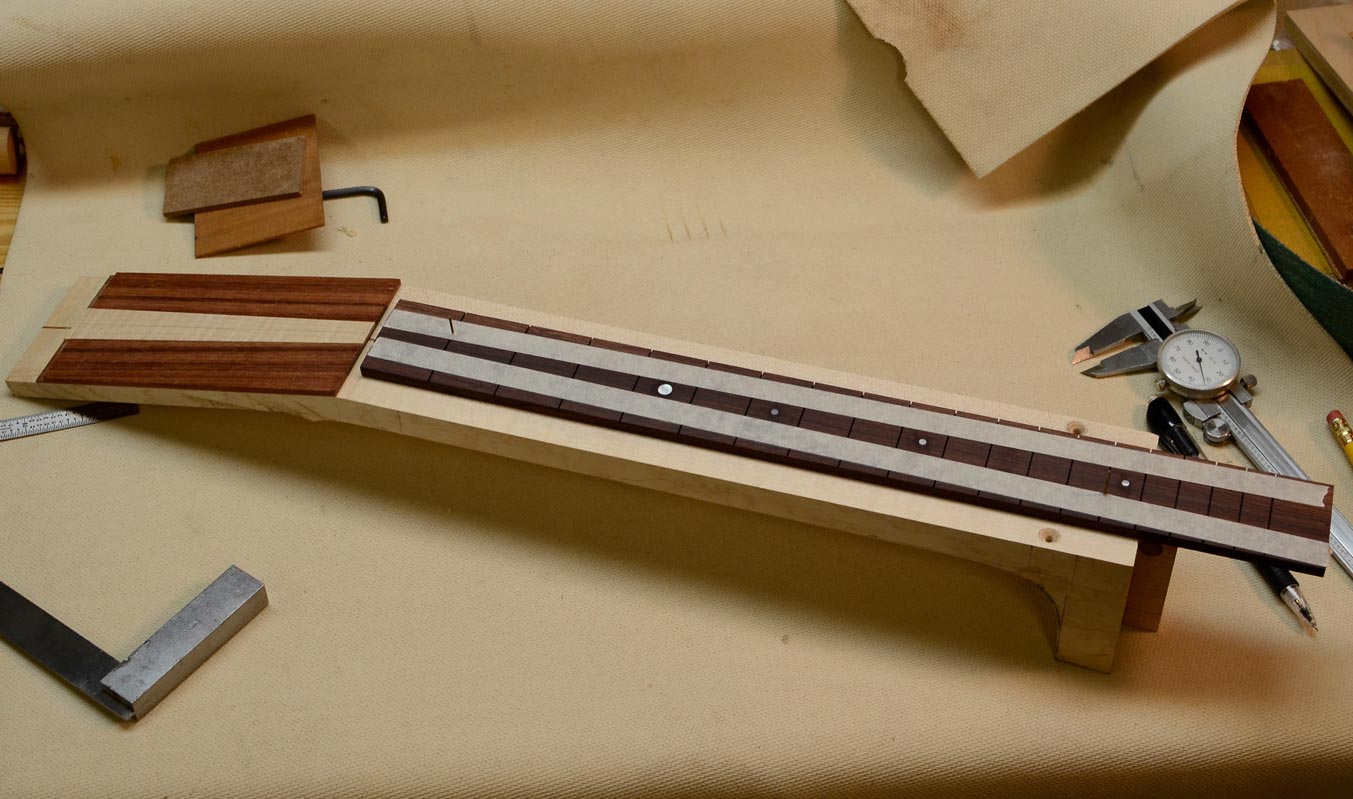
All the pieces are in place and the fingerboard is ready to be glued to the neck.
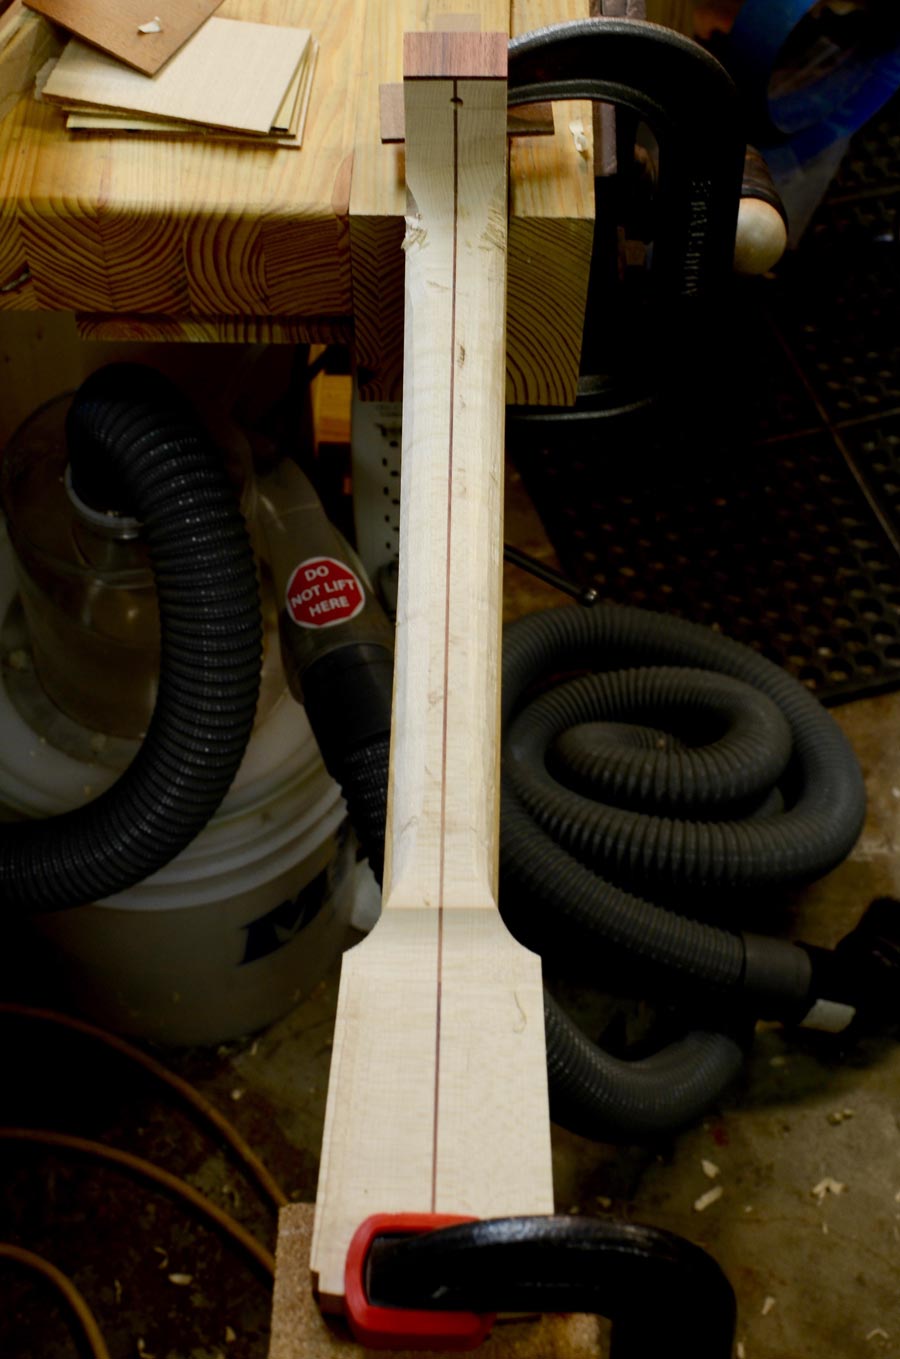
Working in facets on each side helps to keep the overall shape of the neck symmetrical.
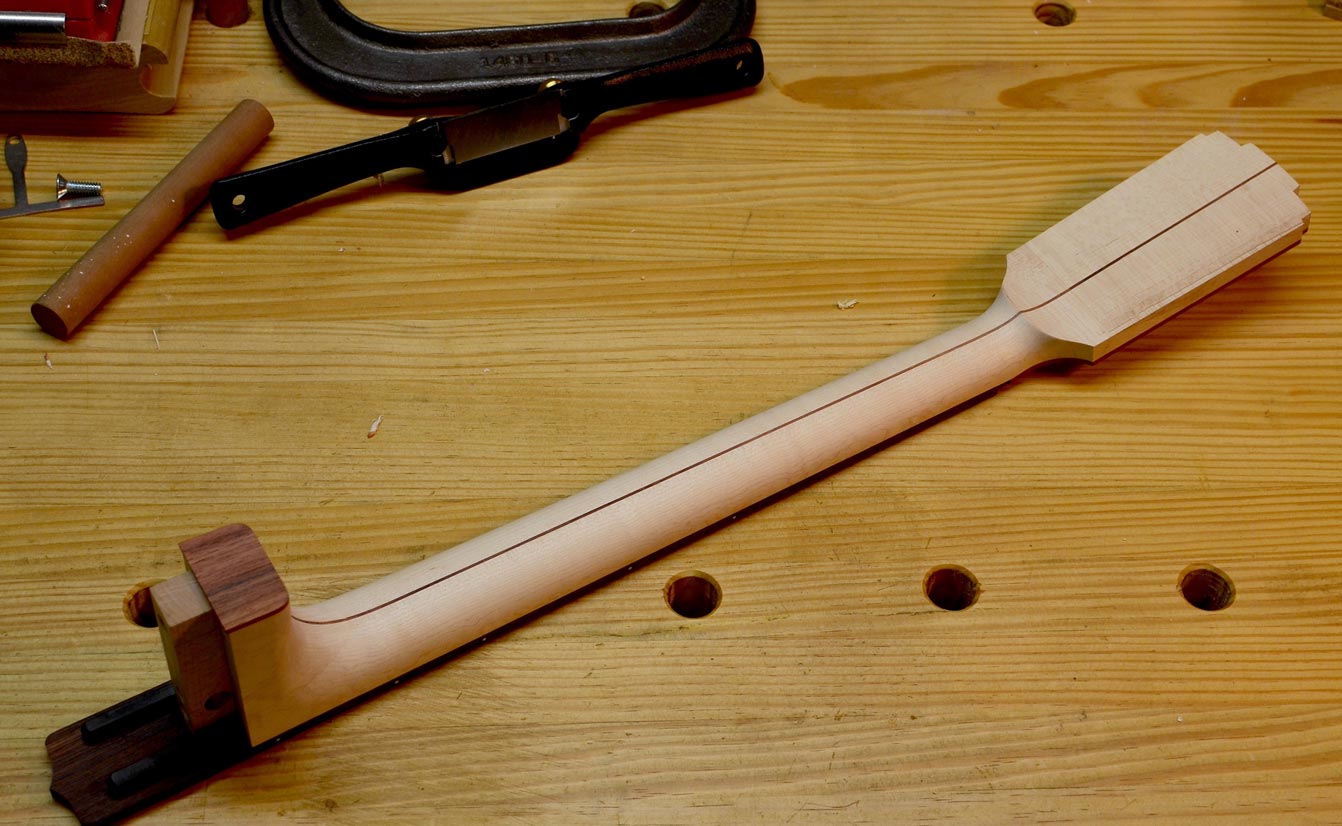
The neck is getting close!
This Honduran rosewood fingerboard is gorgeous.